10
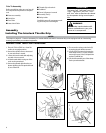
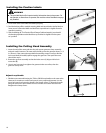
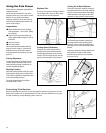
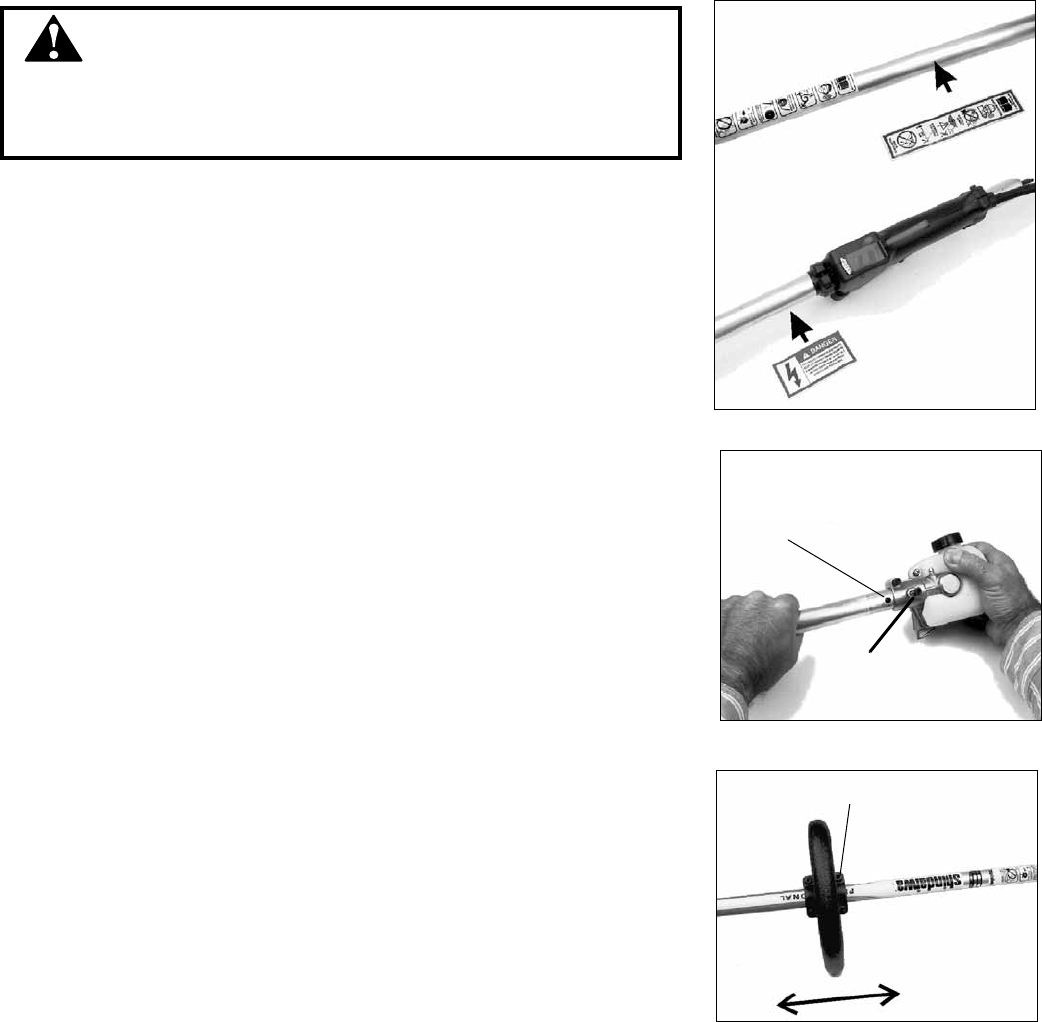
1. Clean outer tube so the labels will adhere properly.
2. Peel the backing o the multiple warning label and attach below similar label on
lower part of outer tube. Make sure label faces up and that it is legible from the
operator's position.
3. Peel the backing o "The Electrical Shock Danger" label and attach it just ahead of
the throttle grip. Make sure the label faces up and that it is legible from the opera-
tor's position.
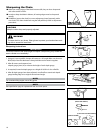
Installing the Caution Labels
WARNING!
■ The provided labels offer important safety information about pole pruners. Do
not operate, or allow others to operate, this machine unless the labels are prop-
erly installed.
Installing the Cutting Head Assembly
A
B
C
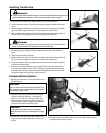
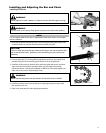
1. Insert the end of the outer tube into the pole pruner gearcase clamp assembly
and push until it bottoms. The outer tube should go into the gearcase about 1-1/2
in. (38 mm). If the outer tube stops before bottoming, rotate it until you feel the
inner mainshaft (driveshaft) splines engage the gearcase. Then push the outer
tube all the way in.
2. Rotate the gearcase assembly so that the index screw (A) aligns with hole in
outer tube (B).
3. Use a 4 mm hex wrench to tighten the gearcase index screw rst, then the
gearcase clamp screw.
Adjust Loop Handle
1. Shindaiwa recommends leaving the T230 or PB230 loop handle on the outer tube.
However, for maximum comfort and control, it may require adjustment. Use the
4 mm hex wrench to loosen the handle's four clamp screws (C). Move the handle
along the tube to the point where the most comfort and control are observed.
Retighten the clamp screws.


