OPERATION
LJ60/72 02-02 Operation Section 4-12
OPERATION
© 2004 Alamo Group Inc.
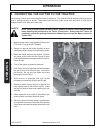
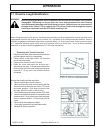
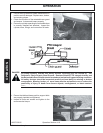
The driveline yoke and tractor PTO shaft must be dirt
free and greased for attachment.
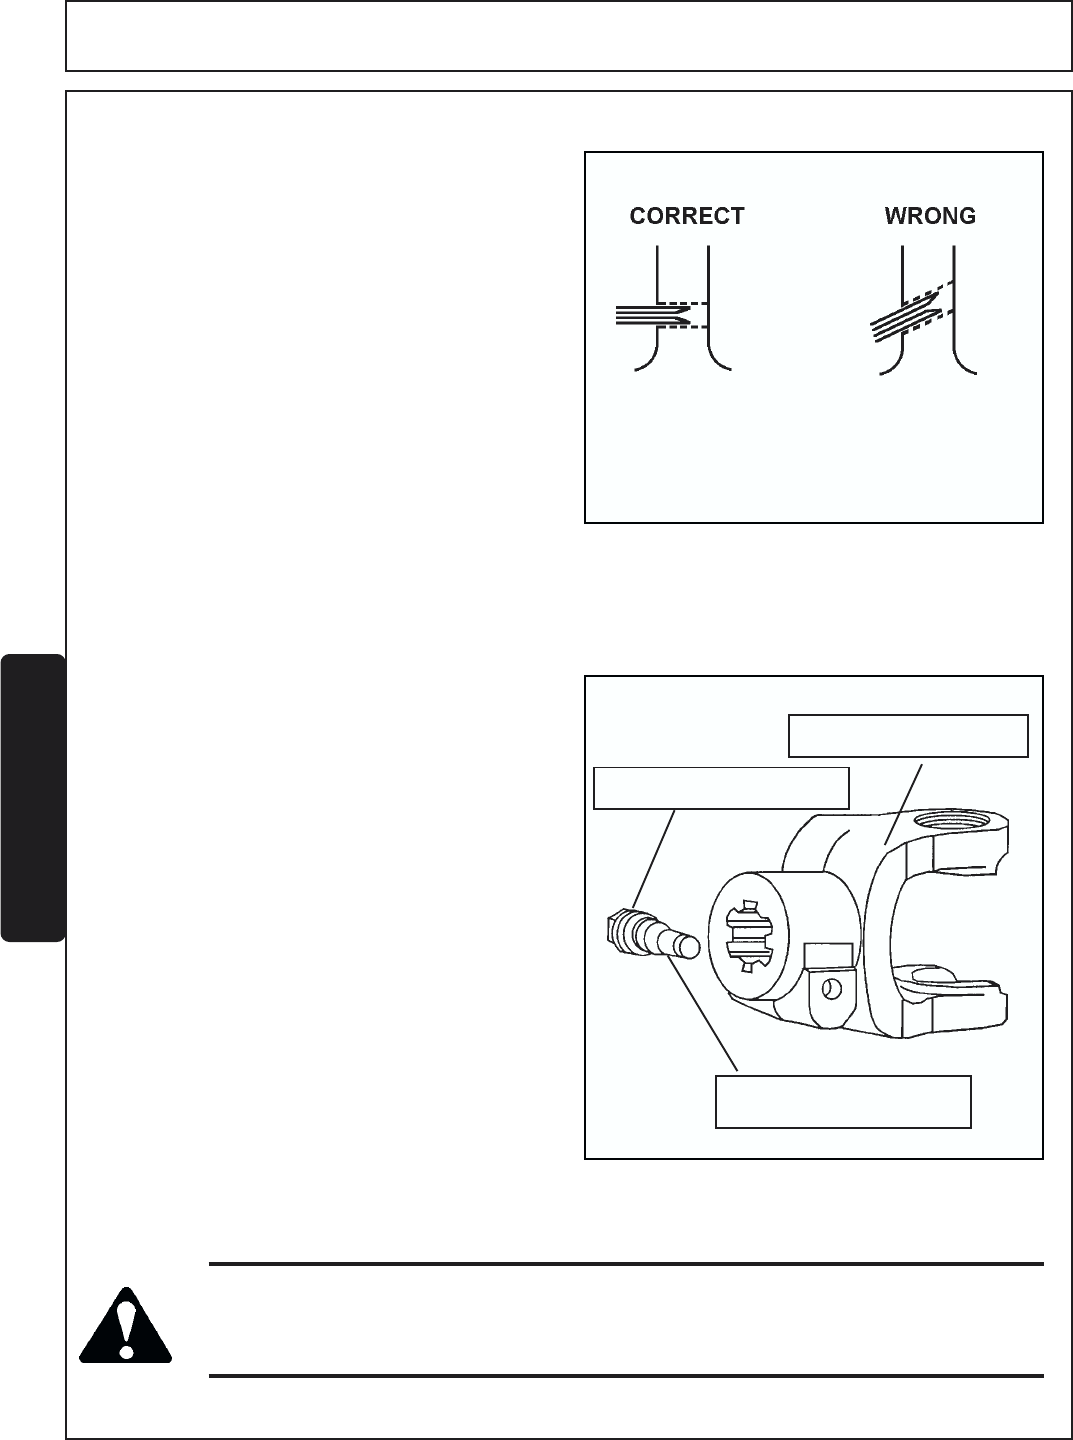
To attach the driveline, loosen the driveline yoke
clamping cone with a 11/16” (17mm) wrench and remove
the cone from yoke. Slide yoke onto output shaft and
align hole for cone with groove of PTO output shaft.
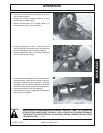
Reinstall cone and tighten (50 lb-ft torque). Push and
pull the driveline to ensure it is securely attached to
PTO output shaft. Regularly check the driveline yoke
to ensure a tight connection. To remove the yoke,
remove the connecting cone and pull yoke off the output
shaft. If the cone cannot be easily removed by hand,
drive it out from the other side using a hammer and
punch.
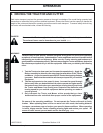
WARNING!
When attaching the PTO yoke to the Tractor PTO shaft, it is important that the clamping
cone is securely seated into the groove of the PTO shaft and properly tightened. A driveline
not attached correctly to the Tractor PTO shaft could slip off and result in personal injury
and damage to the cutter.
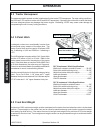
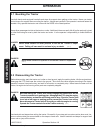
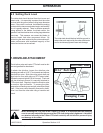
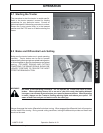
6.2 Setting Deck Level
The cutter deck should be level from front to rear and
side to side. It is especially important that the cutter
be level with the ground when cutting large diameter
trees. If the cutter is not level, the blades are making
contact with the tree on an elevated angle, and its ability
to cut is greatly reduced. There is extreme pressure
being applied to the blades, the blade carrier, the
gearbox, and the driveline when cutting large diameter
size trees. This pressure can cause the blades to
bend or break, and other component failure. By
minimizing the work required by the cutter and tractor,
better performance and increased longevity of the
tractor and cutter can be realized
.
The cutter deck should be level with the ground to
reduce the work required by the cutter and tractor
and to minimize equipment wear and damage.
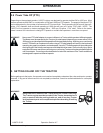
7. DRIVELINE ATTACHMENT
Clamping Cone
Driveline Yoke
11/16” Bolt End


