OPERATION
LJ60/72 02-02 Operation Section 4-11
OPERATION
© 2004 Alamo Group Inc.
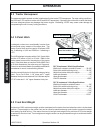
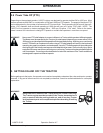
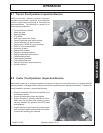
Properly setting the cutter height is essential for efficient and safe operation. A properly set cutter will make a
more uniform cut, distribute clippings more evenly, require minimal tractor work, and follow the contour of uneven
terrain. Note: Avoid very low cutting heights; striking the ground with the blades gives the most damaging shock
loads and will cause damage to the cutter and drive
.
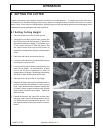
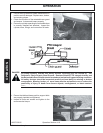
1. Park the tractor and cutter on level ground.
2. Using the 3-point hitch control lever, position the
front of the cutter with the side skids 1” less off the
ground than desired cut height. For example, for a
3” cut, position the skids 2” from the ground. Set
the 3-point control lever stop at this position to
maintain this height when raising and lowering the
cutter.
3. Shut down the tractor and remove the key.
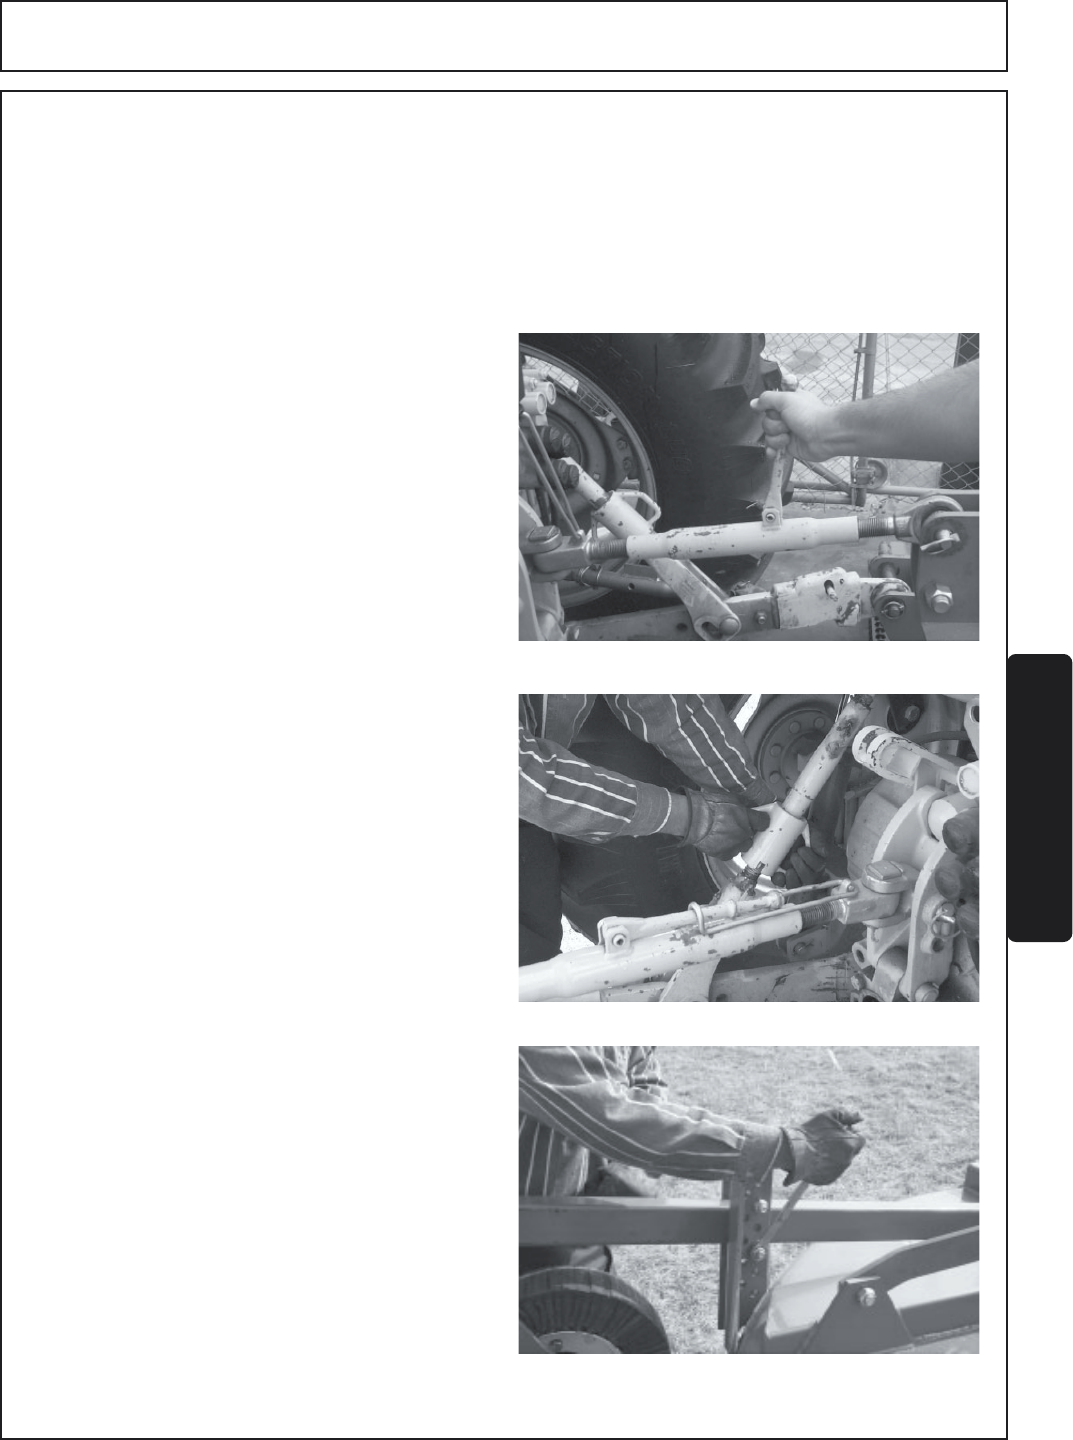
4. Level the cutter deck front to rear by extending or
retracting the 3-point top link.
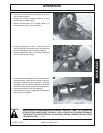
5. Level the cutter side to side by manipulating one
lower lift arm length. On most tractors, at least
one of the lift arms is designed to allow for
manipulation of its length. Shortening or extending
will allow for deck leveling from side to side.
6. Securely block up the cutter at this height.
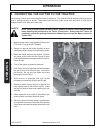
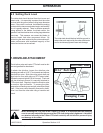
7. Remove the bolts securing the tailwheel beam in
position and allow the tailwheel to rest at ground
level. Align tailwheel beam between nearest sets
of holes in beam support brackets and reinstall
support bolts on each side of beam. Tighten all
bolts and nuts.
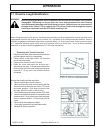
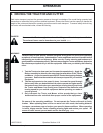
8. Extend the tractor’s top 3-point link so that when
lifting the cutter, the front of the deck will raise 2 to
2½" before the tail wheel leaves the ground. This
will allow the cutter to follow the contour of uneven
terrain.
6.1 Setting Cutting Height
6. SETTING THE CUTTER


