


43
KR-3 – Basic screen functions
ENGLISH
ENGLISH ENGLISH ENGLISH
Chord Tone Setting
After stopping Style playback (or before starting the
Arranger), you can play chords with your left hand
that will be sounded the way you play them (without
the automatic accompaniment). The Tone being used
for sounding the chords is appropriately called “Chord
Tone.” Along with the Chord Tone, the KR-3 will also
play a bass note with (you guessed it) the “Bass Tone”.
Ordinarily these Tones are preset, but they can be
changed through the following procedure.
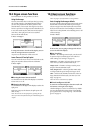
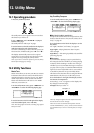
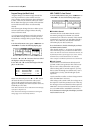
1.
Press <Chord>.
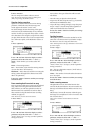
2.
Select the Bass Tone using the buttons to the left of
the display, and the Chord Tone with the buttons to
the right of the display.
If you don’t want the Bass Tone or Chord Tone to
sound, select “OFF.”
Note: Some Tones allow you to sustain the notes you play
until you play other notes (Hold function), thus freeing up
your left hand for other tasks between the changes.
Note: When the power is turned on, <Chord Tone> is set to
“Soft E.Piano” and <Bass Tone> is set to “Fretless Bs”.
Note: See also “Volume of the Rhythm, Bass, Accomp, and
Chord/Bass Tones” on page 25.
11.1 Music Assistant : registering
panel settings
The KR-3 is equipped with 32 Music Assistant memo-
ries that allow you to store almost all settings (or regis-
trations) you make on the front panel. So far, we have
only discussed the easy part of changing the preset set-
tings. Later on, you will discover that you can also
carry out a lot of in-depth work. Those settings can
also be saved to a Music Assistant memory.
1.
Make the settings that you want to register.
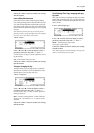
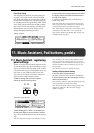
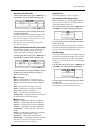
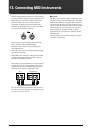
2.
Press the [Music Assistant] button.
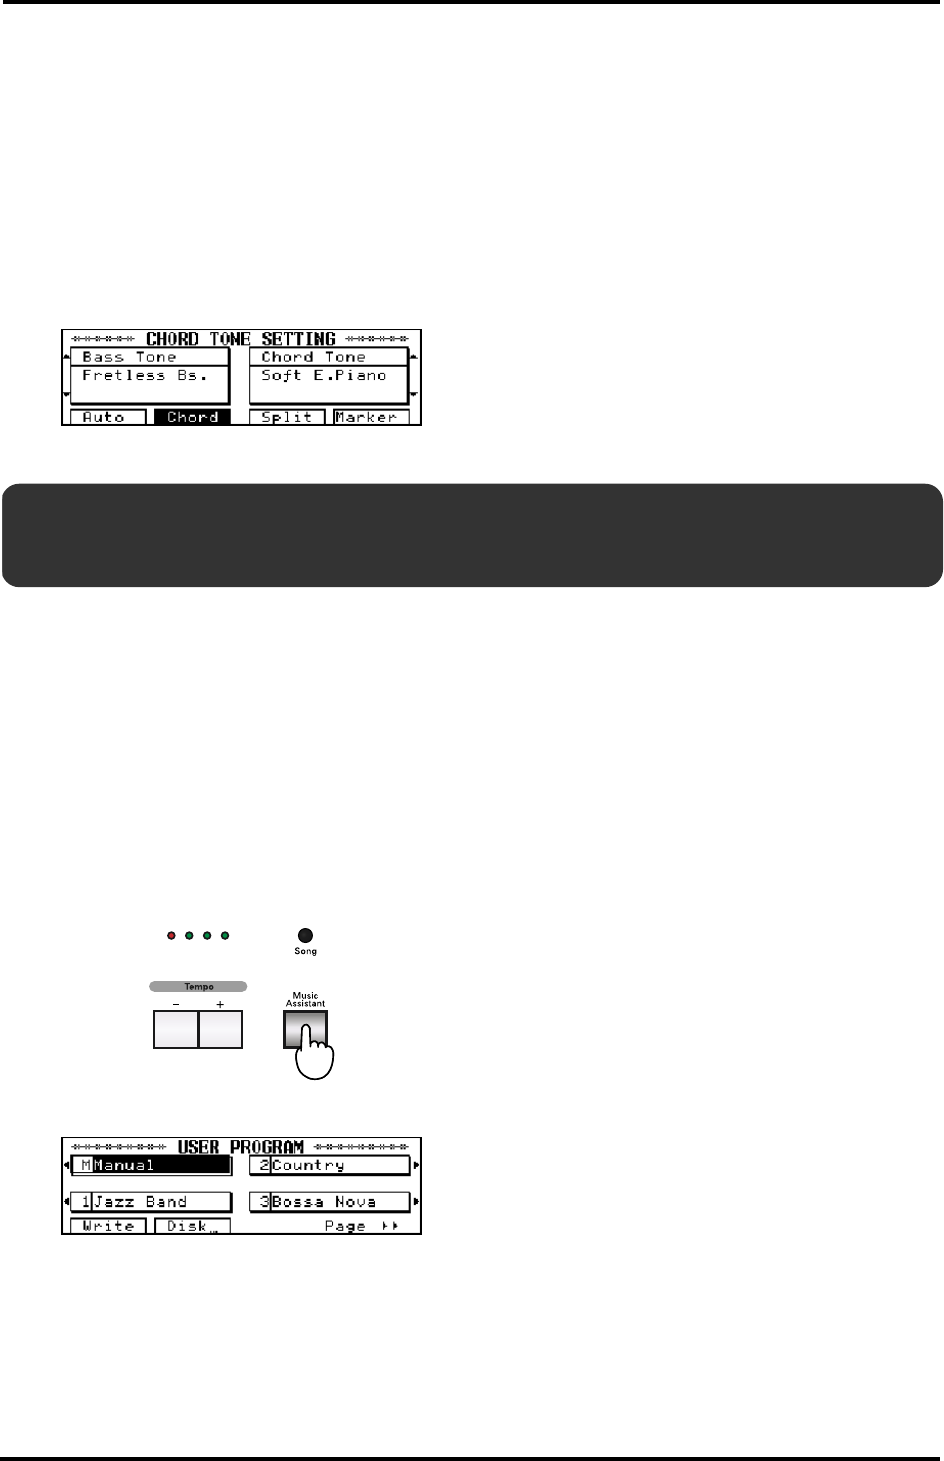
The display responds with:
3.
While holding down <Write>, use the buttons to
the side of the display to choose a memory number.
After a few seconds, the display returns to the previous
page.
Note: You cannot store settings to the <Manual> memory.
Note: The KR-3 comes with a number of Music Assistant
settings you could use a starting points for your own set-
tings. Feel free to overwrite them when you run out of inter-
nal Music Assistant memories. Otherwise save your own
settings to disk.
Note: You can also name your settings (see below).
Loading a Music Assistant memory
1.
Press the [Music Assistant] button
The Music Assistant screen (see above) is displayed.
2.
Use the buttons to the side of the display to select a
Music Assistant memory.
Note: Choosing <Manual> changes the panel settings to the
ones in effect before the settings were recalled.
Note: You can also decide when the settings relating to the
Arranger are loaded. See “Music Assistant Arranger
Update” on page 49.
11. Music Assistant, Pad buttons, pedals