35
KR-3 – Style Composer
ENGLISH
ENGLISH ENGLISH ENGLISH
9.5 Style Composer
The KR-3 has a function called “Style Composer” that
lets you compile new Music Styles from existing Style
parts. Thus, you could take the bass part from the
“Slow Waltz 1” Style, add the drums of the “Waltz”
Style and use the melodic accompaniment of the
“Vienna Waltz” Style. Music Styles you create with the
Style Composer (or the Style Converter, see “Style
Converter” on page 36) are called “User Styles”.
Every Music Style of the KR-3 is made up of five parts
that are assigned to Arranger tracks (see below).
Note: The User Style is deleted when the power is turned off.
Do not forget to save it to disk (see “Saving User Styles” on
page 37).
1.
On the Composer Menu screen, press <Style Com-
poser>.
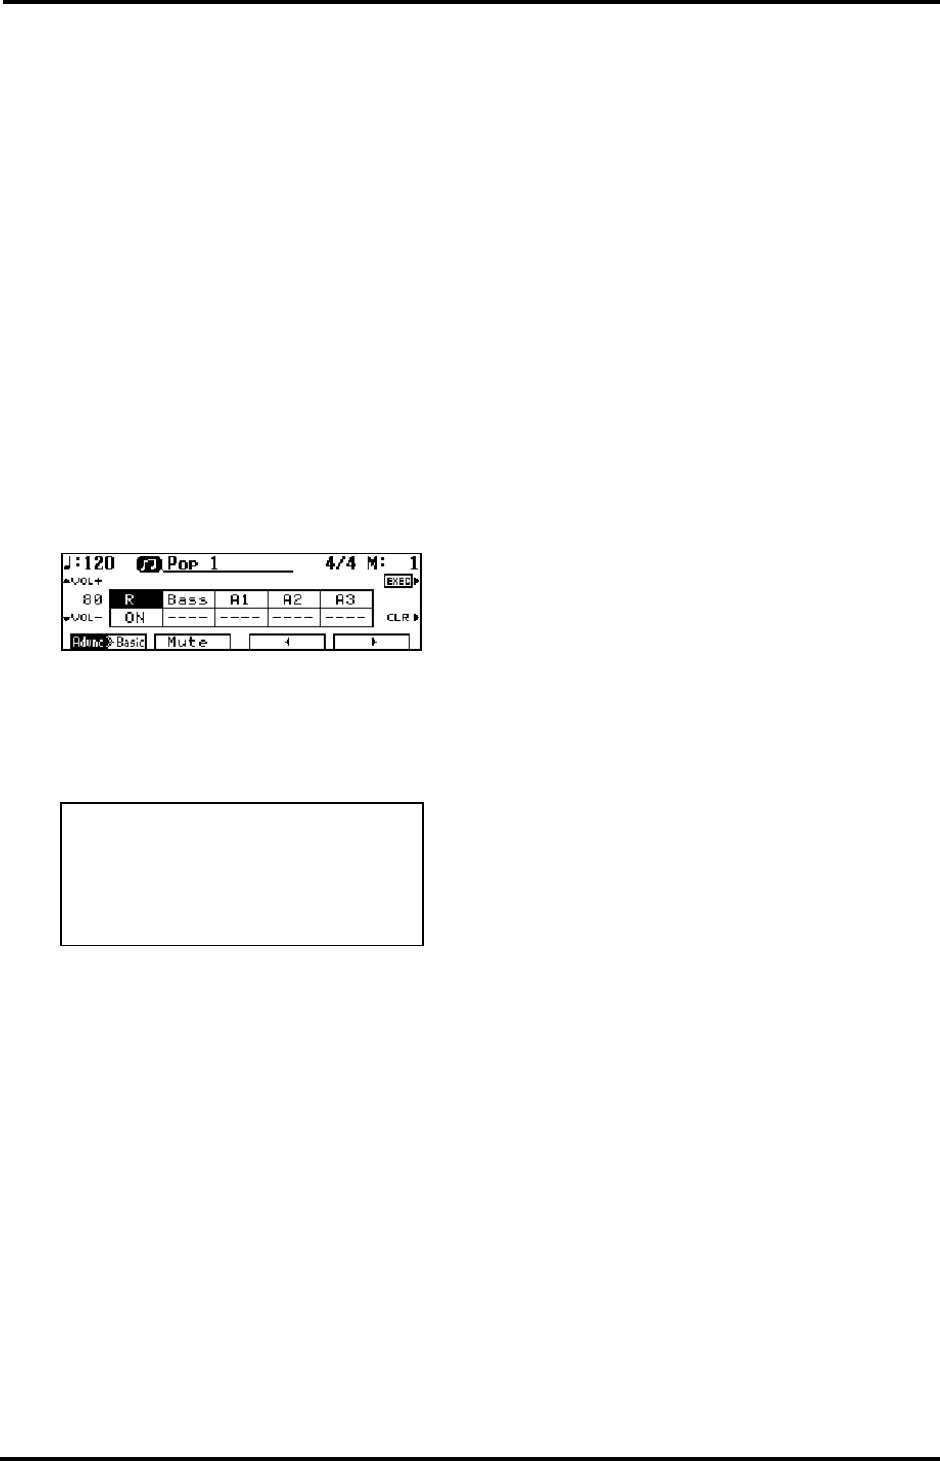
The rhythm part of the currently selected Music Style
is played back, and a screen like the one below appears
on the display.
The part names are displayed at the center of the
screen. The part that appears in reverse video is cur-
rently selected.
The Track buttons correspond to the parts as follows.
The tempo of a “composed” Style is determined by the
tempo of the “R” track. You can change it, however,
with the TEMPO [+]/[–] buttons.
Note: You cannot use Arranger parts of a User Style because
the KR-3 has only one User Style memory – the one you are
copying Style parts to.
2.
Use the MUSIC STYLE buttons and the buttons
next to the display to select the Style that contains the
desired rhythm part.
Every time you select another Music Style, the rhythm
that is played back changes. After several seconds, the
display returns to the Style Composer screen.
3.
After choosing the rhythm, use <√> and <®> at
the lower right of the display to select another part.
You can also choose a Part by pressing the Track but-
tons (see above). The selected part will be played along
with the “R” and any other part you have already cop-
ied.
4.
Repeat steps 2 and 3 to make the settings for the
remaining parts.
You can use <VOL+> and <VOL-> to the left of the
display to set the volume level for each track.
5.
Press the <EXEC> button or the Composer [REC]
button to confirm your settings.
The User Style is temporarily saved in the memory
assigned to the [DISK/USER] button (indicator lights)
and can be selected by pressing this button (see also
“Using Style disks (User Styles)” on page 23).
You can also use the Composer [REC] button to end
your programming session. To stop the operation,
press the [Exit] button.
Note: Press <Advnc®Basic> (or <Advnc√Basic>) at the
lower left of the display to change the Style Level.
Note: Please note that Rhythm parts can only be assigned to
“R”, while bass parts can only be assigned to “Bass”. The “A”
parts, on the other hand can be freely assigned to memories
A1~A3.
As stated earlier, not all Music Styles use all available
Arranger tracks (R, Bass, and A1~A3). If a given track
is empty, select another one. Likewise, you don’t have
to copy Style parts to all available Arranger tracks.
Editing your User Style
See the above chart for the correspondences between
Track buttons and Arranger parts.
1.
On the Composer Menu screen, press <Style
Composer>.
The User Style is played back and the indicators of all
Arranger tracks that contain data light.
2.
Use <√> and <®> at the bottom of the display to
select the part on screen that you wish to change.
You can also select it by pressing the corresponding
Track button (indicator must light).
3.
Use the MUSIC STYLE buttons and the buttons
next to the display to select the desired Style.
Every time the Style is changed, the parts that are
played back change.
4.
Use <√> and <®> at the bottom of the display to
select another part.
5.
If necessary, repeat steps 2, 3, and 4 until you’re
happy with your User Style.
Press the <CLR> button to temporarily mute the
selected Arranger part.
6.
Press the <EXEC> button or the Composer [REC]
button to confirm your settings.
Arranger track Display Track button
Rhythm R [Rhythm]
Bass Bass [Bass/Accomp]
Accompaniment 1 A1 [Lower]
Accompaniment 2 A2 [Upper]
Accompaniment 3 A3 [Whole]
