


17
Initializing AutoStar for the First Time
This section describes how to initialize AutoStar. Perform this procedure the first time
you use AutoStar or after performing a Reset (see
RESET, page 28).
AutoStar will ask you to choose your observing location and your telescope’s model
number from the list it displays.You will be prompted to enter this information
only the
fir
st time you use AutoStar.
If y
ou wish to change your location information (or if
AutoStar does not ask you for this information information the first time that you use
it), go to the Site option of the Setup Menu to select your location. See pages 27 and
29 f
or more information.
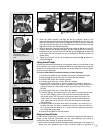
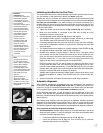
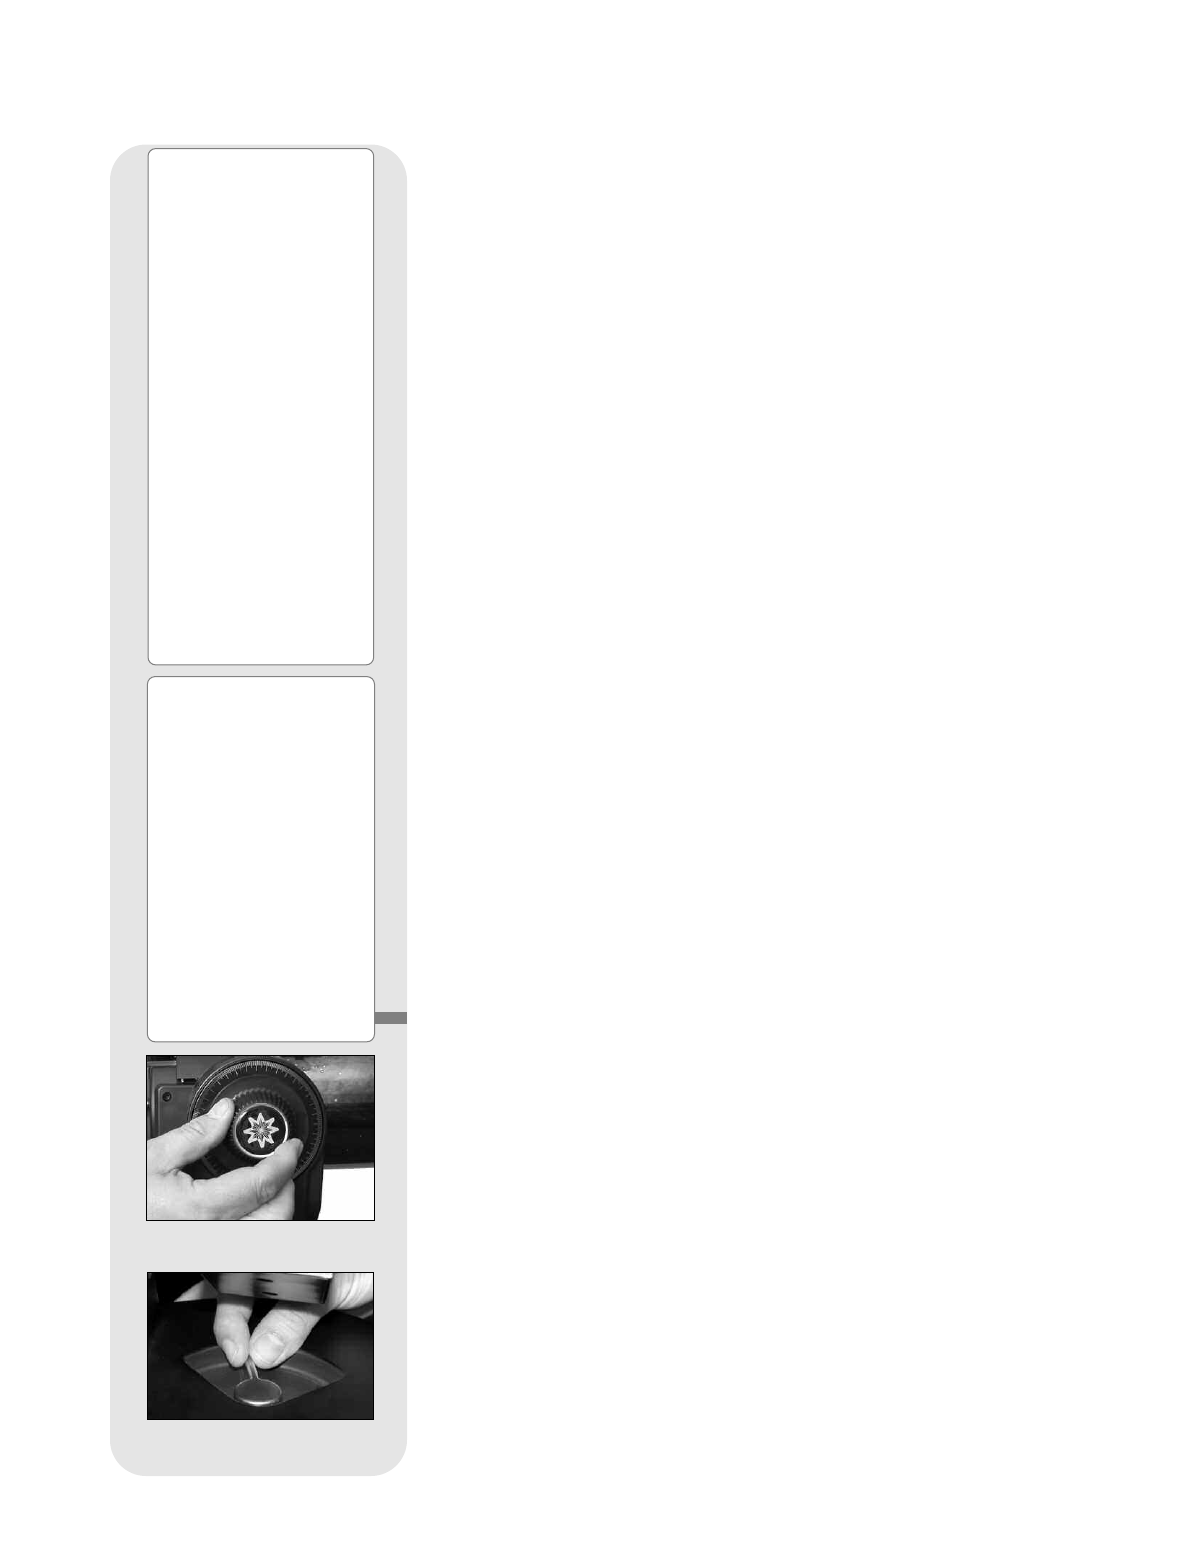
1. Tighten the vertical and horizontal locks (
6, Fig. 1b and 9, Fig. 1a) if necessary.
2.
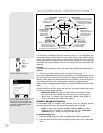
Make sure that AutoStar is connected to the HBX port (
C,
Fig. 2
) of the
telescope’s computer control panel.
3. Flip the telescope power switch (
A, Fig. 2) to the ON position.
The AutoStar screen displays a copyright message, followed by a short beep.
Then AutoStar takes a few moments to start up the system.
4. A message displays that warns not to look at the Sun. At the end of this message,
press the key prompted by AutoStar to signify that the message has been read
and understood.
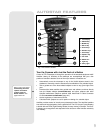
5. The Getting Started menu displays a scrolling message. Press ENTER (
2, Fig.
4
) to bypass the Help tutorial and continue with initialization.
6. AutoStar then displays: “Location Option: 1-Zipcode 2-City”. This option allows
you to choose how you wish to enter the location of your observing site: you can
enter your zip code or choose the site from a list of countries, states and cities.
Press the number key “1” if you wish to enter by zip code. Then enter the five
digits of the zip code of your observing site and press ENTER.
Press the number key “2” if you wish to select your observing site from a list of
country, states and cities. First, use a Scroll key to cycle through the list of coun-
tries and states (listed alphabetically). Press ENTER when the correct location
displays. Next, use a Scroll key to cycle through the list of cities (also listed alpha-
betically). Press ENTER when the closest city displays.
7. AutoStar then requests the telescope model number. Use the Scroll keys to cycle
through the database of models. Press ENTER when your model number dis-
plays.
8. System initialization is complete and the screen reads "Align: Automatic."
Automatic Alignment
After initializing, A
utoStar will automatically align y
our telescope f
or y
ou. AutoStar is
in the alt/az mode (
see the mar
gin Note to the left
) b
y def
ault the first time y
ou
power it on, so you do not need to select this mode. If you wish to align your telescope
in the equatorial (polar) mode, see
EQUATORIAL ALIGNMENT, page 50.
Dur
ing automatic alignment, y
ou will be ask
ed to set the telescope in the home
position. Then AutoStar will automatically detect the level position and the tilt of your
telescope, and also detects North (note that the telescope may
not be pointing North
after it does so).
After finding North, AutoStar picks two stars from its database. AutoStar moves the
telescope to the first alignment star and the user is asked to center the star in the
e
y
epiece
.
The process is then repeated with a second star to complete the alignment.
The f
ollowing explains in detail how to perform the alt/az automatic alignment procedure.
Ho
w to perf
orm the A
utomatic Alignment pr
ocedure
1. Set Home Position: AutoStar then prompts you to set the telescope in the Alt/Az
Alignment home position. To set your telescope in the Alt/Az home position when
using the A
utomatic Alignment men
u:
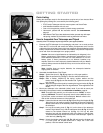
• If necessary, tighten the telescope’s vertical lock (
6, Fig. 1b).
•
Unlock the horizontal lock (
9,
Fig. 1a
). This will allo
w you to rotate the
telescope tube and fork arm assembly.
Definition:
Initialization
is a
procedure that makes sure
that AutoStar operates
correctly. When you first
use AutoStar, it doesn't yet
know where the
observation location site is.
AutoStar also needs to
know the time and date,
which is set at the factory
and may also be reset
using Meade’s optional
Atomic Clock Update
Module accessory.
AutoStar uses this
information (along with
detecting tilt, level and
North) to precisely
calculate the location of
celestial objects (such as
stars and planets) and to
move your telescope
correctly for various
operations.
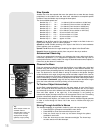
Fig.
22:
The v
er
tical loc
k.
Fig. 23: The horizontal
lock.
Note:
Throughout this manual,
you will notice the term
"alt/az." Alt/az is frequently
used to refer to altitude
(vertical) and azimuth
(horizontal). Alt/az is just
one of many methods used
by amateur astronomers to
help locate stars in the
night sky.
Another method of
alignment is called
“Equatorial ” (also known
as “Polar”).To learn more
about equator
ial alignment,
see page 50.