


13
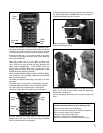
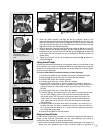
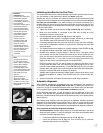
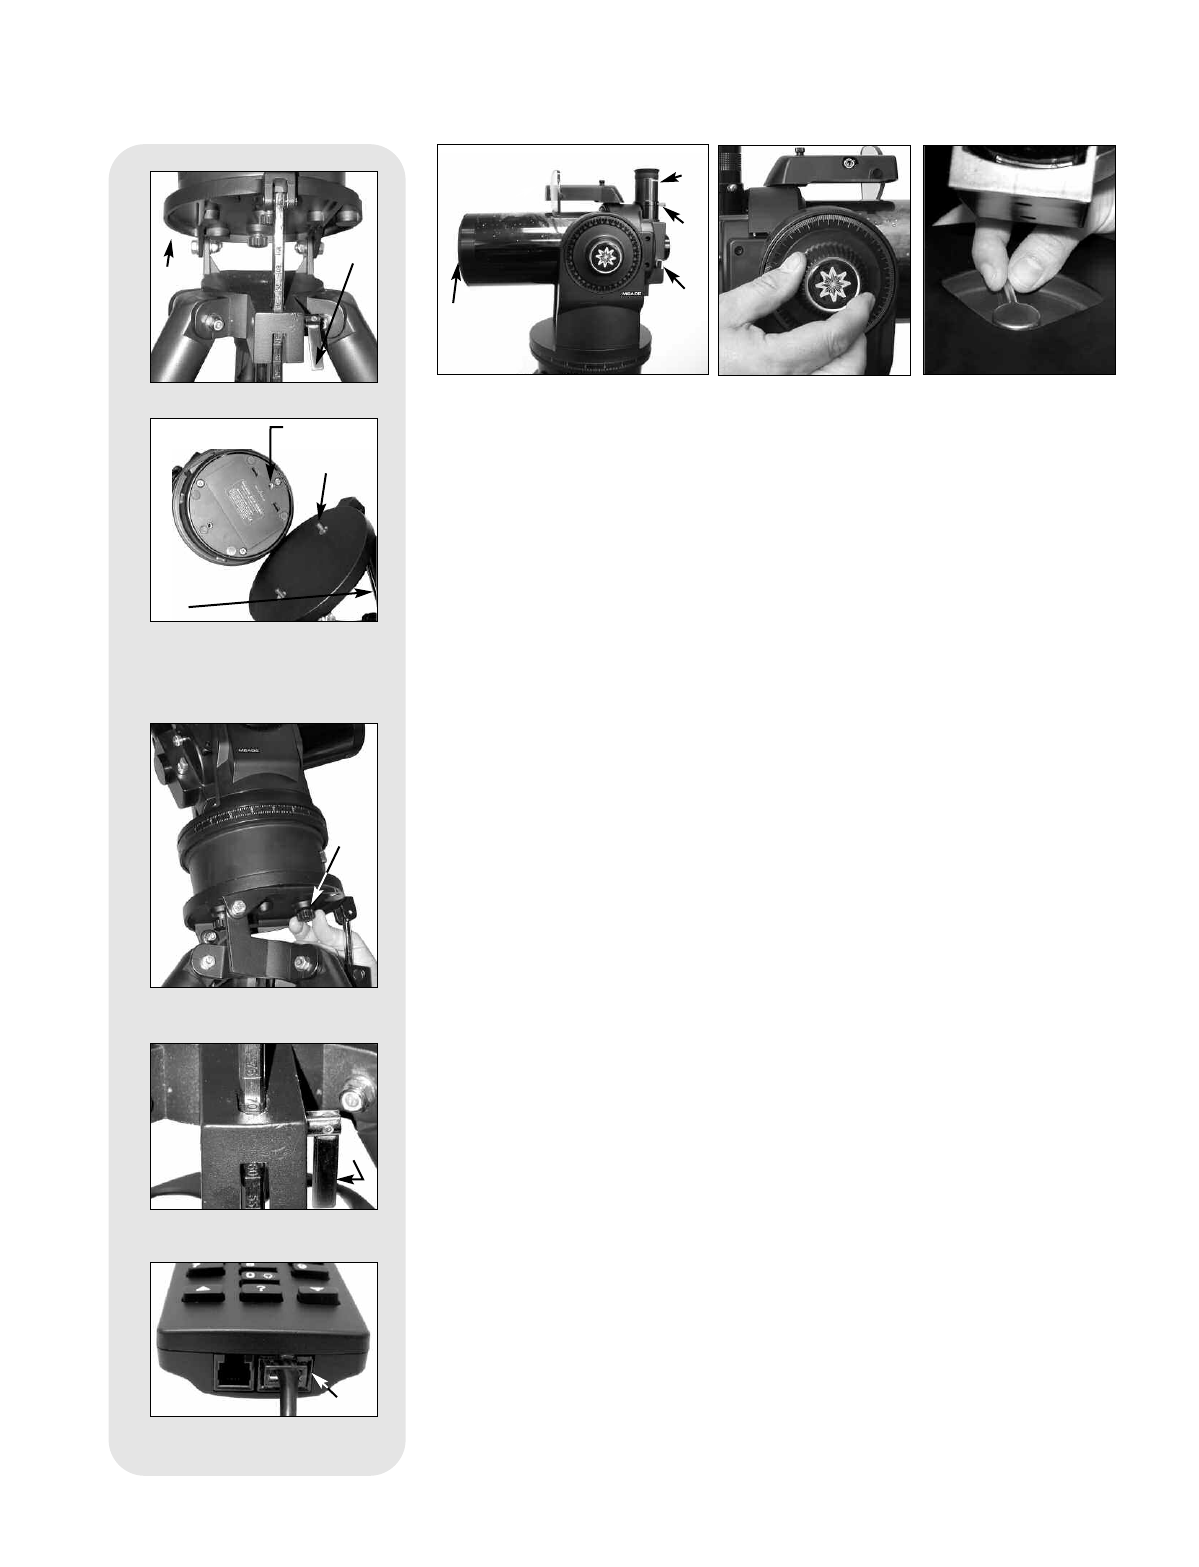
4. Place the 26mm eyepiece (12, Fig. 15) into the eyepiece holder on the
telescope and tighten the attachment thumbscrew (
13, Fig. 15) to a "firm feel" only.
Mak
e sure that the flip-mirror control (
14,
Fig. 15
) is in the
“up” position, as shown
in the above photo. See page 14, for more information. Remove the dust cover (
15,
Fig. 15
) from the end of the telescope tube.
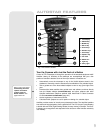
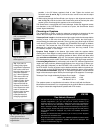
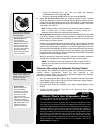
5. Make sure that the computer control panel power switch (A, Fig. 2) is in the OFF
position. Remove the AutoStar handbox and the coiled cord from the packing
materials. Plug one end of the cord into the HBX port (
C, Fig. 2)and the other end
of the coiled cord into the coiled cord port at the bottom of AutoStar handbox, as
shown above.
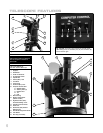
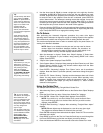
6. Tighten (to a "firm feel" only, do not overtighten) the vertical lock (Fig. 6) and the hor-
izontal lock (
Fig. 9)
.
Using SmartFinder
As with most astronomical telescopes, an eyepieces presents a narrow field of view
to the observer. As a result it is sometimes difficult to locate objects just using your
eyepiece. The SmartFinder has a projected red dot that helps you to locate objects
as you move your telescope.
To turn on SmartFinder’s red dot (continuous, without blinking):
1. Press and hold MODE for two seconds. R.A and Dec. coordinates display.
2. Keep pressing the Scroll Down key until “Finder Set: Set” displays.
3. Press ENTER. “Finder Set: Intensity” displays.
4. Press the Scroll Down key. “Finder: Blink On” displays.
5. Press ENTER. A time value, in seconds, displays. For example, “00.5” may
display. “00.5” is the amount of time, in seconds, that the red dot will blink “on.”
(F
or this e
xample, you may select or enter any value except “00.0.”) Press
ENTER.
6.
Press the Scroll Do
wn k
e
y
.
“Finder: Blink Off” displays.
7.
Press ENTER.
Use the Number keys to enter “00.0” or press the Scroll Down
k
ey until “00.0” displays. “00.0” is the amount of time in seconds that the
red dot will remain “off.” This value, along with the value you chose in the
“Finder: Blink On” menu, allows the red dot to remain on without blinking.
“00.0”
means there is no “off” time, so the dot will remain on continuously,
without blinking.
8.
Use these men
us to set other b
link r
ates. For example, If you select “00.1” in
the Blink Off menu, and “00.2” in the Blink On menu, the red dot will blink on
for .2 seconds and then blink off for .1 second, and then repeat the cycle until
you change the values again.
9. Press and hold MODE to exit this function.
Aligning SmartFinder
In order for the SmartFinder to be useful, it must first be aligned with the main tele-
scope, so that both the SmartFinder and the main telescope are pointing at
precisely the same location. To align the SmartFinder:
1.
P
oint the main telescope at some w
ell-defined distant (perhaps a mile a
w
a
y) land
object, such as a telephone pole or sign. Center the object, as precisely as
Fig. 12: Attach telescope to
tripod.
Fig. 11: High latitude leg
mounting hole and
corresponding attachment
knob.
Fig. 10: Loosen control latch .
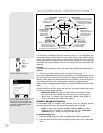
Fig. 15: Insert eyepiece.
Fig. 16: Tighten vertical
lock.
Fig. 17: Tighten horizontal
lock.
Fig. 13: Level tilt-plate.
Fig.
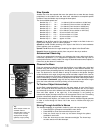
14:
Handbo
x
HBX por
t.
ᕥ
ᕦ
ᕧ
ᕨ
ᕨ
µ
¹
¹
Ƹ
ƹ
ƺ
ᕩ