11
Section 2 Operating
7/18/08
DM35 Series (S/N253045+) Disc Mowers 309-502M
Land Pride
Table of Contents
Section 2 Operating
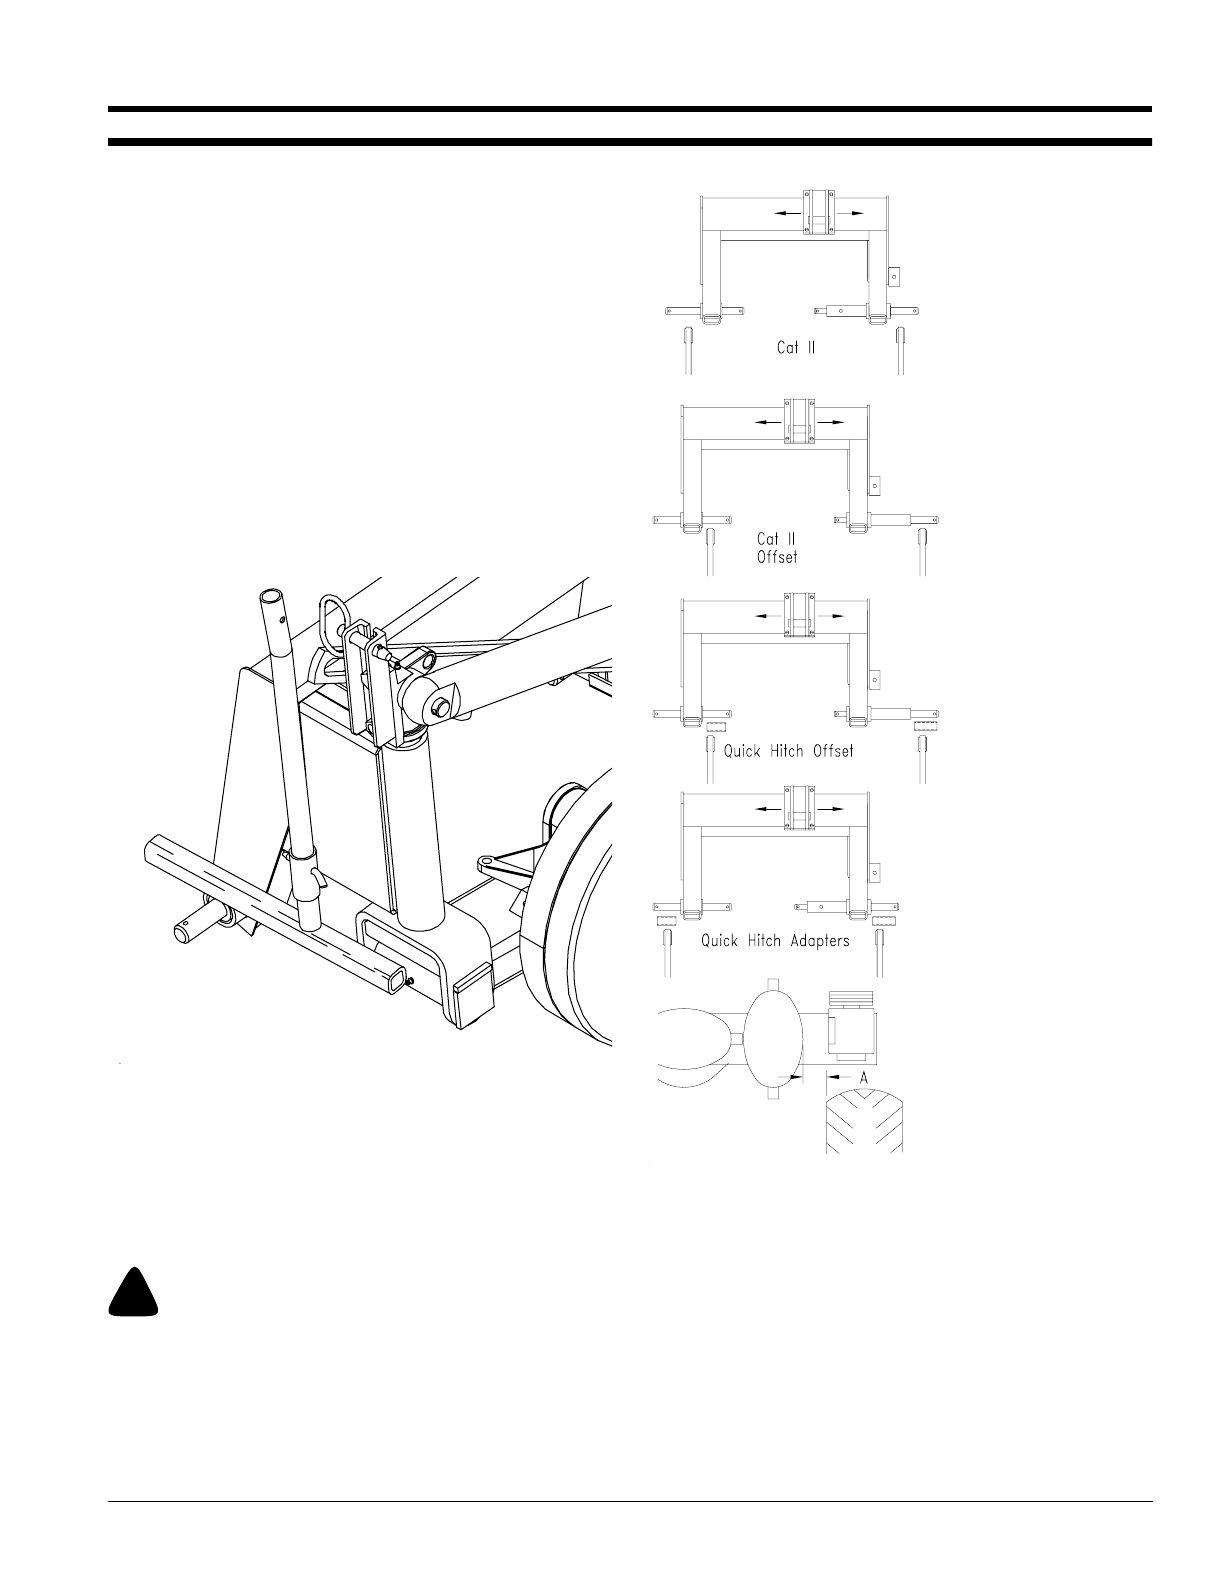
Attaching the Tractor
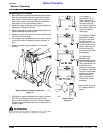
1. Back the tractor up to the disc mower so that the lower
draft arms are aligned with the lower lift pins of the
disc mower. Connect 3-point upper link. Connect to
lower 3-point arms with proper attaching hardware.
See Figure 3-2 for proper tractor hook-up.
2. Raise the mower cutter bar off the ground slightly by
actuating the hydraulic cylinder.
3. Adjust the length of the tractor’s two sway link arms to
prevent swaying from side to side.
4. Attach the chain to the top link of tractor making sure
the PTO driveline is level.
5. If necessary use the adjustment on the lower 3-point
arms of the tractor to make sure that the mower is
level.
6. Raise the support leg and position it in the high
position.
7. With the disc mower attached to the tractor, connect
the PTO by twisting the collar on the end of the
driveline while sliding on to the PTO shaft. Release
collar and move yoke back and forth to make sure it is
locked in place.
!
WARNING
Be sure the driveline is properly connected. A loose yoke could
slip and cause personal injury or damage to the mower.
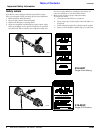
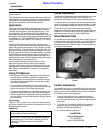
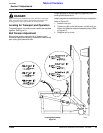
Support Stand in Transport & Operation
Figure 3-1
15152
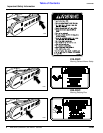
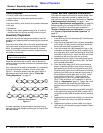
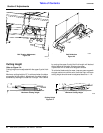
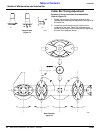
Tractor Hook-up
Figure 3-2
For Category II
attachment, line up
lower draft arms of
tractor. Attach to pins
and retain with clip
pins. Position top hitch
as necessary. Be sure
roll pin is installed
thoroughly.
For Category II Offset
attachment, remove
the roll pin and slide
the left bottom pin.
Reinstall roll pin. Line
up lower draft arms of
tractor. Attach to pins
and retain with clip
pins. Position top hitch
as necessary.
10522
Attach machine so that
“A” is approximately 4
inches.
For Quick Hitch
Adapters slide
adapter bushings over
pins. For Offset Quick
Hitch, remove roll pins
and slide the left
bottom pin and rotate
the right pin. Reinstall
roll pins. Line up lower
draft arms of tractor.
Attach to pins and
retain with clip pins.
Position top hitch as
necessary.


