


English - 29
3. INSTALLATION
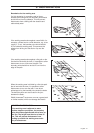
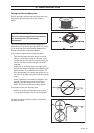
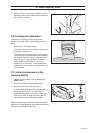
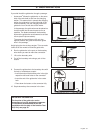
7. Refit the cover on the charging station. Ensure
the three guides on the charging station enter the
right holes in the cover.
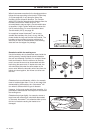
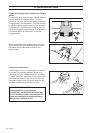
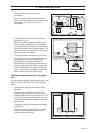
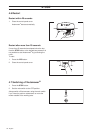
3.6 Checking the installation
Check the loop signal by looking to see what
indication the green LED on the charging station is
giving.
• Steady light = the signal is okay.
• Flashing once every other second = break in the
loop and no signal found.
• Flashing twice every other second = weak signal.
This may be due to the boundary wire exceeding
500 metres or that the cable is damaged. If the
mower works, it is not a problem. However, a
Signal Amplifier (522 42 58-01), which is
available as an accessory, is recommended for
breakdowns. This permits a boundary wire of up
to 800 metres.
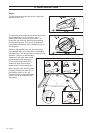
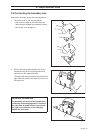
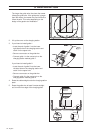
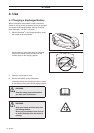
3.7 Linking Automower
®
to the
charging station
1. Open the control panel cover by pressing the
STOP button.
2. Place Automower
®
in the charging station.
3. Set the main switch to the ON position.
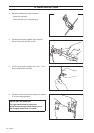
A start-up sequence begins when Automower
®
is
started for the first time. The following is
requested: Language, time format, correct time,
date format, date, and four-digit PIN code. All
combinations except 0000 are permitted.
When you have chosen a PIN code with Automower
®
placed in the charging station, the mower and charging
station are then linked to each other.