GB - 25
BATTERY (988108, 109, 117)
Unit comes equipped with a maintenance-free battery
that requires no regular maintenance except cleaning
the terminals. See Check Battery (988108, 109, 117)
on page 18.
Charge Battery
Battery Electrolyte First Aid
• External Contact: Flush with water.
• Eyes: Flush with water for at least 15 minutes
and get medical attention immediately!
• Internal Contact: Drink large quantities of water.
Follow with Milk of Magnesia, beaten egg or
vegetable oil. Get medical attention immediately!
DO NOT induce vomiting!
IMPORTANT: DO NOT fast charge. Charging at a
higher rate will damage or destroy battery.
IMPORTANT: ONLY use an automatic charger
designed for use with your battery. ALWAYS follow
information provided on battery and battery charger.
Contact battery and charger manufacturers for detailed
instructions.
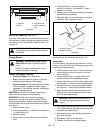
1. Remove battery cover.
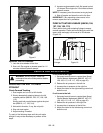
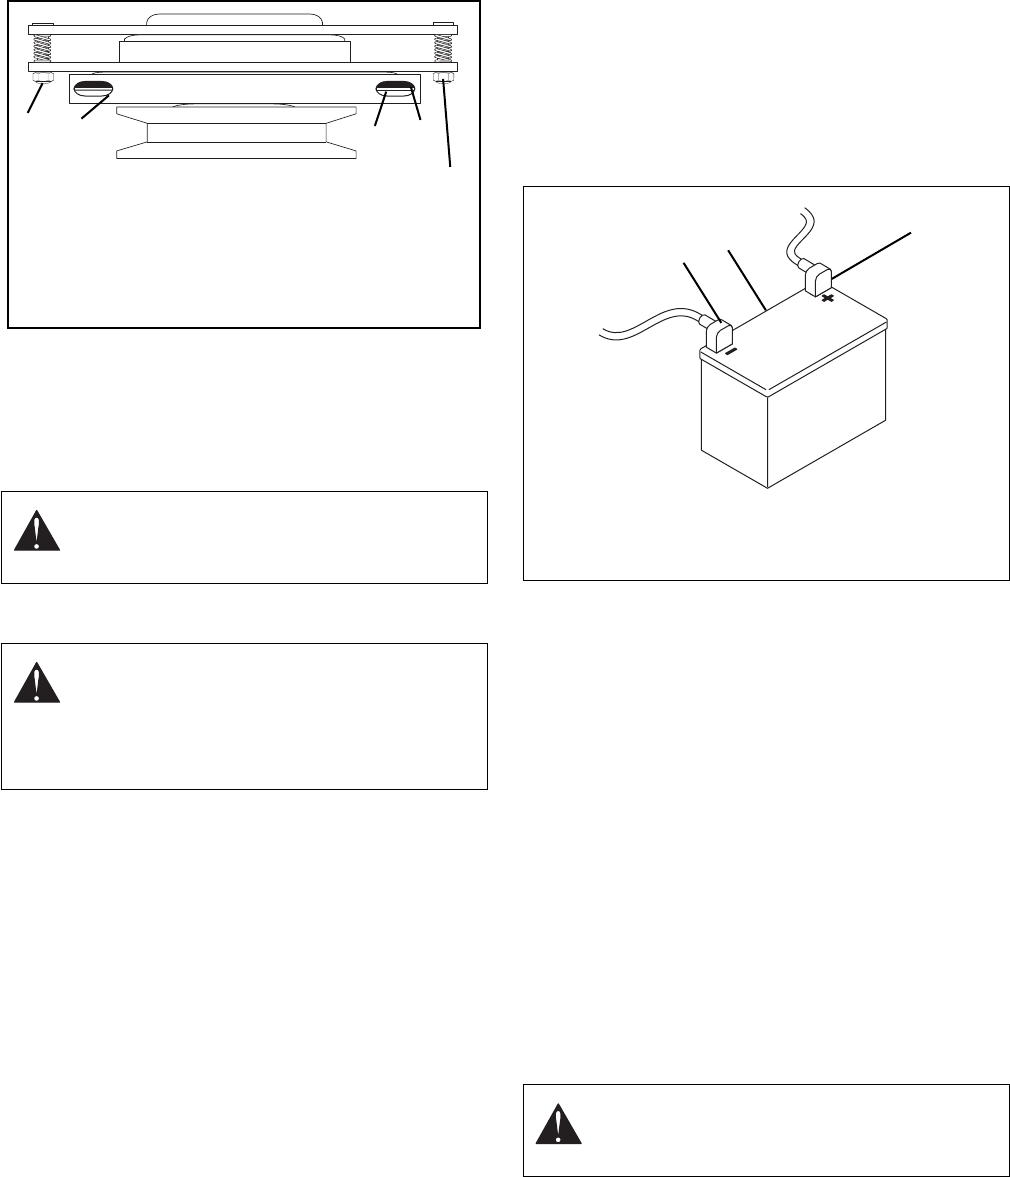
2. Disconnect negative (–) cable first, then positive
(+) cable (Figure 21).
3. Remove battery.
4. Place battery on bench or other well-ventilated
area.
5. Connect positive (+) lead of charger to
positive (+) terminal, and negative (–) lead to
negative (–) terminal.
6. Charge battery according to charger and battery
manufacturers’ instructions.
7. Reinstall battery on unit and connect positive (+)
cable first, then negative (–) cable.
It may be possible to recharge the battery by jump
starting the unit and allowing the engine to run.
Jump Start
The unit used for jump starting should have a 12-volt
battery with at least 500 cold cranking amperes, and a
negatively grounded system.
1. Ensure battery is not frozen. If the fluid is frozen,
remove battery from unit and allow it to thaw
before charging.
2. Connect the positive (+) jumper cable to the
positive terminal of the discharged battery.
3. Connect the other end of the same jumper cable
to the positive (+) terminal of the booster battery.
4. Connect one end of the second jumper cable to
the negative (–) terminal of the booster battery.
5. Make the final jumper cable connection to the
engine block or the furthest ground point away
from the discharged battery.
6. Start engine (See Starting and Shut Off on page
13). If engine will not start after several tries, unit
or battery may need service.
7. After engine starts, leave cables connected for
one to two minutes.
8. Disconnect cables in reverse order.
9. Operate unit normally to charge battery.
WARNING: AVOID INJURY. Read and
understand the entire Safety section before
proceeding.
WARNING: FROZEN BATTERIES CAN
EXPLODE and result in death or serious
injury.
DO NOT charge a frozen battery. Let the
battery thaw before charging.
1
2
3
4
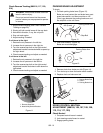
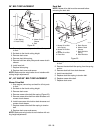
1. Armature
2. Rotor
3. Inspection Slot
4. Gap Adjustment
Nut
4
Figure 20
OG1500
WARNING: Make sure cables are clear of
any moving engine parts before starting
engine.
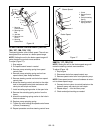
1. Positive terminal
2. Negative terminal
3. Battery
2
1
3
OF1670
Figure 21


