ASSEMBLY
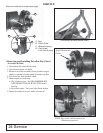
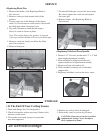
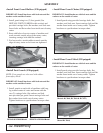
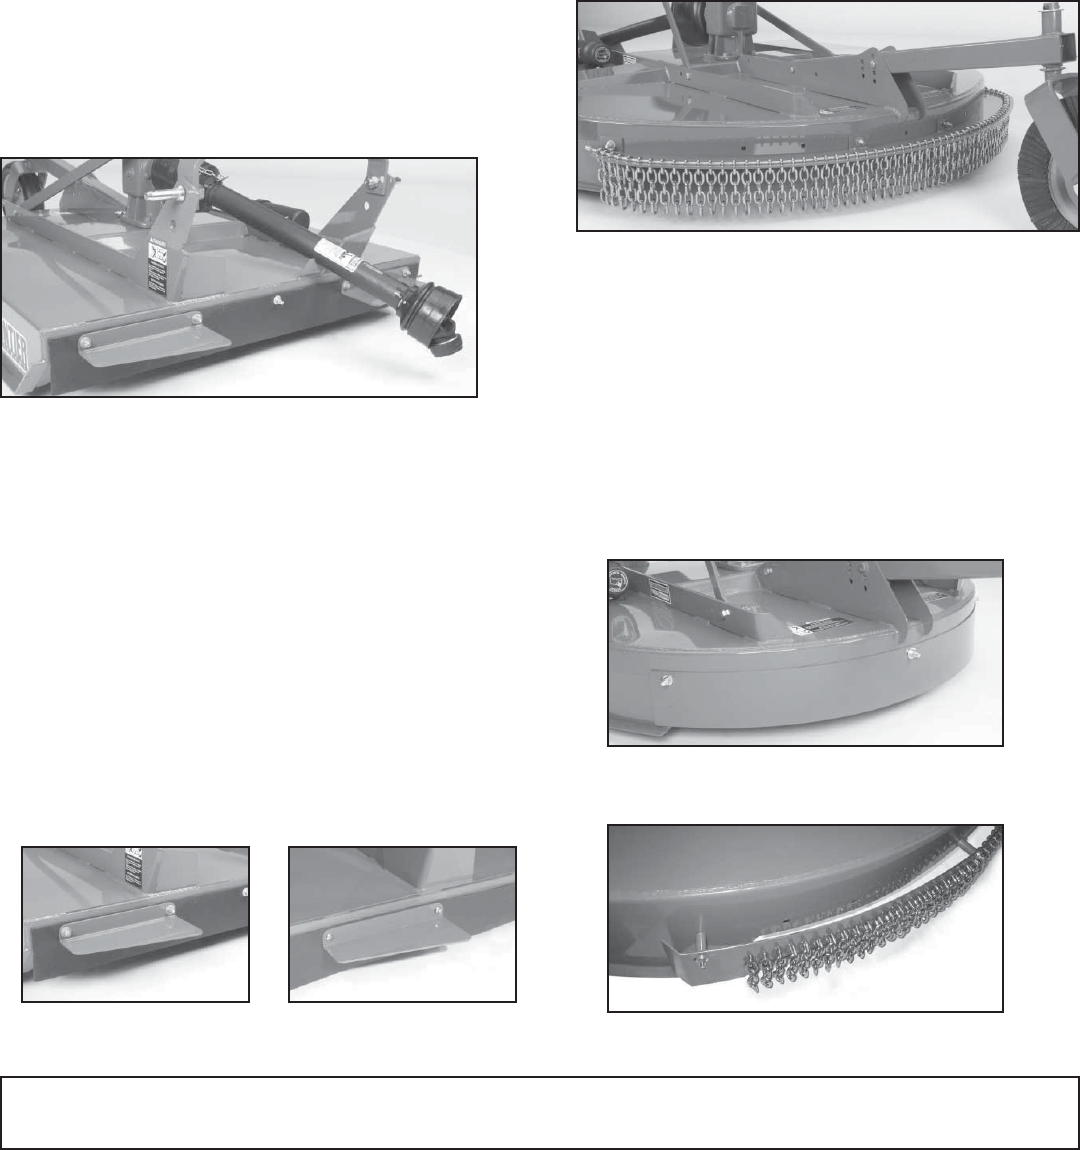
• Install Front Guard-Rubber (If Equipped)
IMPORTANT: Install hardware with lock nuts and fl at
washers on the outside of cutter.
1. Install guard using two (2) foot guards (See
INSTALL FOOT GUARDS in this section) and
provided carriage bolts, fl at washers, and lock nuts.
Insert bolts and fl at washer from inside out of rotary
cutter.
2. Start with holes closest to center of machine and
work towards outside edge of the rotary cutter,
inserting carriage bolts and fl at washers.
3. For best results, stretch rubber towards outside
edge of rotary cutter as lock nuts are tightened.
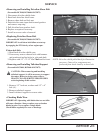
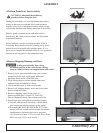
• Install Foot Guards (If Equipped)
NOTE: Foot guards are also used with rubber
front safety shield.
IMPORTANT: Install hardware with lock nuts and fl at
washers on the outside of cutter.
1. Install guards on each side of machine with long
leg toward center of cutter and fasten with the
two (2) carriage bolts, fl at washers and lock
nuts provided per guard. Insert carriage bolts and
fl at washer from inside out of rotary cutter.
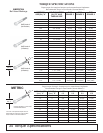
Tighten hardware to specifi cations in torque chart.
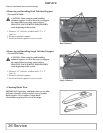
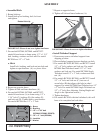
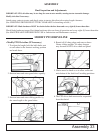
• Install Rear Guard-Chains (If Equipped)
IMPORTANT: Install hardware with lock nuts and fl at
washers on the outside of cutter.
1. Install guard using provided carriage bolts, fl at
washers, and lock nuts. Insert carriage bolt and fl at
washer from inside out of rotary cutter. Tighten
hardware to specifi cations in torque chart.
32 Assembly
RC2048 & RC2060 Model
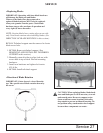
IMPORTANT: Install hardware with lock nuts and fl at
washers on the outside of cutter.
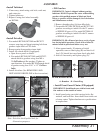
• Install Rear Guard-Metal (If Equipped)
RC2072 & RC2084 Model
1. Install guard using provided carriage bolts, fl at
washers, and lock nuts. Insert carriage bolt and fl at
washer from inside out of rotary cutter. Tighten
hardware to specifi cations in torque chart.
(Models RC2048, RC2060 & RC2072)
(Model RC2084)


