SERVICE
• Practice Safe Service Procedures
CAUTION: To help prevent personal injury
caused by unexpected movement, be sure to
service machine on a level surface.
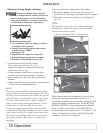
Before servicing or adjusting machine connected to a tractor:
1. Lower machine to the ground.
2. Engage tractor parking brake and/or place
transmission in “Park”.
3. Disengage PTO.
4. Shut off tractor engine and remove key.
5. Wait until all moving parts have stopped.
6. Disconnect PTO driveline from tractor.
The blades and blade pan may rotate for several minutes
after PTO is shut off. Look and listen for rotating
driveline to stop before working on the cutter.
When servicing blades or blade pan, it will be
necessary to work underneath cutter. Be sure to
support cutter frame at all four corner locations with
safety shop stands to prevent accidental lowering.
Do not position safety stands under wheel support
because these components can rotate.
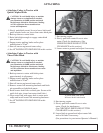
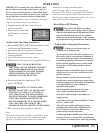
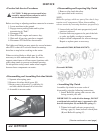
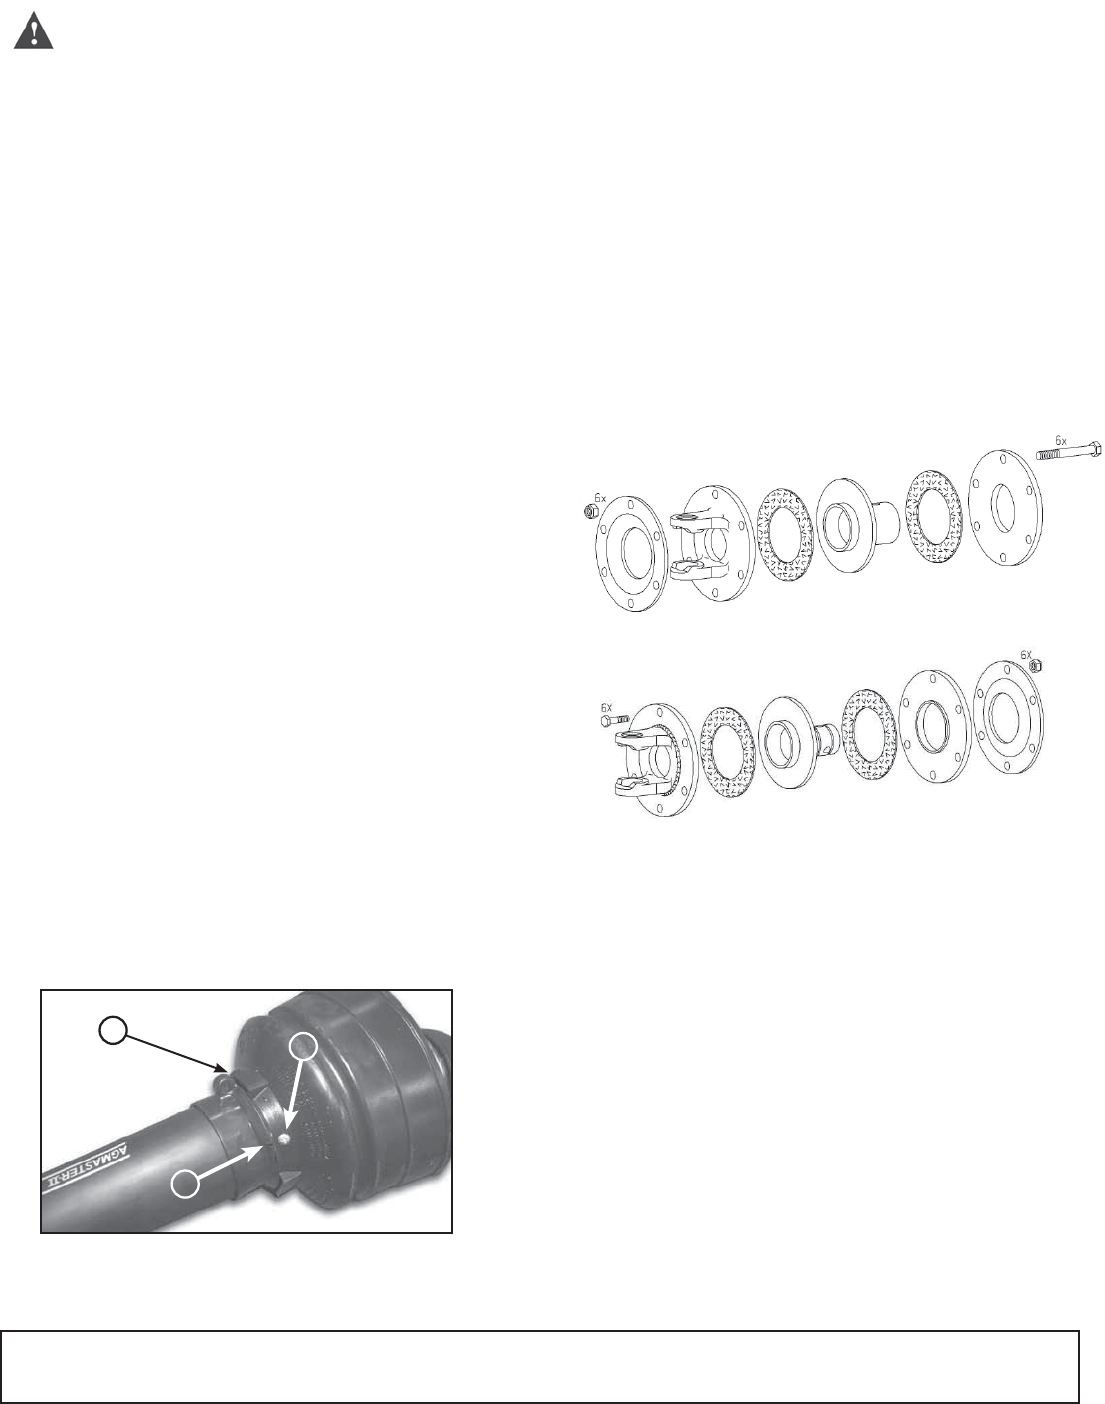
• Disassembling and Assembling Driveline Shields
1. Separate telescoping parts.
2. Remove driveline shield screw (B).
3. Rotate cone to align tab (C) with hole (A)
and slide shield rearward off of driveline.
4. Assemble in reverse order.
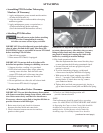
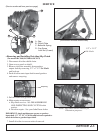
• Disassembling and Inspecting Slip Clutch
1. Remove slip clutch driveline.
(See procedure in this section.)
NOTE:
Belleville springs, which are part of the clutch, keep
tension on all components. When disassembling,
release tension by loosening hardware progressively.
2. Loosen bolts and lock nuts progressively until
tension is relieved.
3. Friction disks may appear to be part of the hub
or yoke, tap lightly on edge to separate.
4. Inspect clutch components for wear or damage.
Repair or replace parts as necessary.
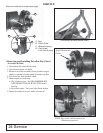
• Assembling Slip Clutch
Assemble slip clutch in reverse order of
disassembly using the following instructions:
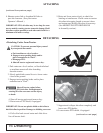
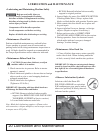
1. Install Belleville spring with concave side
facing towards yoke end.
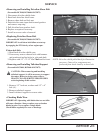
IMPORTANT: To avoid driveline damage, DO NOT
overtighten bolts and lock nuts. A gap must be left
between clutch plate (B) and Belleville spring (C).
2. Tighten bolts and lock nuts progressively,
leaving a gap (A) 4mm, between clutch plate
(B) and Belleville spring (C).
(Service continued on next page)
22 Service
A
B
C
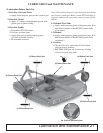
(For models RC2048, RC2060 & RC2072)
(For model RC2084)


