ASSEMBLY
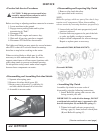
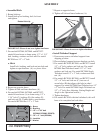
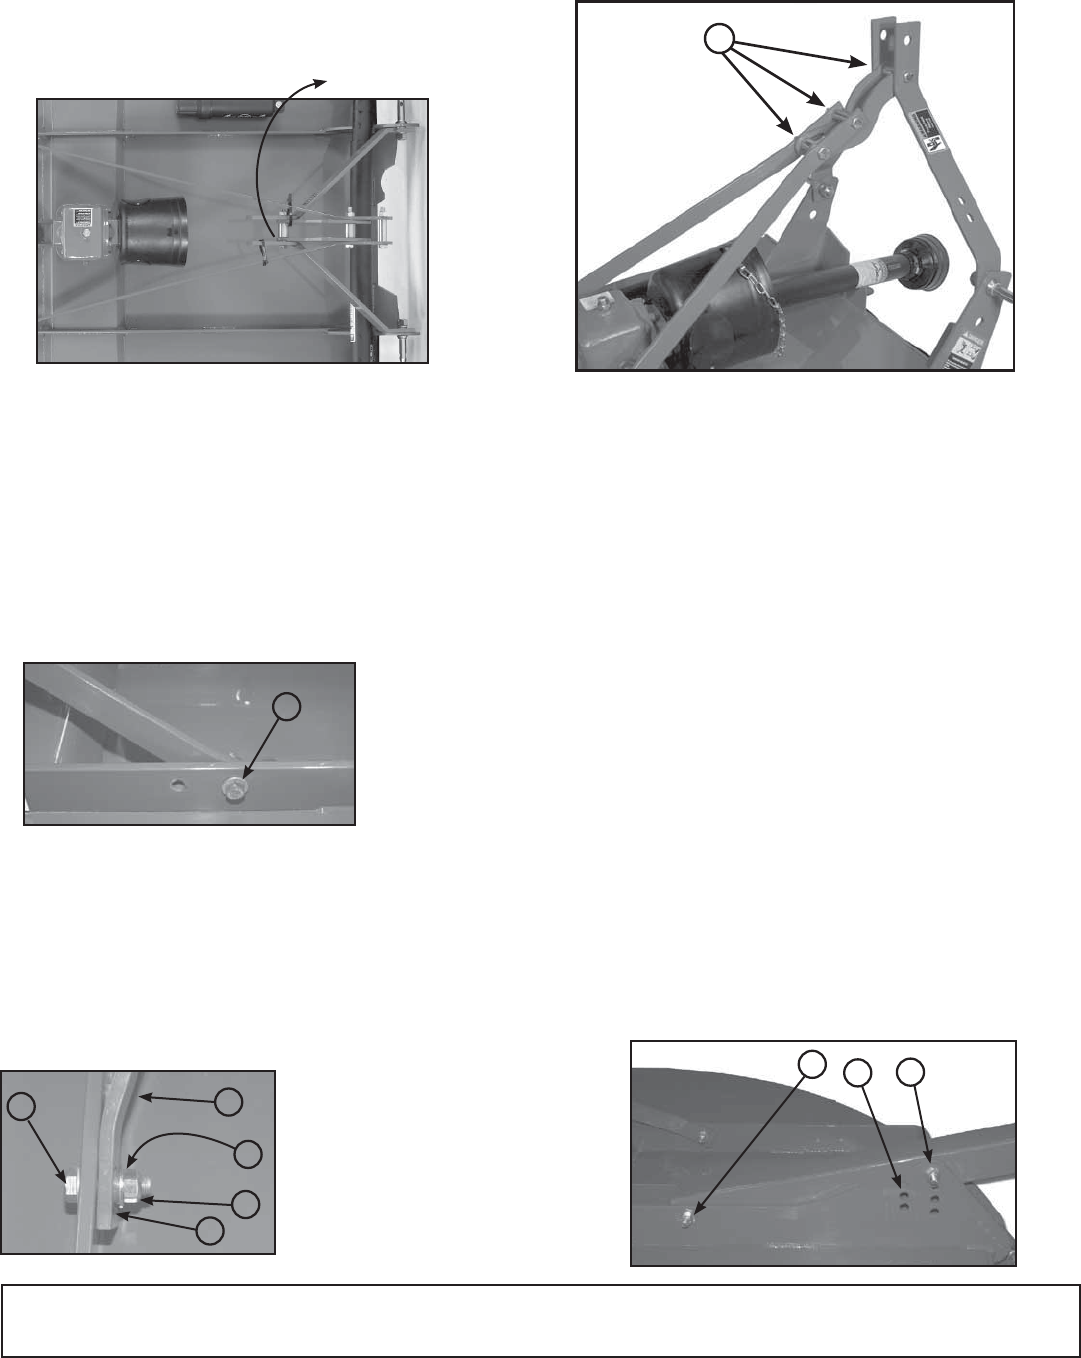
• Assemble Hitch
1. Rotate hitch up.
2. Install hitch pivot bushing, bolt, lock nut
and tighten.
Rotate Hitch Up
IMPORTANT: Please do not over tighten hardware.
4. Repeat on opposite brace.
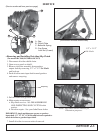
5. Tighten all link and brace hardware (A).
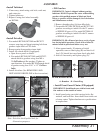
6. For models RC2048, RC2060, and RC2072
attach lift arm brace (A) to frame using 1/2” x
1 3/4” bolt (C), bushing (B), fl at washer (E),
and lock nut (D). Tighten bolt to specifi cation.
For model RC2084 use 1/2” x 3” bolt.
A - Brace
B - Bushing
C - 1/2” x 1 3/4” bolt
(RC2048, RC2060, RC2072)
C - 1/2” x 3 “ bolt (RC2084)
D - Lock Nut
E - Washer
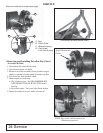
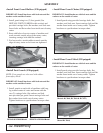
• Install Tailwheel Support
1. If necessary remove tailwheel support from
shipping position.
2. Place tailwheel support between brackets on deck.
3. For models RC2048, RC2060, and RC2072 install
1/2” x 4” bolt, washers and lock nut. For model
RC2084 Dual Tailwheel install 1/2” x 3” bolt,
washers and lock nut. For model RC2084 Single
Tailwheel install 1/2” x 2” bolt, washers and lock
nut. (A)
4. For models RC2048, RC2060, and RC2072 install
1/2” x 4” bolt, and lock nut (C) into one of
seven holes (B) that aligns with hole in wheel
support. For model RC2084 Dual Tailwheel use 1/2”
x 3” bolt. For model RC2084 Single Tailwheel use
1/2” x 2” bolt. (See Adjusting Cutting Height and
Angle in the Operation section.)
5. Tighten hardware.
6. For models RC2084 with dual tailwheels, this will
have to be completed on both sides.
30 Assembly
C
B
A
C
A
E
D
B
7. Repeat on opposite brace.
8. Tighten all link and brace hardware (A).
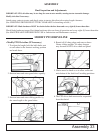
IMPORTANT: Please do not over tighten hardware.
A
3. For models RC2048, RC2060, and RC2072
attach lift arm brace to frame using 1/2” x 1 3/4”
bolt, bushing, washers and lock nut. For model
RC2084 use 1/2” x 3” bolt.
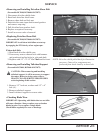
a. Hitch
Install bolt, bushing, and lock nut into hole and
tighten to specifi cations. (A) see photo below
A


