10
WARNING: Material up to a
maximum of 3" in diameter may be fed
into the chipper chute. Do not attempt
to shred or chip any material larger
than 3" in diameter. Personal injury or
damage to the machine could result.
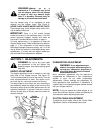
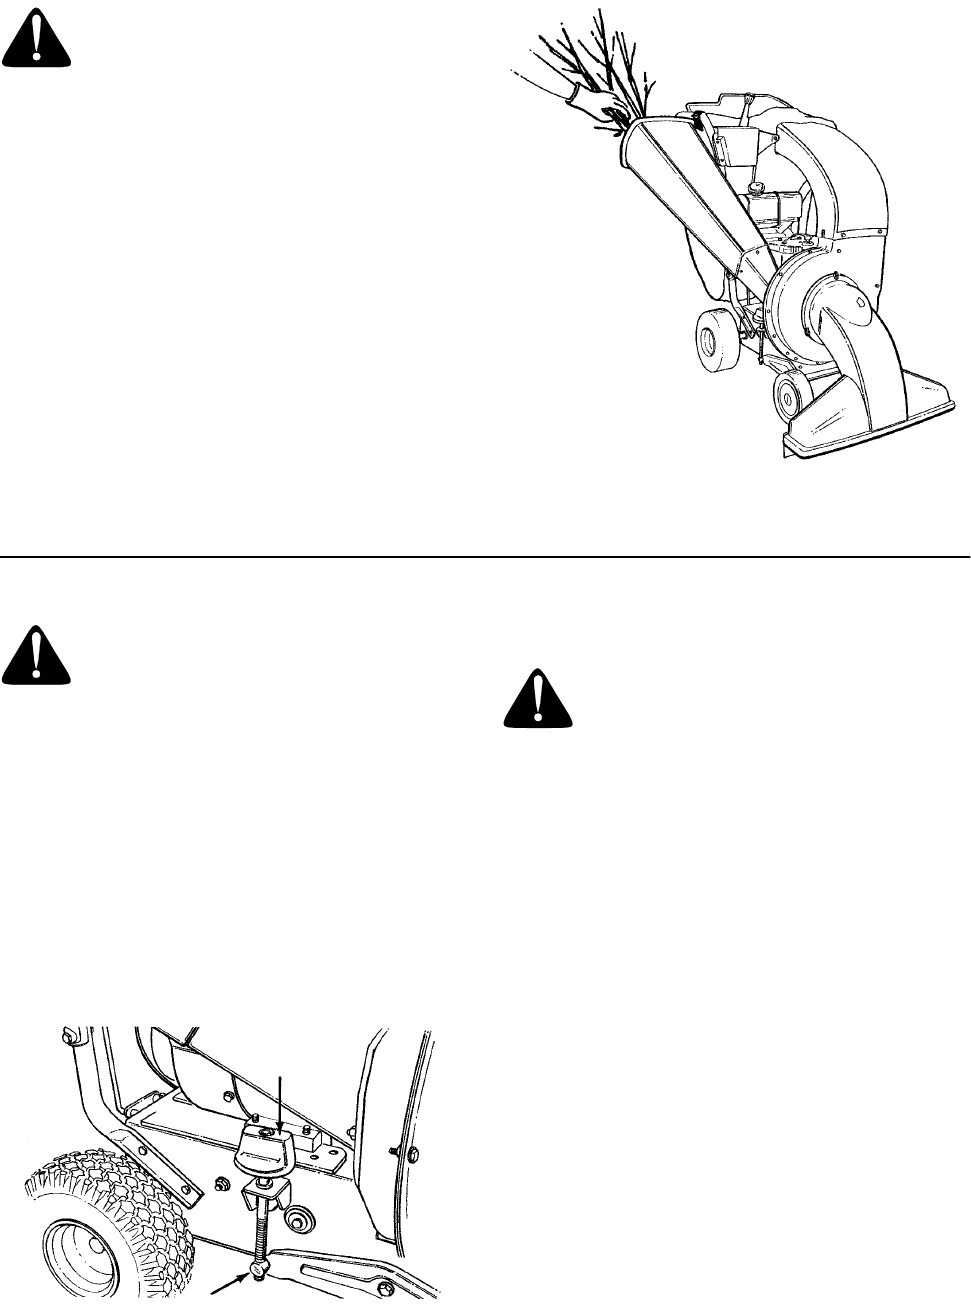
Use the tamper plug (if so equipped) to push
material into the chipper chute. See Figure 8.
NEVER PLACE HANDS INSIDE CHIPPER CHUTE.
Place tamper plug inside chipper chute when not in
use to deaden the sound.
IMPORTANT: There is a flail screen located
inside the housing in the discharge area. If the flail
screen becomes clogged, remove and clean as
instructed in the Maintenance section on page 11.
For best performance, it is important to keep the
chipper blades sharp. Refer to Maintenance section,
page 11. If the composition of the material being
discharged changes (becomes stringy, etc.) or if the
rate at which the material is discharged slows down
considerably, it is likely that the chipper blades are
dull and need to be sharpened or replaced.
Figure 11
SECTION 7: ADJUSTMENTS
WARNING: Do not at any time make
any adjustment to the unit without first
stopping engine and disconnecting spark
plug wire.
HEIGHT ADJUSTMENT
The height adjustment knob is located on the right
hand side of the chipper-vacuum. See figure 12.
Turn the knob clockwise to raise the nozzle. Turn the
knob counterclockwise to lower. (Be careful not to
turn knob too far—rod could come out of ferrule.)
The best height for the nozzle will vary according to
the conditions. Adjust the height of the nozzle to find
the setting which gives the best performance for the
operating conditions. In general, raise the nozzle to
vacuum a thick layer of leaves; lower the nozzle for
smooth surfaces.
Figure 12
CARBURETOR ADJUSTMENT
WARNING: If any adjustments are
made to the engine while the engine is
running (e.g., carburetor), keep clear of
all moving parts. Be careful of heated
surfaces and muffler.
Minor carburetor adjustment may be required to
compensate for differences in fuel, temperature,
altitude or load. Do not make unnecessary
adjustments. Factory settings are satisfactory for
most applications and conditions. If adjustment is
needed, refer to the separate engine manual packed
with your chipper-vacuum.
NOTE: A dirty air cleaner will cause engine to run
rough. Be certain air cleaner is clean and attached to
the carburetor before adjusting carburetor.
CLUTCH CABLE ADJUSTMENT
To adjust the clutch cable, refer to the “Clutch Cable
Adjustment” section of Assembly Instructions.
Height
Adjustment
Knob
Ferrule


