


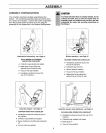
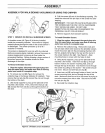

ASSEMBLY
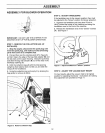
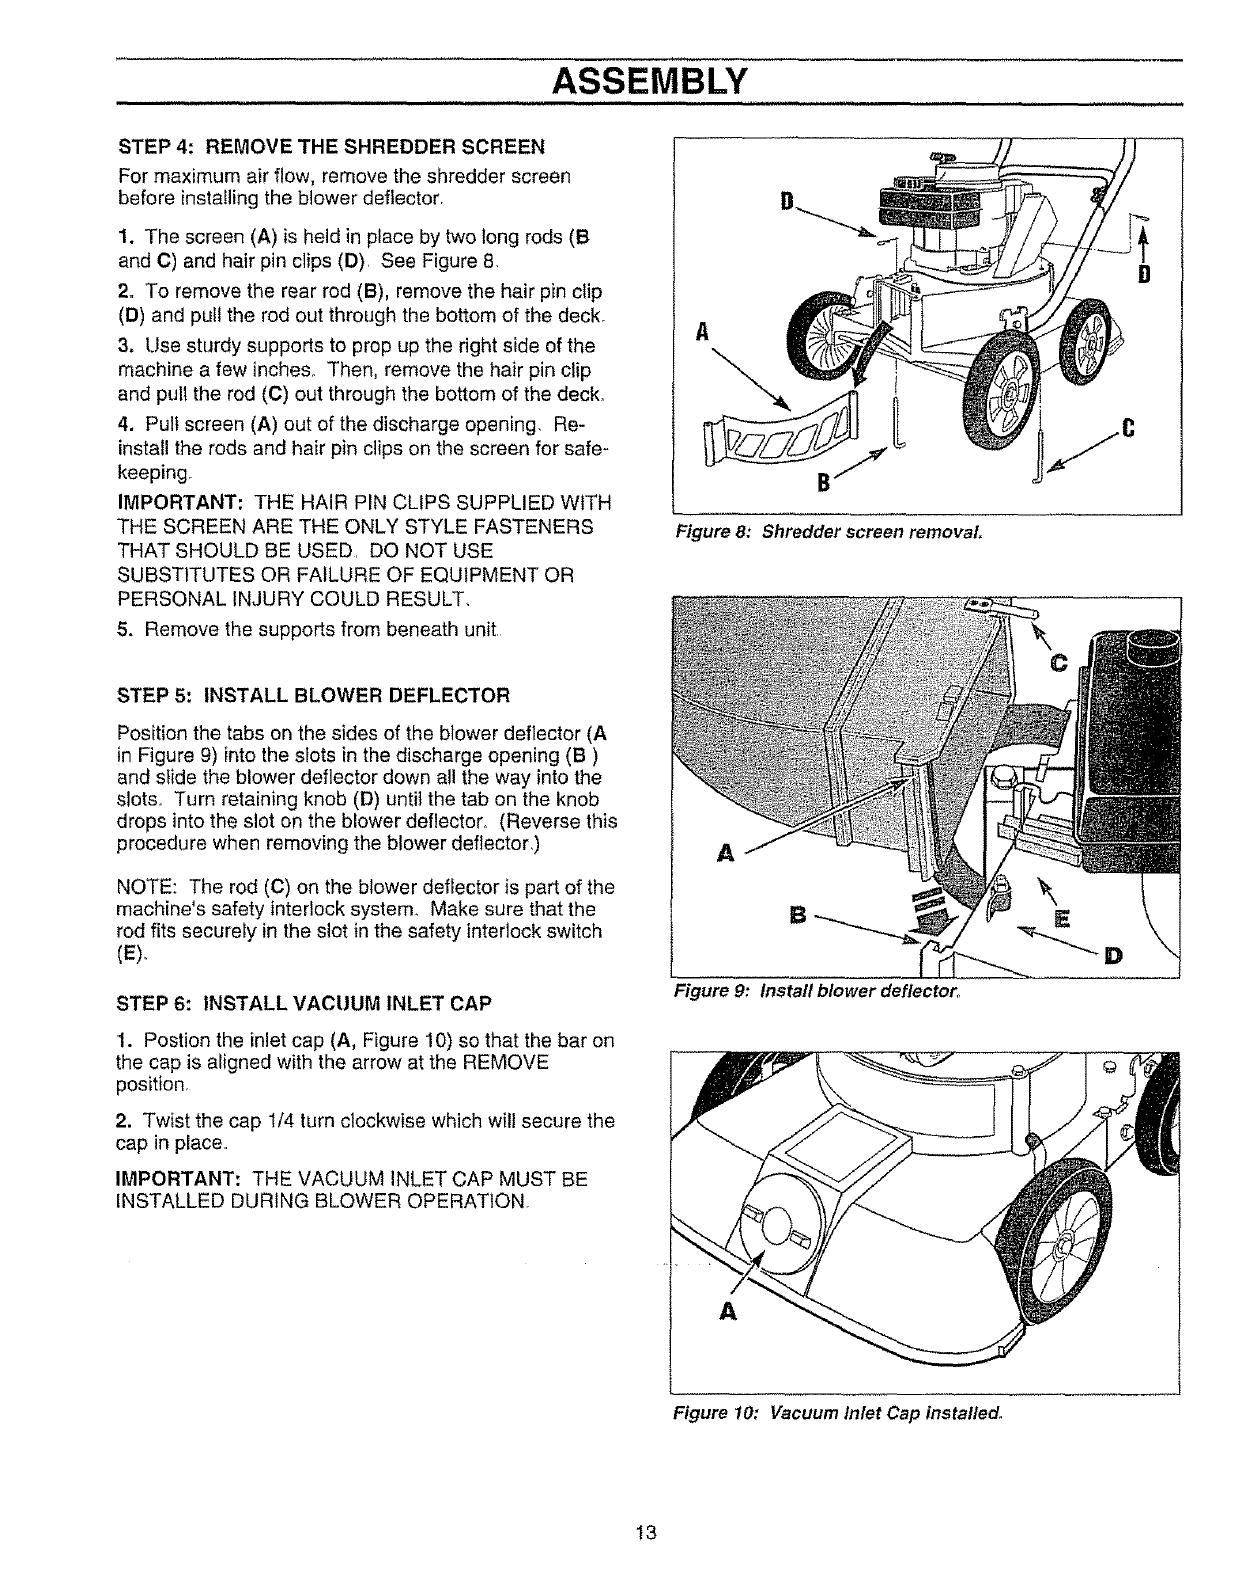
STEP 4: REMOVE THE SHREDDER SCREEN
For maximum air flow, remove the shredder screen
before insta!iing the blower deflector
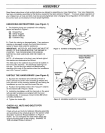
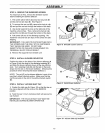
1. The screen (A) is held in place by two long rods (B
and C) and hair pin clips (D), See Figure 8,
2. To remove the rear rod (B), remove the hair pin clip
(D) and pull the rod out through the bottom of the deck°
3. Use sturdy supports to prop up the right side of the
machine a few inches,. Then, remove the hair pin clip
and pull the rod (C) out through the bottom of the deck,
4. Pull screen (A) out of the discharge opening, Re-
install the rods and hair pin clips on the screen for safe-
keeping_
IMPORTANT: THE HAIR PIN CLIPS SUPPLIED WITH
THE SCREEN ARE THE ONLY STYLE FASTENERS
THAT SHOULD BE USED, DO NOT USE
SUBSTITUTES OR FAILURE OF EQUIPMENT OR
PERSONAL iNJURY COULD RESULT,
5. Remove the supports from beneath unit
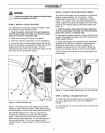
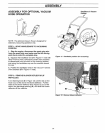
STEP 5: INSTALL BLOWER DEFLECTOR
Position the tabs on the sides of the blower deflector (A
in Figure 9) into the slots in the discharge opening (B)
and slide the blower deflector down all the way into the
slots, Turn retaining knob (D) until the tab on the knob
drops into the slot on the blower deflector° (Reverse this
procedure when removing the blower deflector,)
NOTE: The rod (C) on the blower deflector is part of the
machine's safety interlock system, Make sure that the
rod fits securely in the slot in the safety interlock switch
(E).
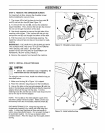
STEP 6: INSTALL VACUUM INLET CAP
1. Postion the inlet cap (A, Figure 10) so that the bar on
the cap is aligned with the arrow at the REMOVE
position,
2. Twist the cap 1/4 turn clockwise which will secure the
cap in place.,
IMPORTANT: THE VACUUM INLET CAP MUST BE
iNSTALLED DURING BLOWER OPERATION,
Figure 8: Shredder screen removal
Figure 9: Install blower deflector,.
D
A
Figure 10: Vacuum Inlet Cap installed,
13