Cisco Confidential - Draft 1
2-16
Cisco Aironet 1500 Series Outdoor Mesh Access Point Hardware Installation Guide
OL-9977-05
Chapter 2 Mounting Instructions
Mounting the Access Point
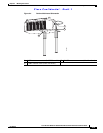
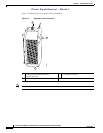
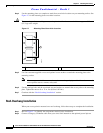
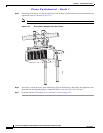
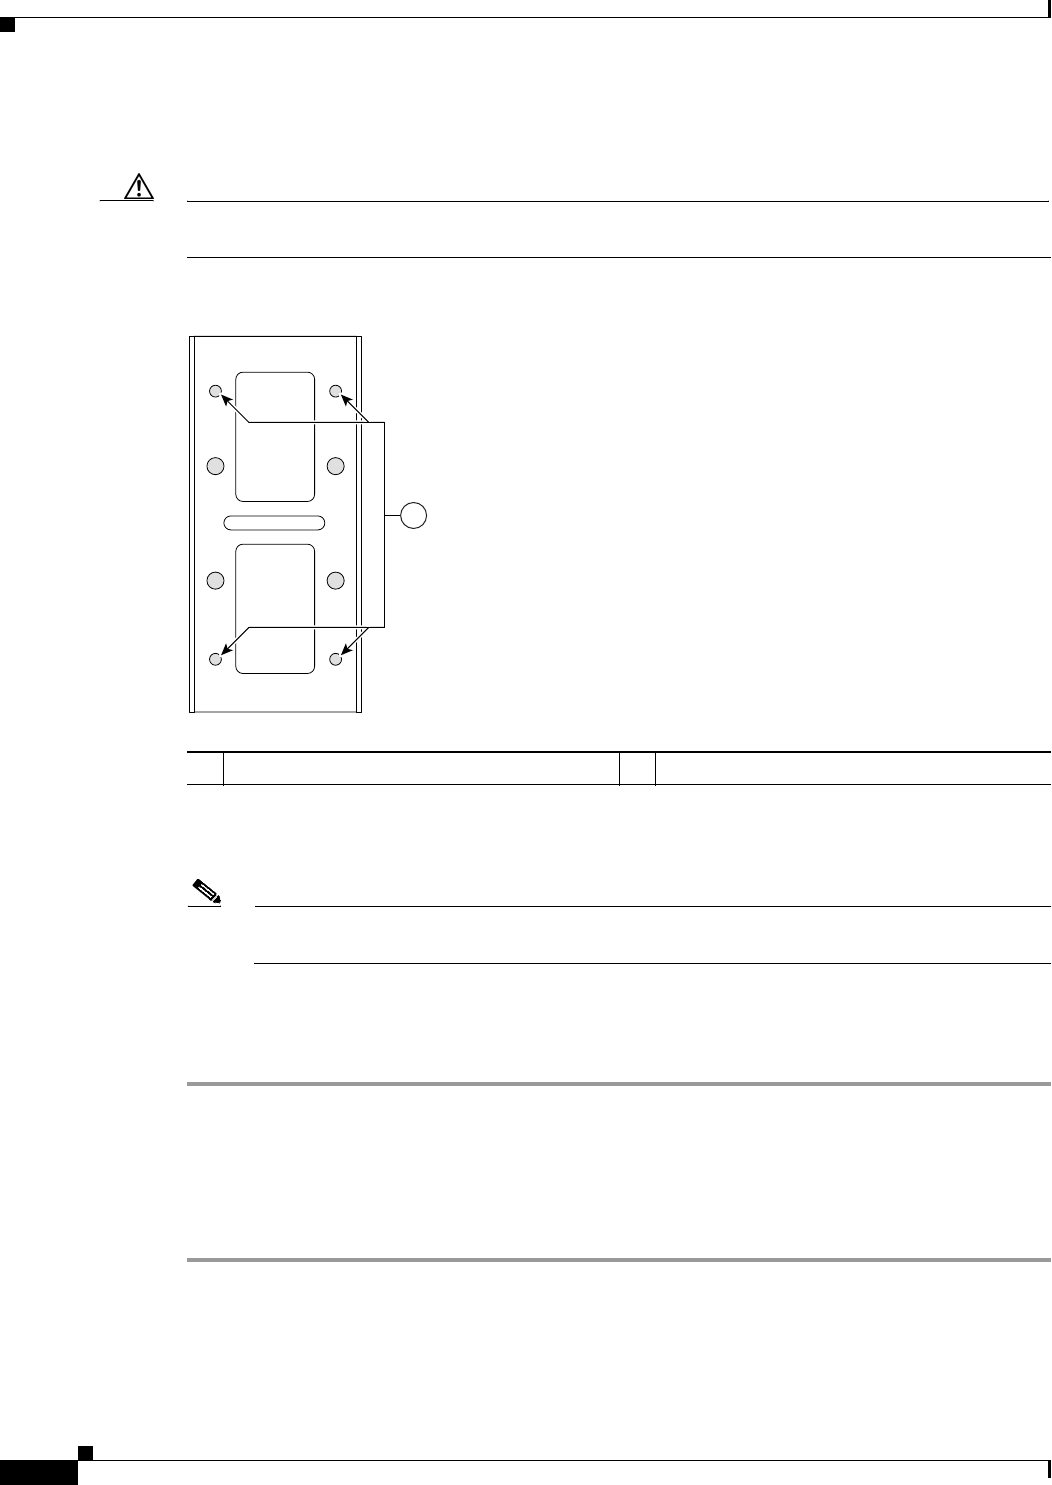
Step 4 Use the mounting plate as a template to mark four screw hole locations on your mounting surface. See
Figure 2-7 for the mounting plate screw hole locations.
Caution The mounting surface, attaching screws, and optional wall anchors must be able to support a 50 lbs
(22.7 kg) static weight.
Figure 2-7 Mounting Plate Screw Hole Locations
Step 5 Use four customer-supplied screws and optional screw anchors to attach the mounting plate to the
mounting surface.
Note If necessary, use suitable screw anchors and an exterior-grade plywood backboard to mount the
access point to stucco, cement, or drywall.
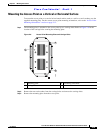
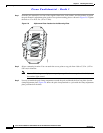
Step 6 Use the carriage bolts and the associated nuts and washers to reattach the access point to the mounting
plate. Tighten the nuts to 61 to 71 in. lbs (6.89 to 8.02 Nm).
Step 7 Continue with the “Roof-Overhang Installation” section.
Roof-Overhang Installation
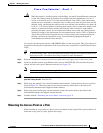
When your access point is mounted on a roof overhang, follow these steps to complete the installation:
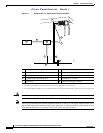
Step 1 Review Figure 2-1 to identify the components needed for the installation.
Step 2 Connect a Category 5 Ethernet cable from your wired LAN network to the optional power injector.
1 Four locations
142684
1


