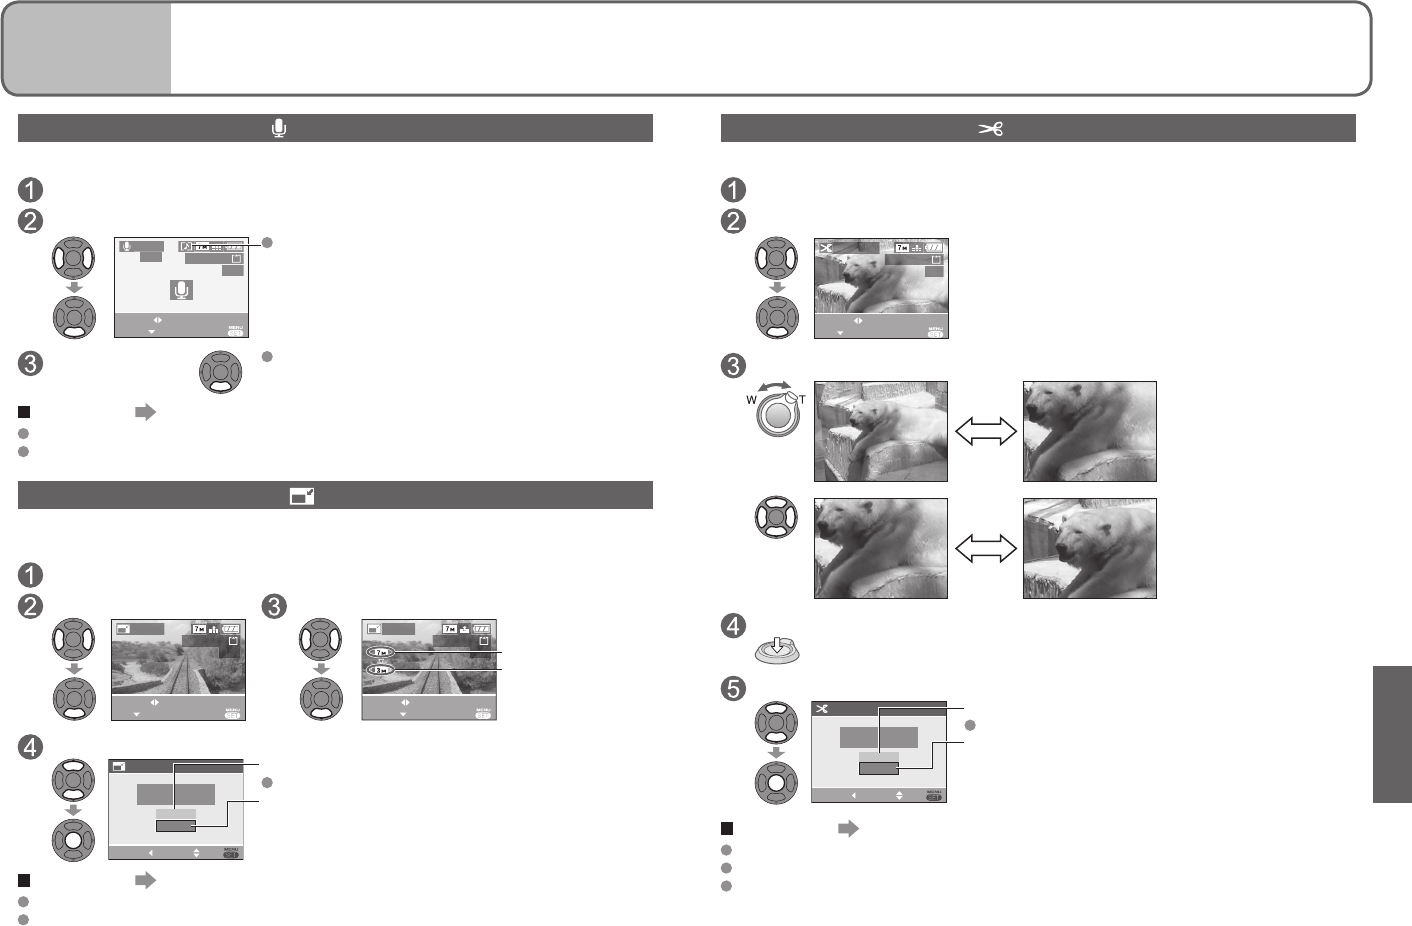
TRIMMING
Enlarge your pictures and trim unwanted areas.
Select ‘TRIMMING’ from PLAY menu (P.17, 18)
Select picture
1/3
100-0001
SELECT
SET EXIT
TRIMMING
Select area to trim
Expand
Reduce
Change
position
Trim
Select whether to delete original picture
CANCEL SETSELECT
TRIMMING
NO
YES
DELETE ORIGINAL
PICTURE ?
YES’: Trim (Original picture deleted)
Select ‘NO’ for protected pictures (P.69).
‘NO’: Create new, trimmed picture (Original picture
remains)
To complete Press ‘MENU/SET’ twice.
Picture quality is reduced after trimming.
Cannot be used with motion pictures, pictures with audio, or pictures with date stamp.
May not be compatible with pictures taken on other devices.
AUDIO DUB.
Add audio to previously taken pictures.
Select ‘AUDIO DUB.’ from PLAY menu (P.17, 18)
Select image and start recording
1/13
100-0001
EXIT
START
SELECT
AUDIO
DUB.
For files already with audio, select whether or not to
overwrite existing audio with ▲▼, and press ‘MENU/
SET’.
Stop recording
Recording will automatically end after 10 seconds,
even if ▼ is not pressed.
To complete Press ‘MENU/SET’ twice.
Cannot be used with motion pictures or protected pictures (P.69).
May not be compatible with pictures taken on other devices.
RESIZE
Picture size can be reduced to facilitate e-mail attachment and use in homepages, etc.
(Picture of minimum picture size for each aspect setting cannot be resized.)
Select ‘RESIZE’ from PLAY menu (P.17, 18)
Select picture Select size
1/13
100-0001
EXIT
RESIZE
SELECT
SET
1/13
100-0001
EXIT
SELECT
RESIZE
RESIZE
Current size
Size after change
Select whether to delete original picture
CANCEL SETSELECT
RESIZE
DELETE ORIGINAL
PICTURE ?
NO
YES
‘YES’: Resize (Original picture deleted)
Select ‘NO’ for protected pictures (P.69).
‘NO’: Create new, resized picture (Original picture
remains)
To complete Press ‘MENU/SET’ twice.
Cannot be used with motion pictures, pictures with audio, or pictures with date stamp.
May not be compatible with pictures taken on other devices.
Applications
(View)
4
Using PLAY menu (Continued)


