


32 Assembly
MAN0556 (9/21/2007)
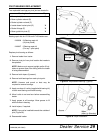
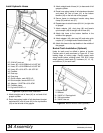
Pin-On Bucket Installation (LF138 Only)
1. Remove loader pins and bucket pins from the
bucket mounting lugs.
2. Attach lower holes on bucket to loader boom using
pins and hardware provided.
3. Extend bucket cylinder and attach bucket links to
the upper holes on the bucket using pins and
hardware provided. See Figure 37.
Figure 37. Pin On Bucket Installed (Typical)
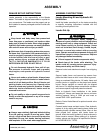
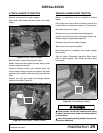
Quick Attach Coupler Installation
(Optional on LF138)
Figure 38. Quick Attach Coupler Installed
1. Remove attachment coupler from bucket.
2. Position quick attach coupler on the ground in front
of the loader frame.
3. Attach quick attach coupler (lower holes) to end of
loader boom using pins and retaining hardware
that came with the quick attach coupler, Figure 38.
4. Attach bucket linkage to the upper holes and
secure.
NOTE: To ease installation of bucket link, extend
bucket cylinders. Plugs in hydraulic feedlines may
need to be removed.
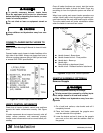
Bucket Connection to Quick Attach
Coupler
See connect bucket or attachment using Quick Attach
Coupler, page 13 to connect bucket.
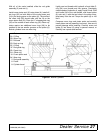
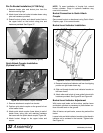
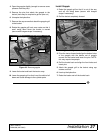
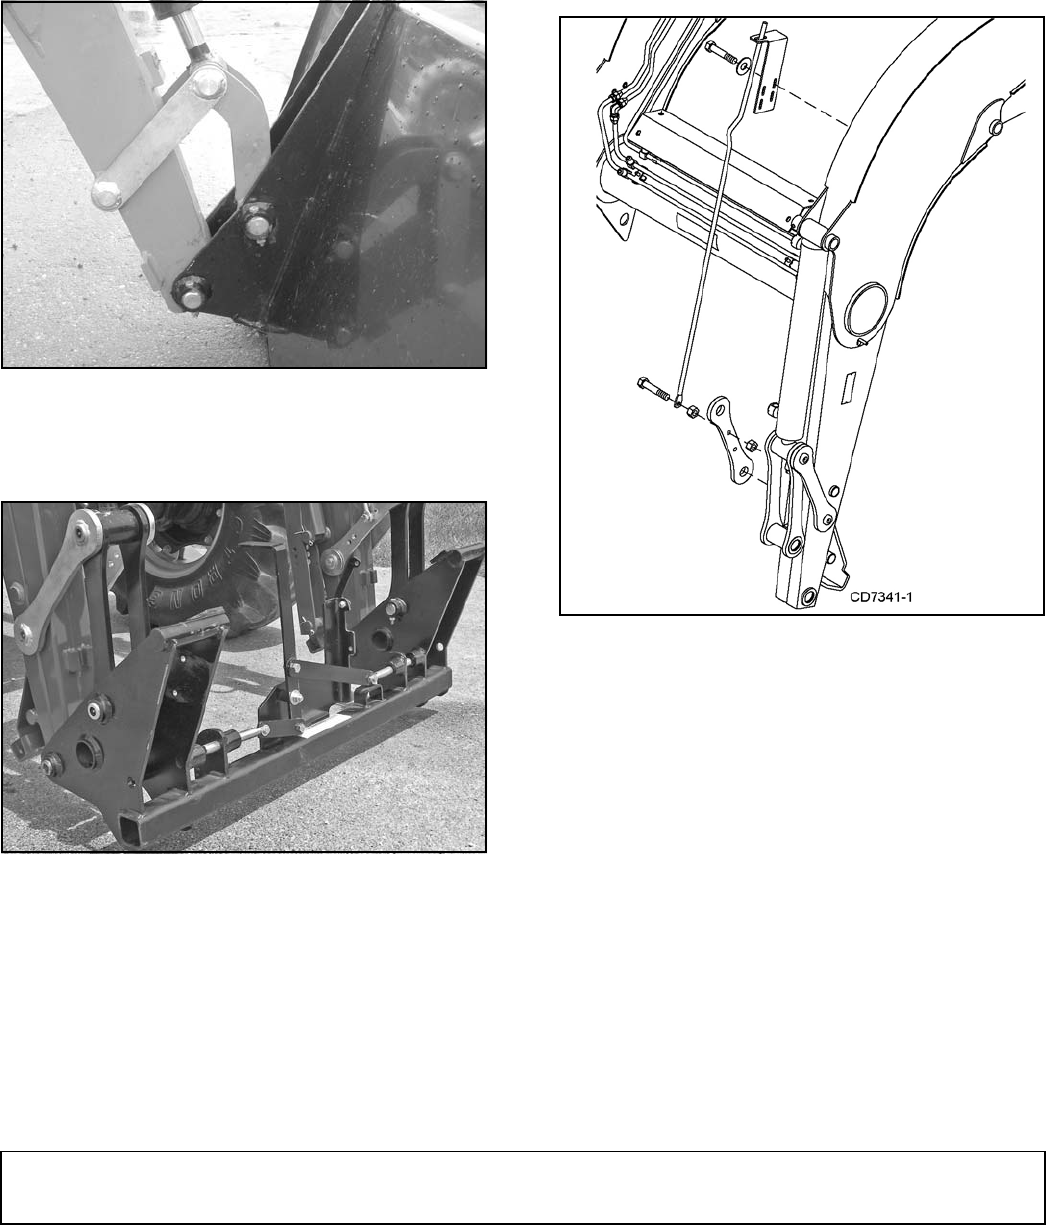
Bucket Level Indicator Installation
Figure 39. Bucket Level Indicator Installation
1. Remove bucket level indicator rod from its shipping
position on right loader boom leg.
2. Slide rod through bucket level indicator bracket on
left boom frame.
3. Attach other end to hole in inner guide link and with
hardware provided. See Figure 39 and Figure 40.
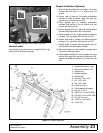
Bucket Level Indicator Adjustment
With tractor and loader on flat surface, position boom
and bucket cylinders as necessary to place bottom sur-
face of bucket level on the ground.
Shut off tractor, set park brake, remove key and exit the
tractor.
Loosen bolts and slide indicator bracket so that bend in
indicator rod is centered in the bracket. Tighten bolts.
See Figure 40.