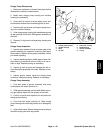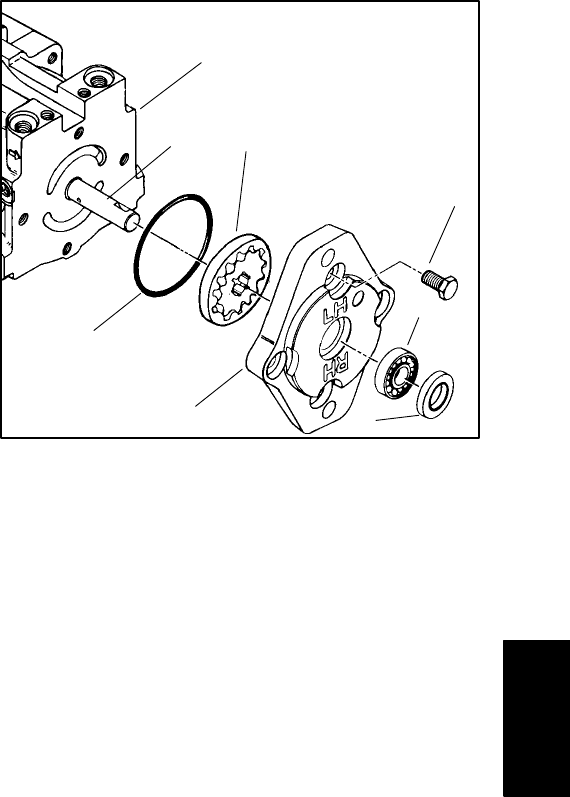
Charge Pump Disassembly
1. Make sure hydrostat is cleaned thoroughly before
disassembly to prevent contamination.
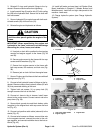
2. Match mark charge pump housing and variable
housing for reassembly.
3. Clean shaft to remove all sharp edges, burrs, dirt,
and abrasive residue that could damage the lip seal.
4. Remove both cap screws securing the pump hous-
ing to the variable housing.
5. Slide charge pump housing with needle bearing and
lip seal carefully off the shaft. Slide gerotor assembly off
the shaft.
6. Remove O–ring from the charge pump housing and
discard.
Charge Pump Inspection
1. Inspect wear surfaces of inner and outer gear of the
gerotor assembly for excessive scratching and heavy
wear patterns. Replace entire gerotor assembly if either
part needs replacing.
2. Inspect needle bearing for visible signs of wear. Re-
place bearing if needles do not turn freely or do not re-
main in cage. Replace bearing as necessary.
3. Inspect lip seal for tears and damage that will re-
duce the sealing properties of the seal. Replace as nec-
essary.
4. Inspect gerotor pocket inside the charge pump
housing of excessive scoring. Replace as necessary.
Charge Pump Assembly
1. Coat both sides of gerotor assembly and pump
housing face with clean hydraulic oil.
2. Slide gerotor assembly onto the shaft. Make sure in-
ner gear splines mesh with the splines on the shaft.
3. Coat O–ring with clean hydraulic oil and place into
charge pump housing.
4. Coat shaft with clean hydraulic oil. Slide charge
pump housing onto shaft being careful not to damage lip
seal.
5. Align match marks. Secure charge pump housing to
variable housing with both cap screws.
2
8
1
7
5
6
4
3
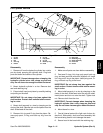
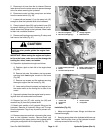
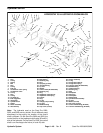
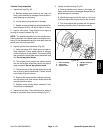
Figure 41
1. Charge pump housing 5. Cap screw (4 used)
2. Variable housing 6. Needle bearing
3. Shaft 7. Gerotor assembly
4. Lip seal 8. O–ring
Hydraulic
Systems
Sand Pro 2020/3020/5020 Page 4 – 49 Hydraulic System (Rev. A)


