Service and Repairs
Check Hydraulic Lines and Hoses
nozzles that eject hydraulic fluid under high pres-
sure. Use paper or cardboard, not hands, to
within a few hours by a doctor familiar with this
WARNING
Keep body and hands away from pin hole leaks or
search for leaks. Hydraulic fluid escaping under
pressure can have sufficient force to penetrate
the skin and cause serious injury. If fluid is in-
jected into the skin, it must be surgically removed
type of injury. Gangrene may result from such an
injury.
Check hydraulic lines and hoses daily for leaks, kinked
lines, loose mounting supports, wear, loose fittings,
weather deterioration and chemical deterioration. Make
all necessary repairs before operating.
Charge Hydraulic System
NOTE: When initially starting the hydraulic system with
new or rebuilt components such as motors, pumps, or
lift cylinders, it is important that the hydraulic system be
charged properly. Air must be purged from the system
and its components to reduce the chance of damage.
IMPORTANT: Change hydraulic oil filter whenever
hydraulic components are repaired or replaced.
1. Park machine on a level surface, and turn the en-
gine off.
2. Make sure all hydraulic connections, lines, and
components are secured tightly.
3. If component failure was severe or the system is
contaminated, flush and refill hydraulic system and tank
(see Flush Hydraulic System).
4. Make sure hydraulic tank is full. Add correct oil if
necessary (see Check Hydraulic System Fluid).
5. Disconnect spark plug leads to prevent the engine
from starting.
6. Check control linkage to the hydrostat for proper ad-
justment, binding, or broken parts.
7. Make sure traction pedal and the lift control lever are
in the neutral position. Turn ignition key switch; engage
starter for fifteen (15) seconds to prime the traction and
charge pumps.
8. Reconnect spark plug leads.
9. On the SP 2020/3020, pivot seat upward and re-
move engine shield. On the SP 5020, remove cap
screws that secure side panel to right side of machine.
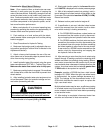
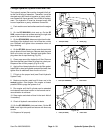
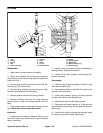
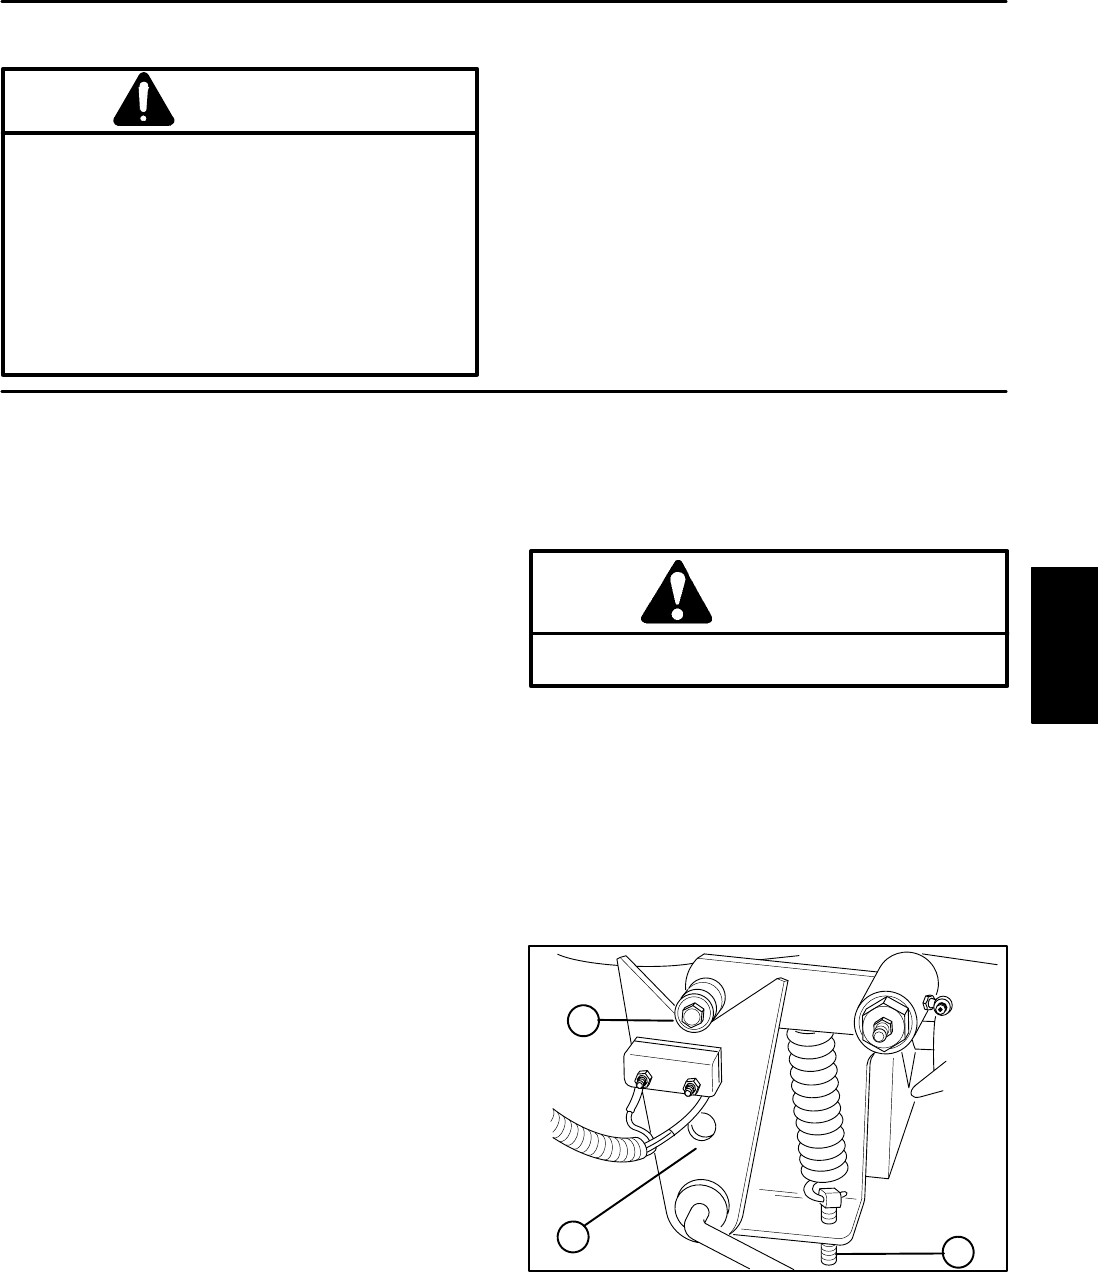
10. Loosen lock nut on spring adjusting pin until bearing
moves freely from cam. The pump shaft must be free to
rotate during start–up.
WARNING
Before jacking up the machine, review and follow
Jacking Instructions in Chapter 1 – Safety.
11. Raise one rear wheel off the floor, and place support
blocks under frame. Chock remaining wheels to prevent
movement of the machine.
12. Make sure traction pedal and lift control lever are in
neutral. Start engine and run it at low idle of 1800 rpm.
The charge pump should pick up oil and fill the hydraulic
system. If there is no indication of fill in 30 seconds, stop
the engine and determine the cause.
1
3
2
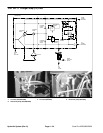
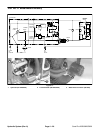
Figure 21
1. Spring adjusting pin 3. Cam
2. Bearing
Hydraulic
Systems
Sand Pro 2020/3020/5020 Page 4 – 31 Hydraulic System (Rev. A)


