


Operation Section 4-4Turf Flex 08-01
OPERATION
© 2004 Alamo Group Inc.
OPERATION
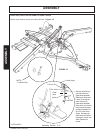
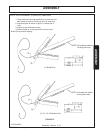
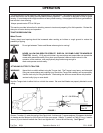
DRIVELINE ATTACHMENT TO TRACTOR
1. Grasp and pull collar on end of attaching yoke toward mower.
2. Slide yoke (with collar depressed) onto PTO shaft.
3. Move yoke back and forth until locking collar clicks forward and locks the yoke in place.
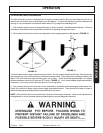
WARNING! When attaching PTO yoke to tractor PTO shaft, it is important that spring activated locking
collar slides freely and is seated in groove on PTO shaft.
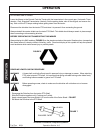
WARNING! Be sure PTO shielding and all other shielding is installed and is in good condition.
WARNING! Avoid personal injury! Be sure tractor engine is off, key is removed, and ALLOW BLADES TO
STOP TURNING before dismounting to make adjustments.
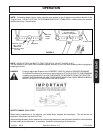
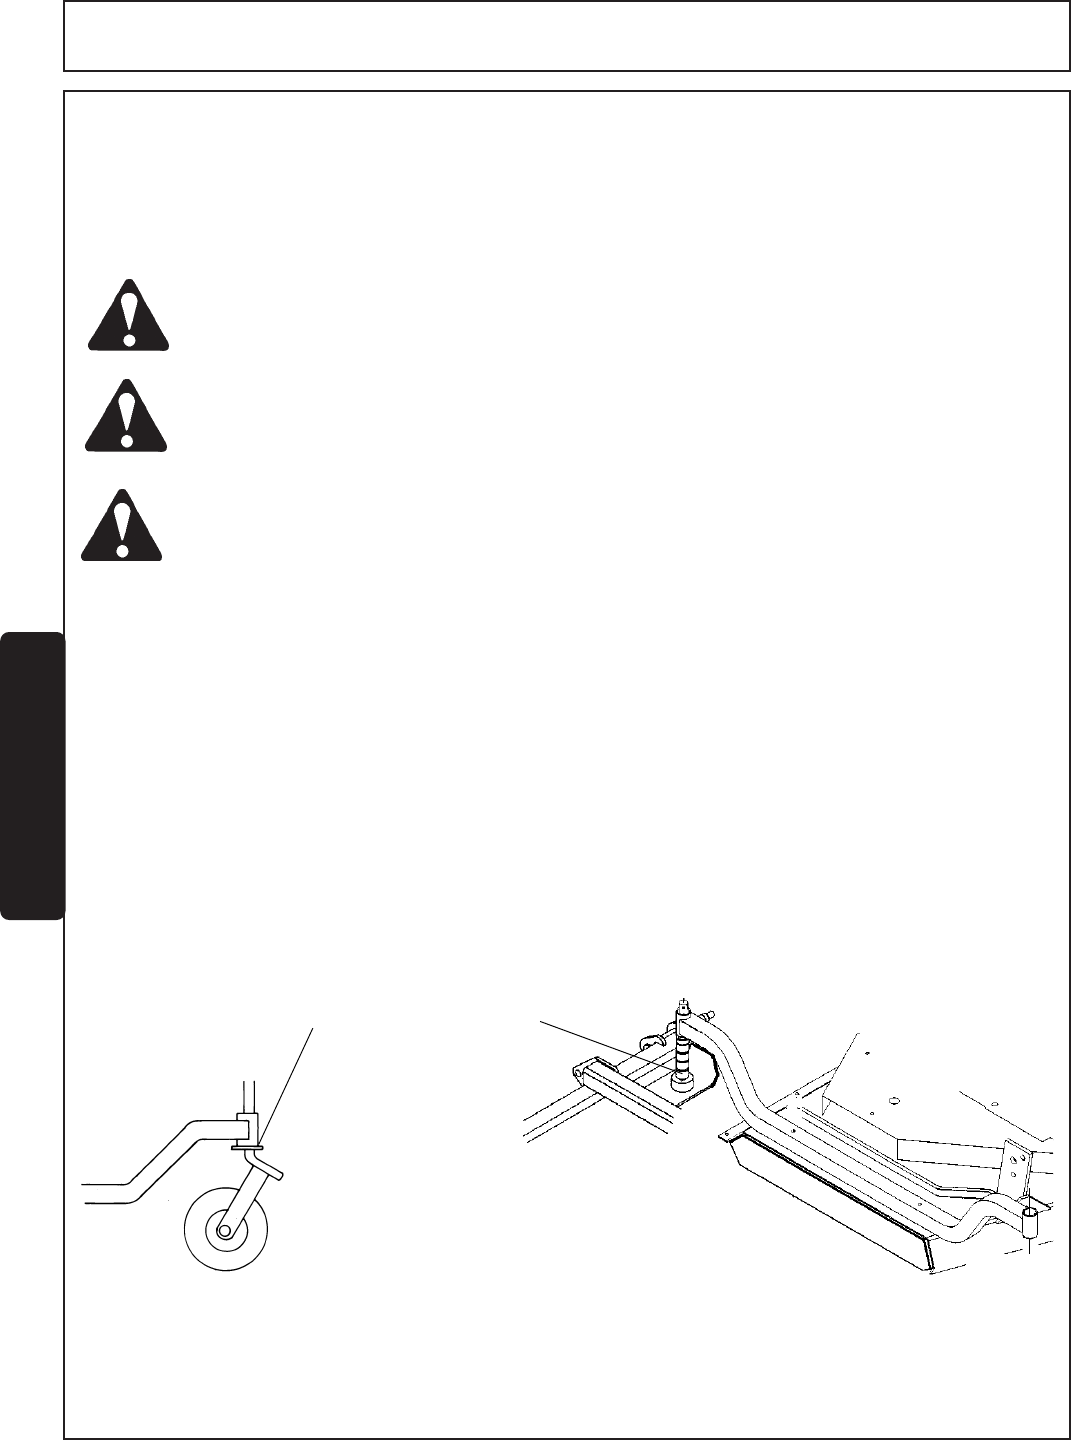
CUTTING HEIGHT ADJUSTMENT
IMPORTANT: When operating, remote valve lever must be in detent position to allow mower heads to follow
ground contour. (Float)
IMPORTANT: Avoid very low cutting heights. Striking the ground with blades gives the most damaging shock
loads a cutter can encounter and will cause damage to cutter and drive system.
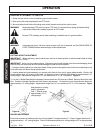
1. Using the tractor hydraulics, raise the mowers off the ground and support under it with secure blocking so not
to let the mower drift down during maintenance.
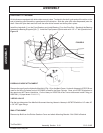
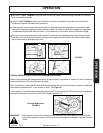
2. Holding wheel and yoke assembly up, remove quick-lock pin from top of gauge wheel spindle. Position full
length spacers and 1/4" spacer as required. All spacers on top of spindle tube allows for approximately 1/2"
cutting height. Adjustments range from 1/2" to a maximum of 5" in 1/4" increments. Figure 4.
3. For the 11' Model Shaft Height Adjustment remove quick-lock Pin from top of Shaft. Remove Shaft from Axle
Arm. Position full length Spacers and half Spacers as required. All spacers on top of spindle tube allows for
approximately 1/2" cutting height. Adjustments range from 1/2" to a maximum of 5" in 1/4" increments. Figure
5.
Figure 4 Figure 5
Add spacers for cutting
height adjustment.
One, 1" Spacer gives
approximately 1-1/2"
cutting height.
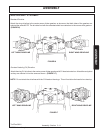
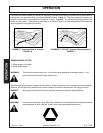
ROLLER ADJUSTMENT
Place roller brackets in lowest position for cutting heights 5" to approximately 3". Place in highest position for 1"
to approximately 1-1/2" cutting heights. Place in intermediate position for cutting heights of 2" to approximately
3".
R 12-13-95