


Powered Walk Behind Mower Part No. 04016067 Rev E © Copyright 6/2005
6
Rover Mowers Ltd
ABN 11 000 257 303
TM
MAINTENANCE (Continued)
REMOTE AIR CLEANER OPTION
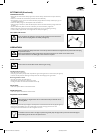
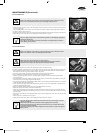
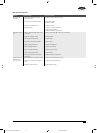
Removing the Remote Mounted Air Cleaner Element (If fitted)
• Keep the air entry vent in the outer housing clear.
• Keep the air cleaner clean and replace if damaged.
• Don’t allow dirt or contaminants to enter the air tube.
• Replace the air cleaner cartridge if damaged or unserviceable.
CAUTION
Note: only some models are fitted with this option. All other models have the air cleaner located on the engine (refer
to the engine manufacturer’s manual).
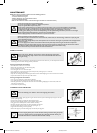
• Unscrew the cap (refer figure 12).
• Remove the air cleaner cartridge.
• Tap the air cleaner cartridge gently on a flat surface to dislodge dirt.
• Replace the clean cartridge with the hole down.
• Replace the cap.
SELF PROPELLED OPTION
Refer to the “Warning” and “Caution” notes at the beginning of the maintenance section.
WARNING
Adjusting the Drive Cable
If cable adjustment is necessary ensure that the drive disengages before starting the mower or it may drive off unattended. This can be
checked by pulling the mower backwards (with the drive bale released) - the rear wheels should free wheel.
WARNING
• Do not overtighten the cable assembly.
• Should the transmission continue to slip after adjustment, have the mower serviced by an
authorised Rover dealer.
CAUTION
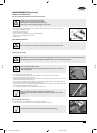
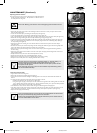
• Start the mower in the disengaged position.
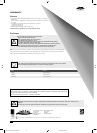
• Push the drive bale forward until the gap between the bale and the handle bar is 55mm (refer figure 13).
• The drive should just begin to engage at this point.
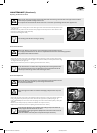
• If the drive is not beginning to engage, rotate the thumb wheel on the cable support block (one click at a time) in an anti
clockwise direction until it does (refer figure 14).
• If the drive engages and drives off at a gap greater than 55mm rotate the thumb wheel on the cable support block one
click at a time in the clockwise direction until it does (refer figure 14).
• Test the mower at all speeds ensuring that it self disengages when the drive bale is released and that the transmission does
not slip at full speed with the drive bale fully engaged.
• If you still experience problems, see your nearest authorised Rover dealer.
• Ensure the cable is not damaged or kinked which may affect the drive.
• Apply a drop of lubricant to the pivot points of the drive bale to ensure smooth and safe
operation.
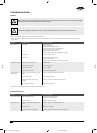
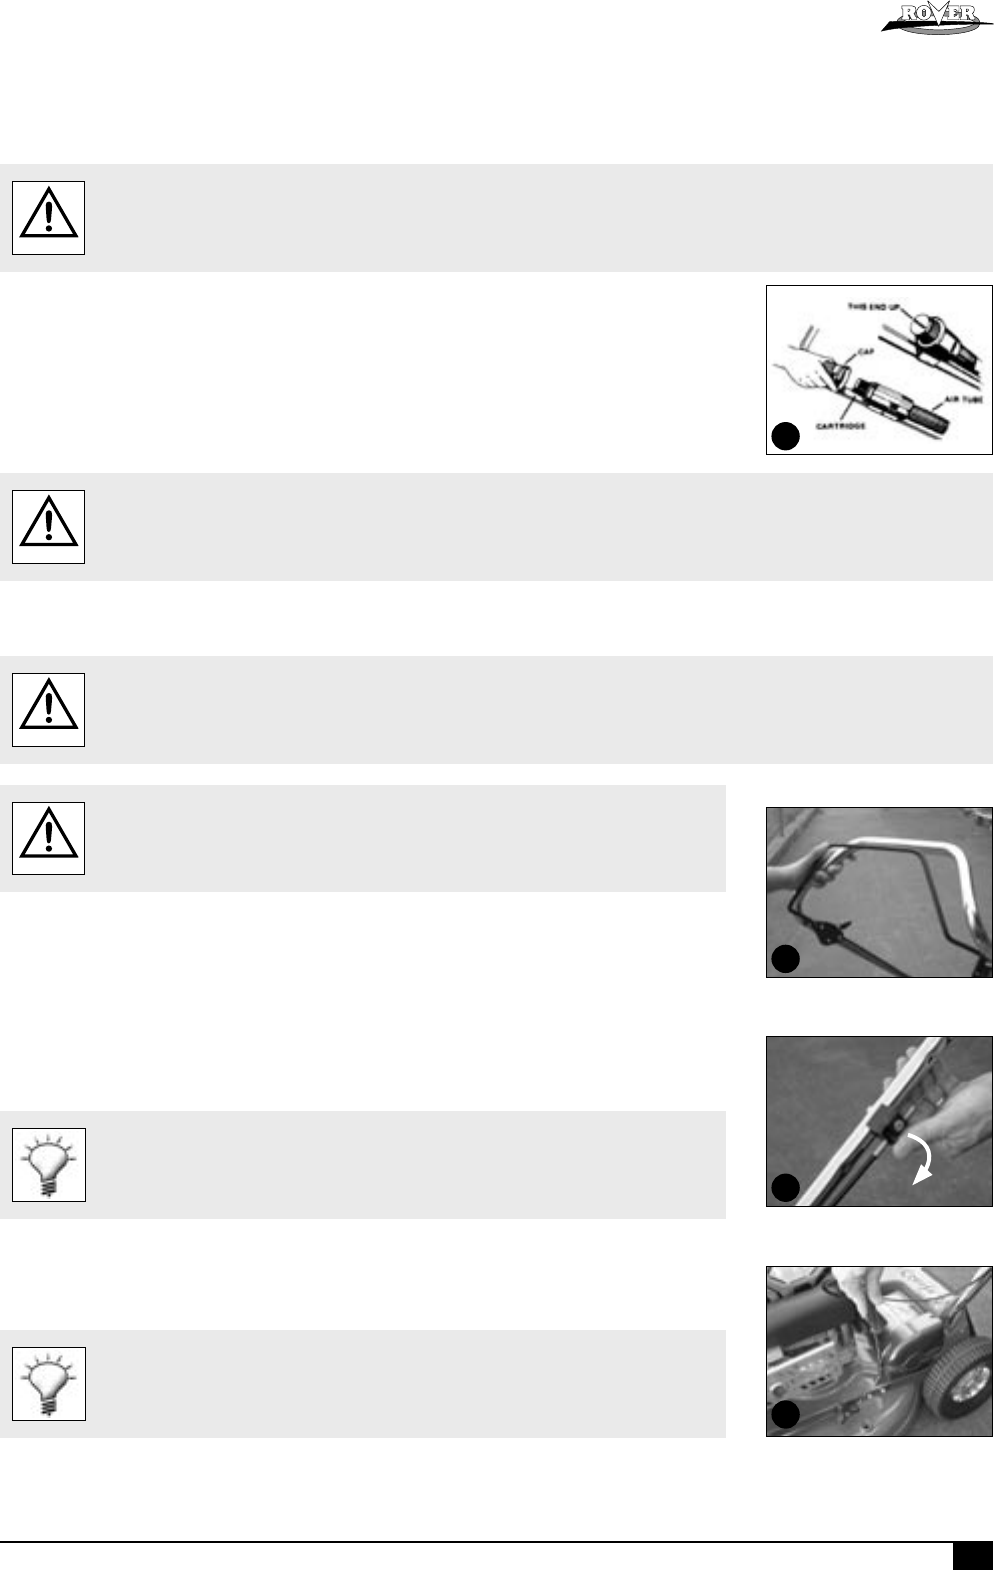
Removing the Drive Frame Cover
• Unscrew the front and rear phillips head screw in that order (refer figure 15).
• Lift the cover and rotate out of the mower to expose the upper transmission components.
Blow grass and dirt out of the recessed holes to expose the head of the fixings.
15
13
12
14
Anti-clockwise
6067 Current Artwork 10-2004.indd 5/31/2005, 8:10 AM6