


16
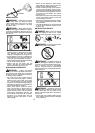
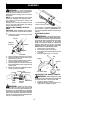
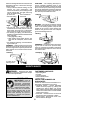
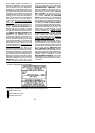
REPLACING THE TRIMMER HEAD
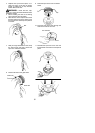
1. Hold the dust c up with a wrench to keep
the shaftfrom turningwhileremoving and
installing trimmer head.
Dust Cup
2. Remove trimmer head by turning coun -
terclockwise (looking from bottom of
unit).
3. Thread replacement trimmer head onto t he
shaft b y tur ning cl ockwise. Only tighten
hand tig ht!
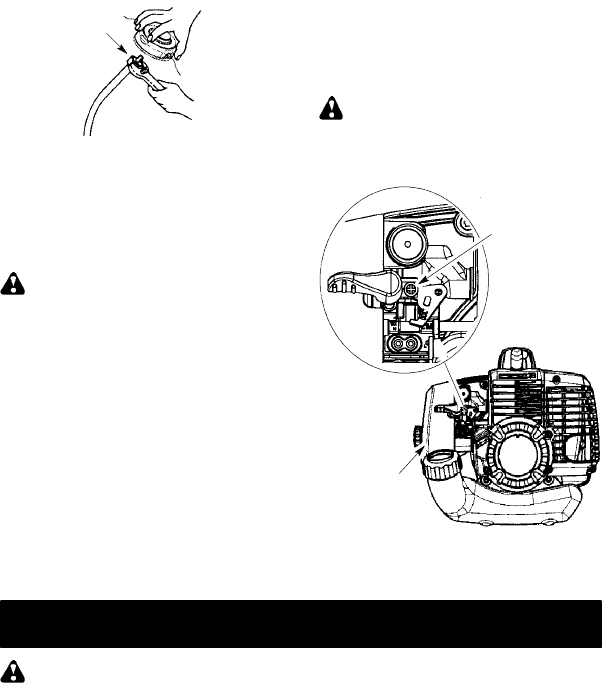
CARBURETOR IDLE SPEED
ADJUSTMENT
WARNING: Keep others away when
making idle speed adjustments. The trimmer
head or any optional attachment will be spin-
ningduringmostofthis procedure. Wearyou r
protective equipment and observe all safety
precautions. After making adjust m ents, the
trimmer head or any optional attachm ent
must not move/spin at idle speed.
The carburetor has been carefully set at the
factory .Adjustments may benecessary ifyou
notice any of the following conditions:
S Engine will not idle when the throt tle is
released.
S The tr im m er head or any optional
attachment m oves/spins at idle.
Make adjustments wit h the unit supported so
the cutting attachment is off the ground and
will not make contact with any object . Hold
the unitby handwhile runningand makingad-
justments. Keep all parts of your body away
from t he cutting attachment and muffler.
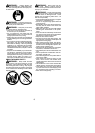
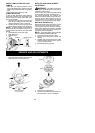
To adjust idle speed:
Allow engineto idle.Adjustspeed untilengine
runs without trimmer head or any optional at -
tachment moving or spinning (idle too f ast) or
engine stalling (idle speed too slow).
S Turn idl e speed scr ew clockwise to increase
engine speed if engine stalls or dies.
S Turn idle speed screw counter cl ockwise to
decre ase enginesp eed i f t rimmer head o r an y
optional attach ment moves or spins at idle.
WARNING: Recheck the idle speed
after each adjustment. The trimmer he ad or
any optional attachment must not move or
spin atidle speedto avoidseriousinjury tothe
operator or others.
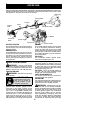
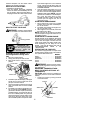
Air filter
cover
Id l e speed screw
If yourequirefurther assistance orareunsur e
about performing this procedure, contact an
authorized service dealer or call
1--800--554--6723.
STORAGE
WARNING: Perform the following
steps after each use:
S Allow engineto c oolbefore storing ortrans-
porting.
S Store unit and fuel in a well ventilated area
where fuel vapors cannot reach sparks or
open flames from wa ter heaters, electric
motors or switches, furnaces, etc.
S Store unit with all guards in place. Position
unit so that any sharp object cannot acci-
dentally cause injury.
S Store unit and fuel well out of the reach of
children.
SEASONAL STORAGE
Prepareunit for storage at endof season or if
it w ill not be used for 30 days or m ore.
If your unit is to be stored for a per iod of time:
S Clean the entire unit before lengthy
storage.
S Store i n a clean dry area.
S Lightly oil external metal surf aces.
FUEL SYSTEM
Under FUELING EN GINE in the OPERA -
TIONsectionof thismanual, s eemessagela-
beled IMPORTANT regarding the use of ga-
sohol in your engine.
Fuel stabilizer is an acceptable alter native in
minimizing the formation offuel gum depos its
during st orage. Add stabilizer to the gasoline
in the fuel tank or fuel storage container.
Follow themix instructi o ns foundon stabilizer
container. Run engineat least 5 minutes after
adding stabilizer.