DEFINITION:
Initialization is a
procedure that
ensures Autostar
operates correctly.
When you first use
Autostar, it doesn't
yet know where the
observation site is or
the time or date of
the observation ses-
sion.
During the procedure,
you will enter infor-
mation, such as the
current time and
date, and observa-
tion location. Autostar
uses this information
to precisely calculate
the location of celes-
tial objects (such as
stars and planets)
and to move your tel-
escope correctly for
various operations.
15
The "Alt/Az" Home Position
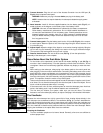
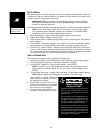
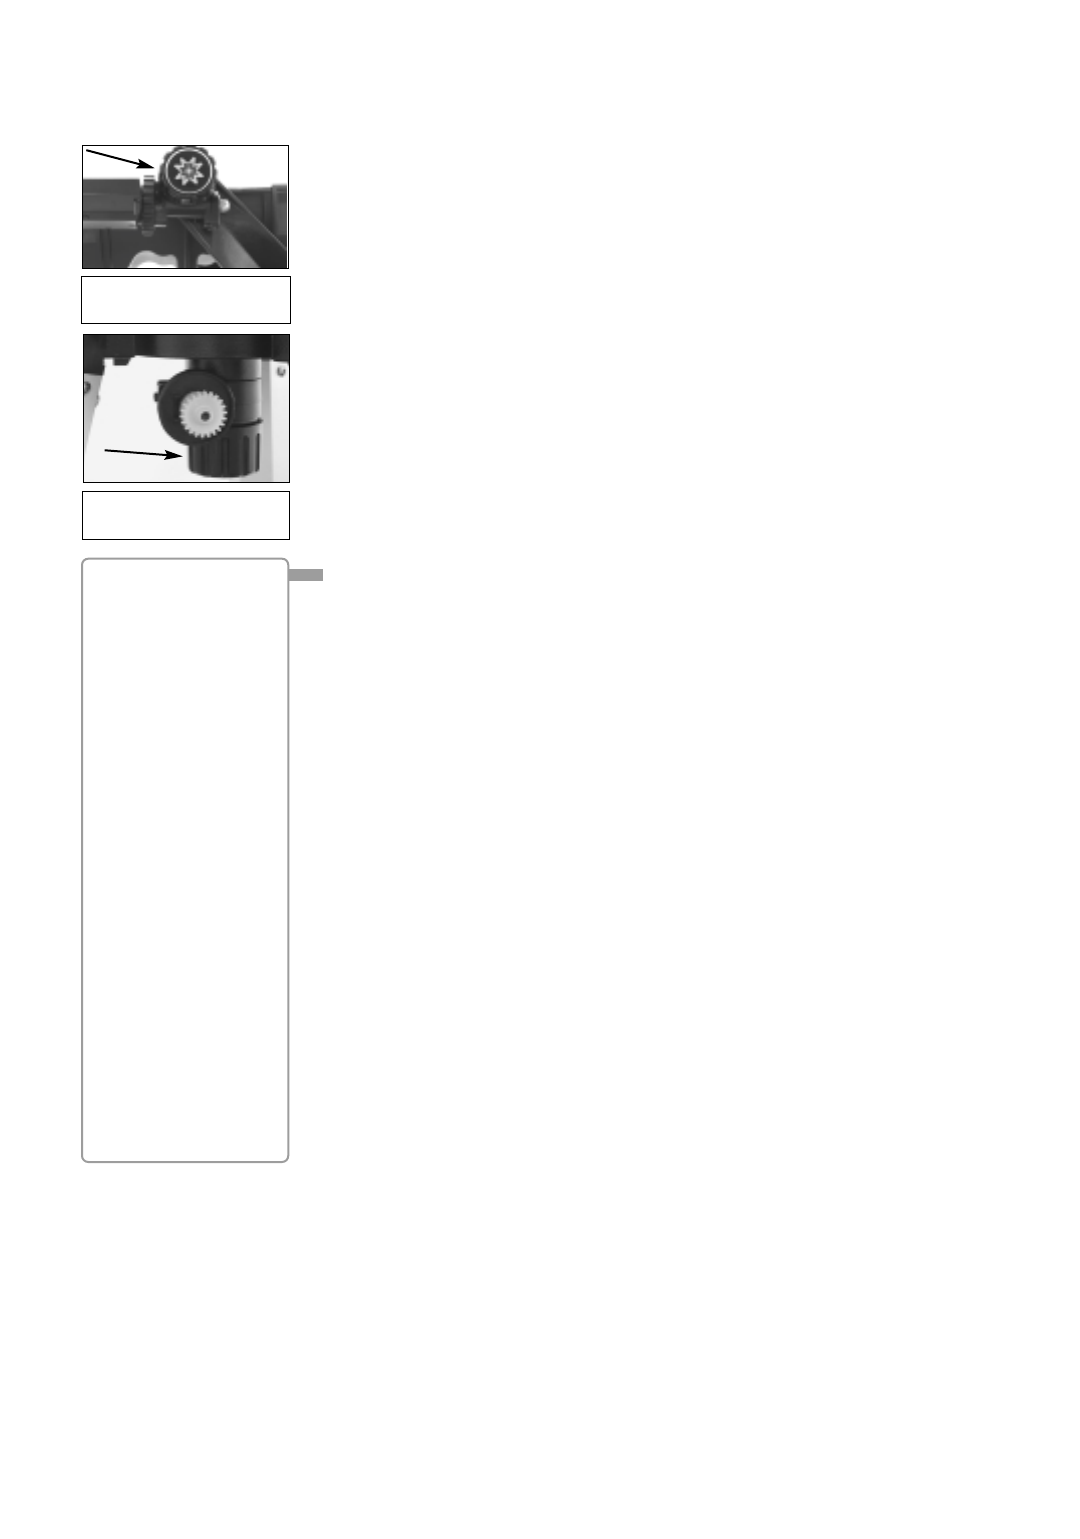
1. Loosen the telescope’s Alt lock (Fig. 19).
2. Level the optical tube and tripod base.
3. Tighten the Alt lock (Fig. 19) to a firm feel only.
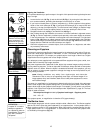
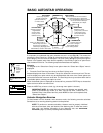
4. Loosen the Az lock (Fig. 20) and turn the telescope horizontally until it points North. See
LOCATING THE CELESTIAL POLE, page 32 for more information.
5. Tighten the Az lock. Press ENTER.
Moving Through Autostar’s Menus
The Autostar database is organized in levels for quick and easy navigation.
■ Press ENTER to go deeper into Autostar's menu levels.
■ Press MODE to move back toward the top menu level.
■ Press the Scroll keys to move up and down through the options available for each level.
■ Press the Arrow keys to enter characters and digits.
The Arrow keys are also used to move the telescope.
Initializing Autostar
This section describes how to initialize Autostar. Perform this procedure the first time you use
Autostar or after performing a RESET (see
RESET, page 27).
1. Tighten Locks: Make sure that the Alt lock (22, Fig. 1) and Az lock (19, Fig. 1) are secured.
2. Connect Autostar: Verify that Autostar is properly connected to your telescope.
3. Supply Power: Plug the battery pack into the 12V port.
The Autostar screen activates and a copyright message displays briefly, followed by a short
beep. Then Autostar takes a few moments to start up the system.
4. Sun Warning: A message displays that warns you not to look at the Sun. At the end of this
message, press the key prompted by Autostar to signify that the message has been read
and understood.
5. Getting Started: The Getting Started menu displays a scrolling message. Press ENTER
(2, Fig. 2) to bypass the Help tutorial and continue with initialization.
6. Enter Date: Autostar then requests the current date. Use the Up and Down Arrow keys (5,
Fig. 2) to enter the digits for the date. Use the Right Arrow key (5, Fig. 2) to move right from
one number to the next in the day display, and also to move to the month (use the Left
Arrow key if you wish to move left). Then, use the Scroll keys (6 or 7, Fig. 2) to cycle
through the list of months.
When the
current month is displayed, use the Right Arrow (5, Fig. 2) to move to the year.
Use the Up and Down Arrow keys to enter all four digits of the current year. Press ENTER
when the date has been entered.
7. Enter Time: Autostar then requests the current time. Use the Up and Down Arrow keys to
enter the time. (Use a "0" for the first digit if less than 10.) Use the Right (or Left) Arrow key
to move from one number to the next. Press either the Up or Down Arrow keys (5, Fig. 2)
to scroll to "AM" or "PM." If you select the "blank" choice that follows "AM" and "PM," the
clock displays time in a 24-hour (military time) format. Press ENTER to start the clock.
8. Daylight Savings Time: The next screen requests the status of Daylight Savings Time.
Pressing a Scroll key toggles between the YES/NO settings. Select the desired setting by
pressing ENTER.
NOTE: Daylight Savings Time may be referred to by a different name in various
areas of the world.
NOTE: When multiple choices are available within a menu option, the current option
is usually displayed first and highlighted by a right pointing arrow (>).
9. Select Country: The next screen asks for the country or state of the observing site. Use
the Scroll keys to cycle through the database of countries, states, and provinces (listed
alphabetically). Press ENTER when the correct location displays.
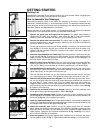
Fig. 19:The Alt lock (motor
attached).
Fig. 20:The Az lock (motor
not attached).


