


23 24
E
N
G
L
I
S
H
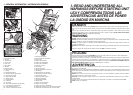
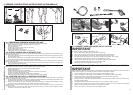
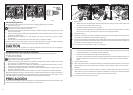
6-9.Spark plug service
To ensure proper engine operation, the spark plug must be properly gapped and free of deposits.
1. Remove the spark plug
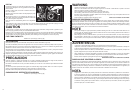
If the engine has been running, the muffler will be very hot.
Be careful not to touch the muffler (A).(Fig. 6-9A)
2. Visually inspect the spark plug. Discard it if the insulator is cracked or chipped.Clean the spark plug with a wire
brush if it is to be reused.
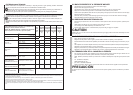
3. Measure the plug gap with a feeler gauge.The gap should be 0.7-0.8mm (0.028-0.031 in).Correct as necessary
be bending the side electrode.
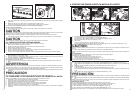
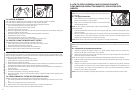
4. Check that the spark plug washer is in good condition, and thread the spark plug in by hand to prevent
crossthreading.
5. After the spark plug is seated, tighten with a spark plug wrench to compress the washer.
NOTE: If installing a new spark plug, tighten 1/2 turn after the spark plug seats to compress the washer.If reinstalling
a used spark plug, tighten 1/2-1/4 turn after the spark plug seats to compress the washer.
CAUTION
The spark plug must be securely tightened. An improperly tightened plug can become very hot and damage the
engine.Never use a spark plug with an improper heat range.
E
S
P
A
Ñ
O
L
6-9.Mantenimiento de la bujía de encendido
Para asegurar un correcto funcionamiento del motor, la bujía de encendido debe estar adecuadamente
espaciada y no tener depósitos.
1. Retire la bujía de encendido.
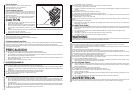
Si el motor ha estado en marcha, el silenciador estará muy caliente.
Tenga cuidado de no tocarlo(A).(Fig.6-3A)
2. Examine a simple vista la bujía de encendido. Deséchela si el aislante está quebrado o dañado.Limpie la bujía
de encendido con un cepillo alámbrico si va a volverla a usar
3. Mida la distancia de la bujía con un calibrador de separaciones. La distancia debería estar entre 0,7 y 0,8 mm
(0,028 y 0,031 pulgadas).Corrija según sea necesario el electrodo lateral.
4. Compruebe que la arandela de la bujía de encendido se halla en buenas condiciones y coloque la bujía a mano
para evitar un enroscado erróneo.
5. Después de colocar la bujía de encendido, asegúrela con una llave de bujías a fin de comprimir la arandela.
NOTA:Si está instalando una bujía de encendido nueva, gire media vuelta después de que la bujía de encendido se
asiente para comprimir la arandela.Si está reinstalando una bujía de encendido usada, gire media vuelta o un cuar-
to de vuelta después de que la bujía de encendido se asiente para comprimir la arandela.
PRECAUCIÓN
La bujía de encendido debe ser firmemente asegurada.Una bujía fijada inadecuadamente puede calentarse mucho
y dañar el motor. Nunca use una bujía de encendido bajo un calor extremo.
A
6-9A
6-9B
6-9C
E
N
G
L
I
S
H
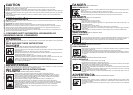
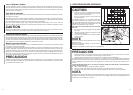
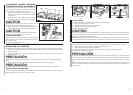
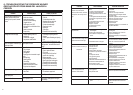
6. Drain the fuel
a. With the fuel valve in the ON position, remove the carburetor drain screw (B), and drain all the gasoline from
the fuel tank into a suitable container.(Fig. 6-9E)
b. Reinstall the carburetor drain screw (B).(Fig.6-9E)
Gasoline is extremely flammable and is explosive under certain conditions.Perform this task in a well venti
lated area.Do not smoke or allow flames or sparks in the area during this procedure.
7. Change the engine oil.
8. Remove the spark plug and pour about a tablespoon of clean engine oil into the cylinder.Crank the engine sev-
eral revolutions to distribute the oil, then reinstall the spark plug.
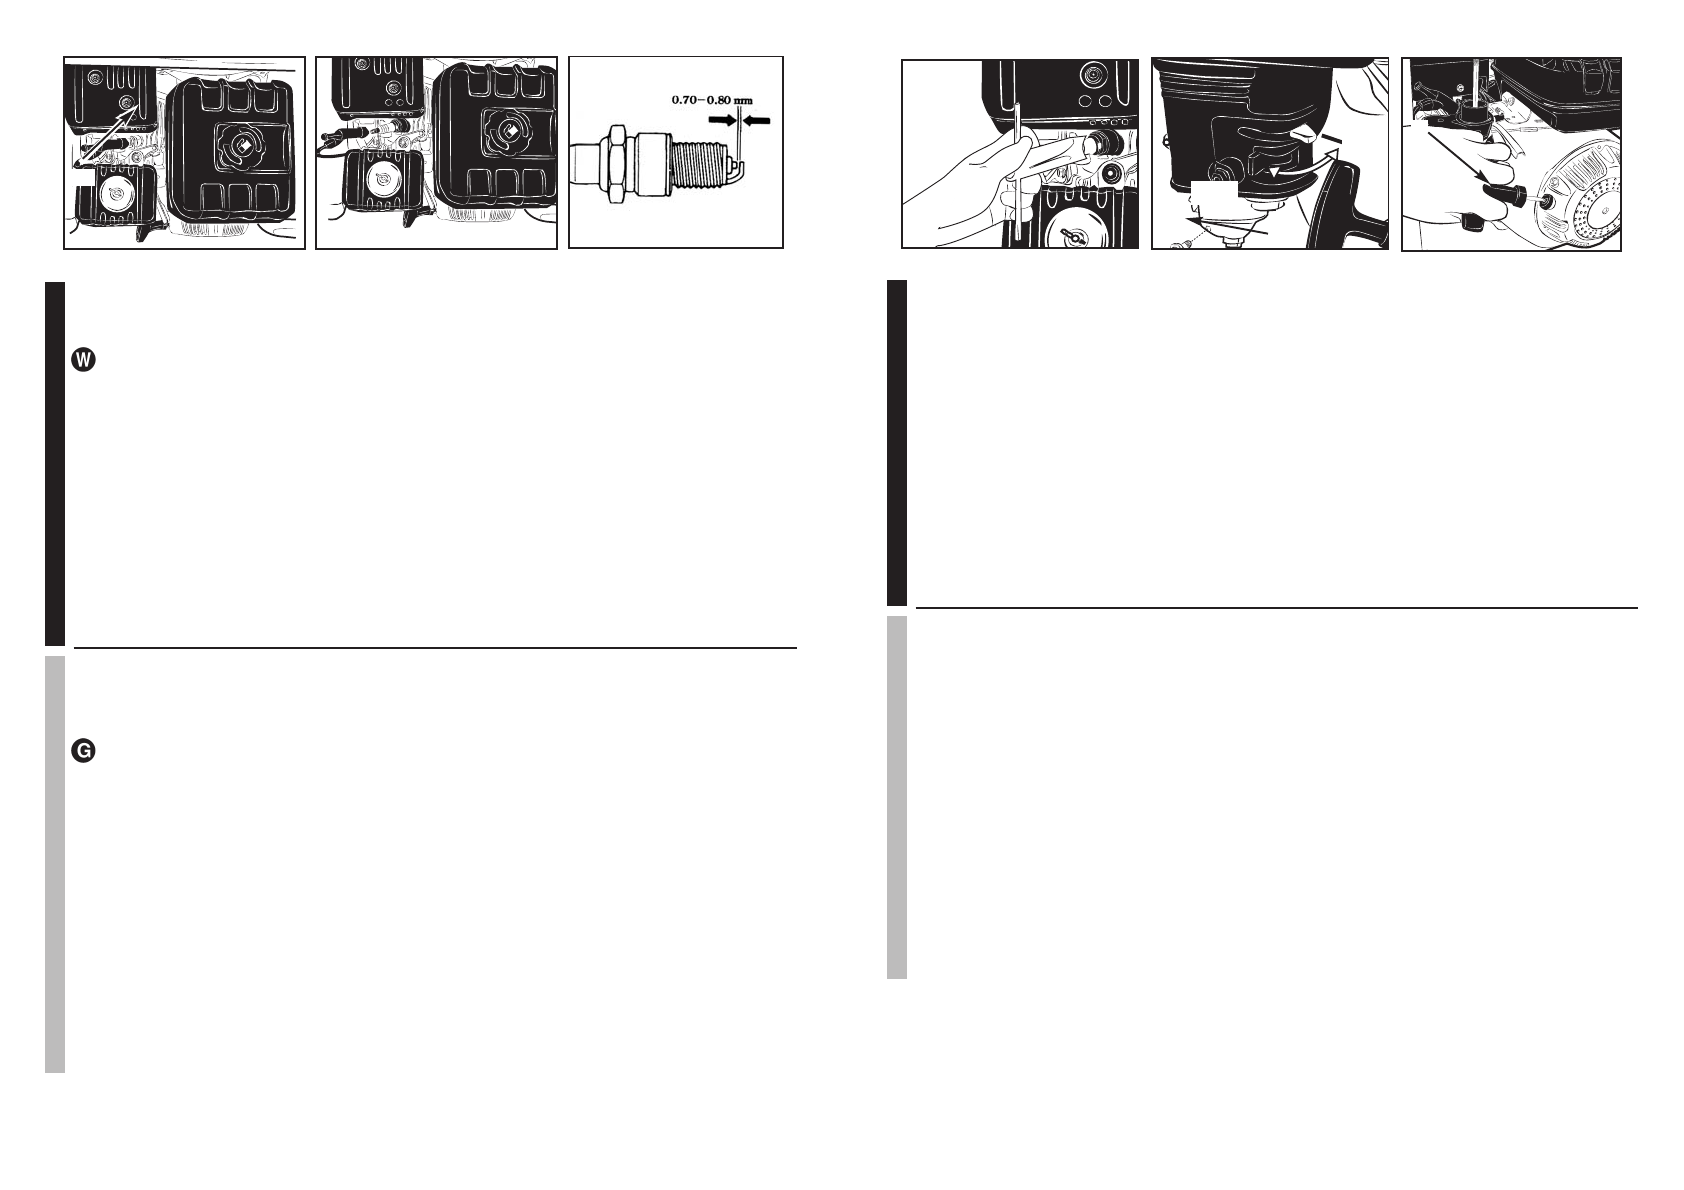
9. Pull the starter rope slowly until resistance is felt.Continue pulling until the notch on the starter pulley aligns with
the hole on the recoil starter (see illustration below).At this point, the intake and exhaust velves are closed, and
this will help to protect the engine from internal corrosion.
10. Cover the engine and Pawer Washer to keep out dust.(Fig.6-9F)
E
S
P
A
Ñ
O
L
6. Drene el combustible.
a. Con la válvula de combustible en posición ON, retire el tornillo del drenaje (B) del carburador y drene toda
la gasolina del depósito en un contenedor adecuado. (Fig.6-9E)
b. Vuelva a colocar el tornillo del drenaje (B) del carburador. (Fig.6-9E)
La gasolina es extremadamente inflamable y explosiva bajo ciertas circunstancias.Realice esta tarea en un
área bien ventilada.No fume ni permita la presencia de llamas o chispas en el área durante este proced
imiento
7. Cambie el aceite del motor.
8. Retire la bujía de encendido y vierta aproximadamente una cucharada pequeña de aceite de motor limpio en el
cilindro. Haga dar al motor varias revoluciones para distribuir el aceite y entonces vuelva a colocar la bujía de
encendido.
9. Tire lentamente del cordón de hasta que sienta una resistencia. Continúe tirando hasta que la muesca de la
polea se alinee con el hueco del iniciador de retroceso (ver ilustración).En este punto, las válvulas de admisión
y de escape se cerrarán, lo cual contribuye a proteger el motor de la corrosión interna.
10. Cubra el motor y la bomba para evitar el polvo.
OFF
ON
B
C
6-9D
6-9E
6-9F