


22
RCB6010 & RCB6015 (540 RPM) and RCMB6010 & RCMB6015 (1000 RPM) Rotary Cutters 318-263M 9/04/08
Land Pride
Section 4: Maintenance & Lubrication
Table of Contents
General Maintenance Information
Proper servicing and adjustment is the key to the long life
of any implement. With careful and systematic
inspection, you can avoid costly maintenance, time and
repair.
Check all bolts after using the unit for several hours to be
sure they are tight.
Replace any worn, damaged or illegible safety labels by
obtaining new labels from your Land Pride Dealer.
Cutter Blade Maintenance
!
DANGER!
Always disconnect main driveline from tractor PTO before
servicing the underside of the cutter deck. Cutter can be
engaged if tractor is started resulting in damage to the cutter,
bodily injury and/or death.
!
WARNING!
Always secure cutter deck in the up position with solid supports
before servicing the underside of the cutter. Never work under
equipment supported by hydraulics. Hydraulics can drop
equipment if controls are actuated or if hydraulic lines burst.
Either situation can drop the cutter instantly even when power
to the hydraulics is shut off.
Always inspect cutting blades before each use. Make
certain they are properly installed and are in good
working condition. Replace any blade that is damaged,
worn, bent, or excessively nicked. Small nicks can be
ground out when sharpening.
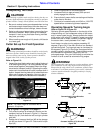
Remove cutting blades and sharpen or replace as follows:
1. Place tractor gear selector in park and/or set brakes,
shut engine off and remove ignition key.
2. Disconnect main driveline from tractor PTO and
secure cutter deck in the up position with solid
supports before servicing underside of cutter.
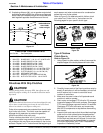
3. Align blade bolt with access hole in deck.
4. See Figure 4-2 on page 23. Unscrew locknut (#6) to
remove cutting blade (#3). Blade bolt (#1) is keyed
and will not turn freely.
5. Both blades should be sharpened at the same angle
as the original cutting edge and must be replaced or
re-ground at the same time to maintain proper
balance in the cutting unit. The following precautions
should be taken when sharpening blades:
a. Do not remove more material than necessary.
b. Do not heat and pound out a cutting edge.
IMPORTANT: Replacement blades should be
ordered in pairs. Order only genuine Land Pride
blades. Other blades may not meet specifications.
c. Do not grind blades to a razor edge. Leave a blunt
cutting edge approximately 1/16” thick.
d. Always grind cutting edge so end of blade remains
square to cutting edge and not rounded.
e. Do not sharpen back side of blade.
f. Both blades should weigh the same with not more
than 1 1/2 oz. difference. Unbalanced blades will
cause excessive vibration which can damage
gearbox bearings and create structural cracks.
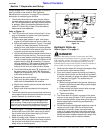
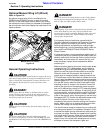
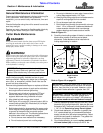
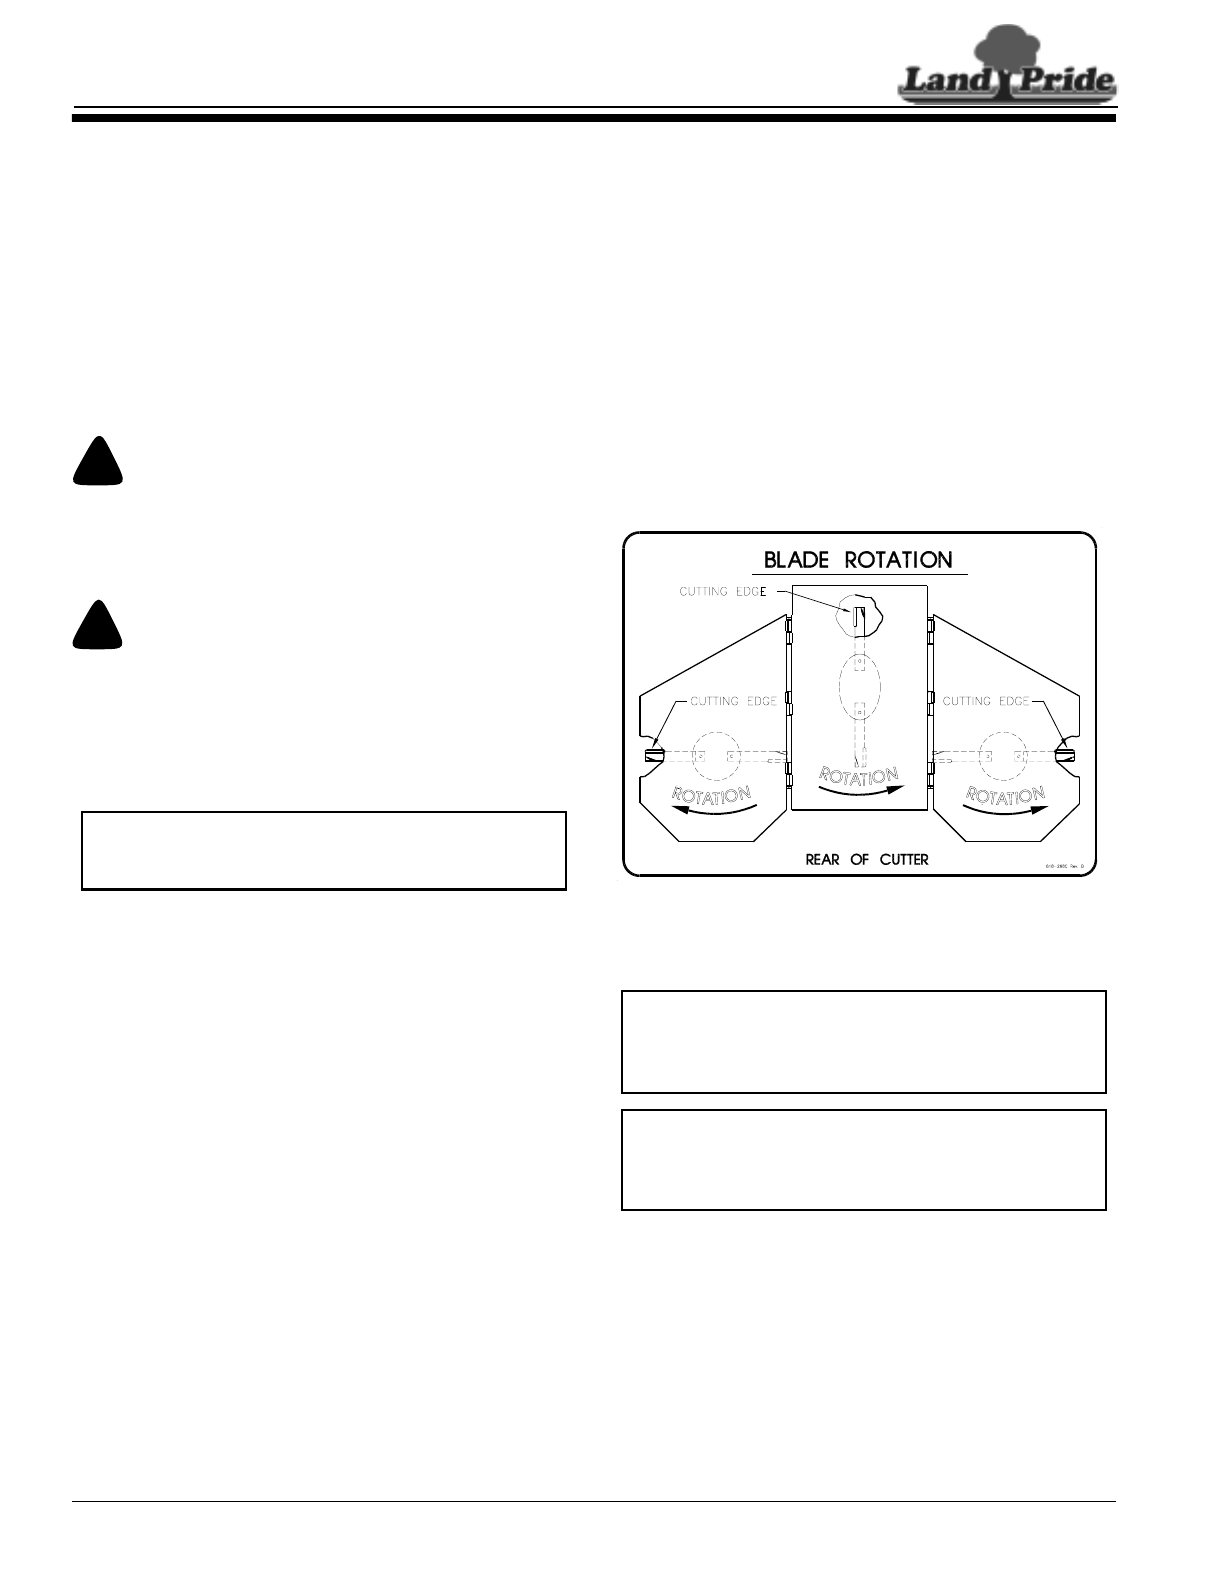
Refer to Figure 4-1:
6. Carefully check cutting edges of blades in relation to
blade carrier rotation to ensure correct blade
placement. Cutter blades must be installed with
cutting edge leading in rotation.
Blade Rotation
Figure 4-1
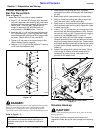
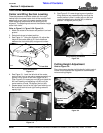
Refer to Figure 4-2 on page 23:
7. Start by assembling blades without shim (#2). Insert
blade bolt (#1) through blade (#3), dish pan (#4) and
flat washer (#5). Temporarily secure blade with a used
1 1/8"-12 nut. Draw nut up snug. Do not tighten.
8. Check blade deflection. If deflection is greater than
3/4", remove blade bolt and reassemble as before
except include shim (#2) when reassembling. Select
shim thickness based on deflection. The greater the
deflection, the thicker the shim.
9. Once blade deflection is correct, replace used nut
with new locknut (#6) and torque to 450 ft. lbs.
CCW
CCW
CC
IMPORTANT: Shim (#2) below may or may not be
required. If blade deflection is less than 3/4" without
a shim, then the shim is not used. However, a shim
is required if blade deflection is greater than 3/4".
IMPORTANT: Locknuts can loose their ability to lock
properly once removed. Therefore, always use a
used blade nut or plain nut in steps 7 & 8 below and
then replace used nut with new locknut in step 9.
Section 4: Maintenance & Lubrication