


12
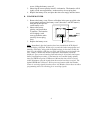
4. In sequential order, install batteries into the sensors (follow the same battery
installation procedures seen in section I. A).
5. Install batteries into the Weather Center.
6. Follow the Programming Mode instructions to program and set-up the
Weather Center.
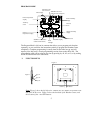
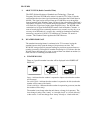
B. SELECTING WHICH SENSOR DATA TO DISPLAY
1. To view the outdoor temperature and humidity from a different sensor,
press key #1. A shift from a “boxed #1” to a “boxed #2” should be
observed under the DATE DISPLAY (between the Outdoor Temperature
and Outdoor Humidity Displays).
2. Press key #1 a second time to shift from the “boxed #2” to the “boxed #3”.
(Information will display only if you have three sensors in operation).
3. To view information from the first sensor again, press key #1.
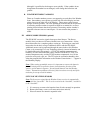
IV. DATE DISPLAY
Note:
The DATE DISPLAY defaults to the month/date/year format. This display
area can show an alternate way of displaying the date.
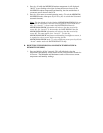
1. Press key #2. This changes the DATE DISPLAY
from the standard month/date/year to a display
showing the weekday/month/date.
2. Press key #2 to change back to the original date
display.
V. RAINFALL DISPLAY (optional)
Note:
If the Rainfall feature is opted, its information
will display in the Date Display, in two possible configurations. To change what
and how the information is displayed, use key #2.
Following step 1 above:
1. Press key #2 again to change from the DATE DISPLAY to the RAIN
DISPLAY. “TOTAL RAIN - -.- in” is now displayed with corresponding
measurements.
Note:
The display of “OFL” indicates that the TX4U Rainfall Gauge has
reached 99.9 inches, and has overflowed. To reset, hold down key #2 for 3
seconds.
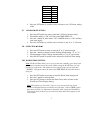
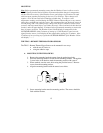
Key #1
Key #2
Key #3