- 16 -
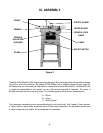
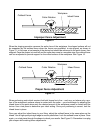
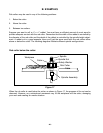
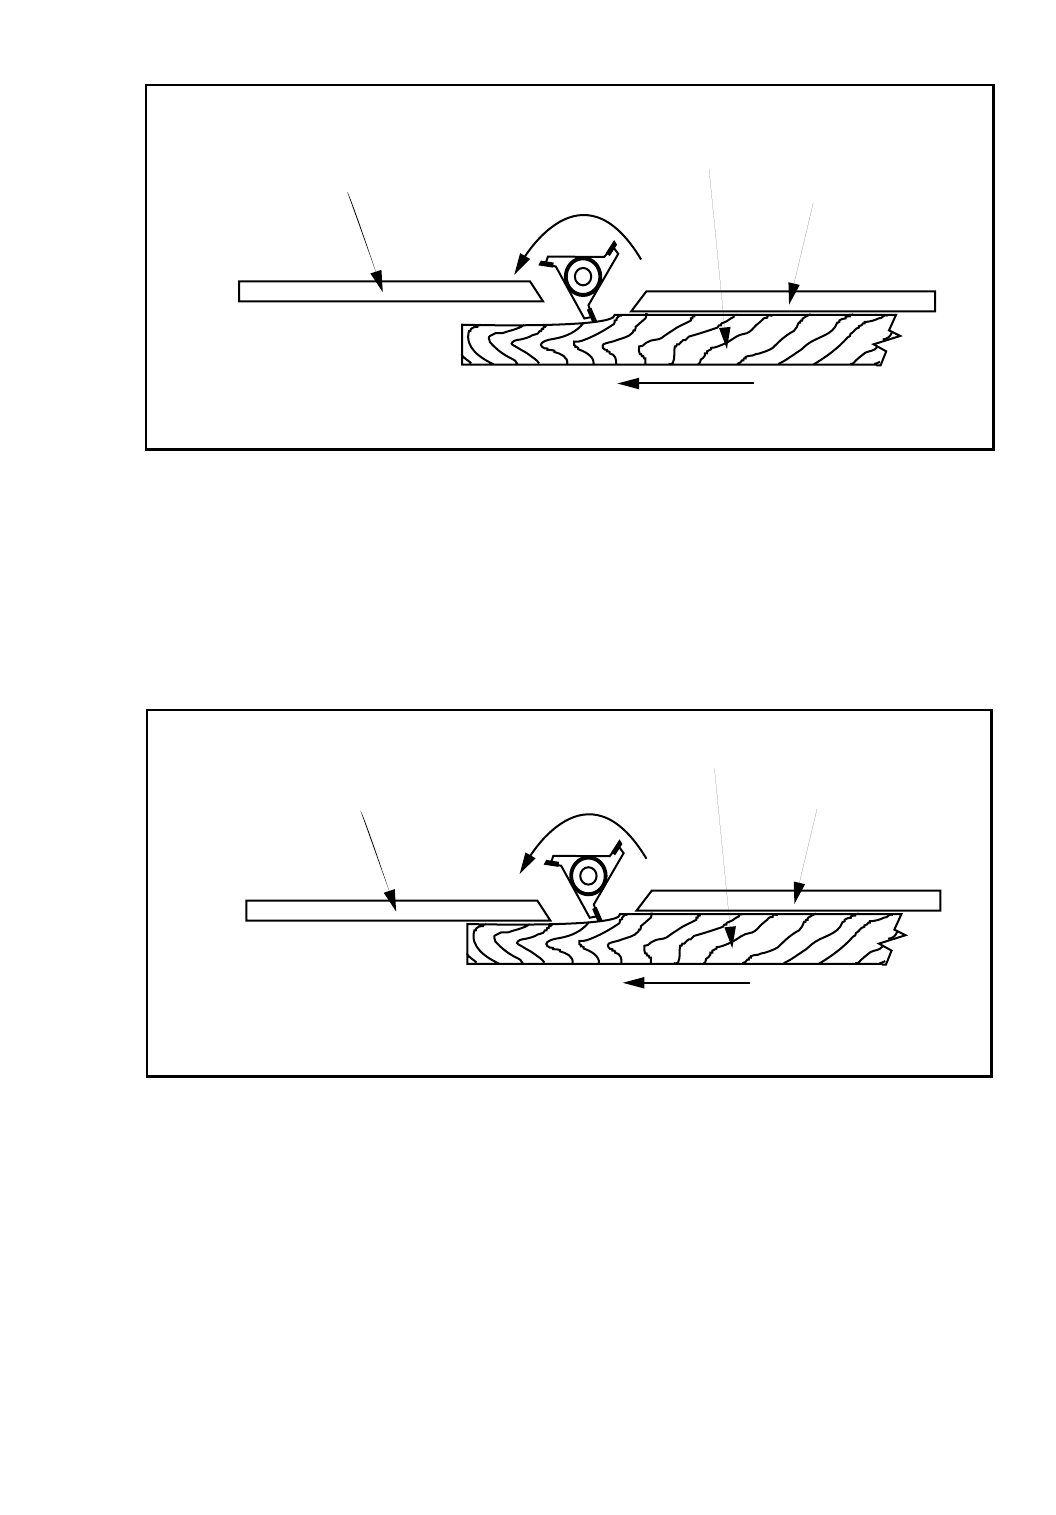
Outfeed Fence
Cutter Rotation
Workpiece
Infeed Fence
Feed Direction
Improper Fence Adjustment
Figure 11
When the shaping operation removes the entire face of the workpiece, the shaped surface will not
be supported by the outfeed fence when the fences are paralleled, or mis-aligned, as shown in
Figure 11. In this case, a test sample of the desired cut should be advanced to the point shown, then
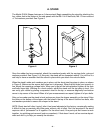
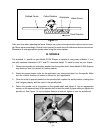
stopped. Once the shaper is turned off and the cutter has come to a complete stop, the outfeed fence
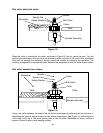
can be re-adjusted to provide support for the milled surface of the workpiece. See Figure 12.
Outfeed Fence
Cutter Rotation Infeed Fence
Workpiece
Feed Direction
Proper Fence Adjustment
Figure 12
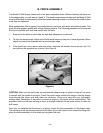
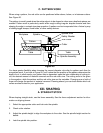
When performing work which requires that both fences be in-line – such as a cut where only a por-
tion of the workpiece’s surface comes in contact with the cutter – you should begin by adjusting the
infeed fence to the point where only the desired amount of the workpiece comes in contact with the
knives. Use a test piece to determine your ideal setting. Once your positioning is correct, lock the
infeed fence in place.
Once you adjust the infeed fence to your liking, adjust the outfeed fence to the same plane as the
infeed. Use a high-quality straight edge to ensure parallelism. Lock the outfeed fence in place. Once
again, run a test piece through the shaper to check your results. See Figure 13. Remember to unplug
your shaper while making fence adjustments.


