


- 10 -
B. FENCE ASSEMBLY
The Model G1024 Shaper comes with a two-piece adjustable fence. Before attaching the fence unit
to the shaper table, you will want to “wood” it. The wood fence pieces included with the Model G1024
are pre-drilled and counterbored to allow the slotted mounting screws to rest below the wood surface
once they are tightened.
Most woodworkers like to replace the wood pieces on the fence with wider and thicker boards. This
gives the user greater stability and a larger bearing surface. The following procedure will ensure that
the fence is parallel with itself and square with the table.
1. Ensure that the bolts on each side are tight and adequately countersunk.
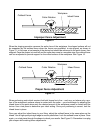
2. To align the wood fences, adjust one or both fence halves so they are in close alignment. Micro-
adjust and check the alignment with a good straight edge.
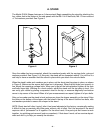
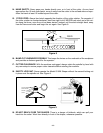
3. If the boards are not co-planar with each other, resurface the wooden fences as one unit. You
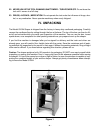
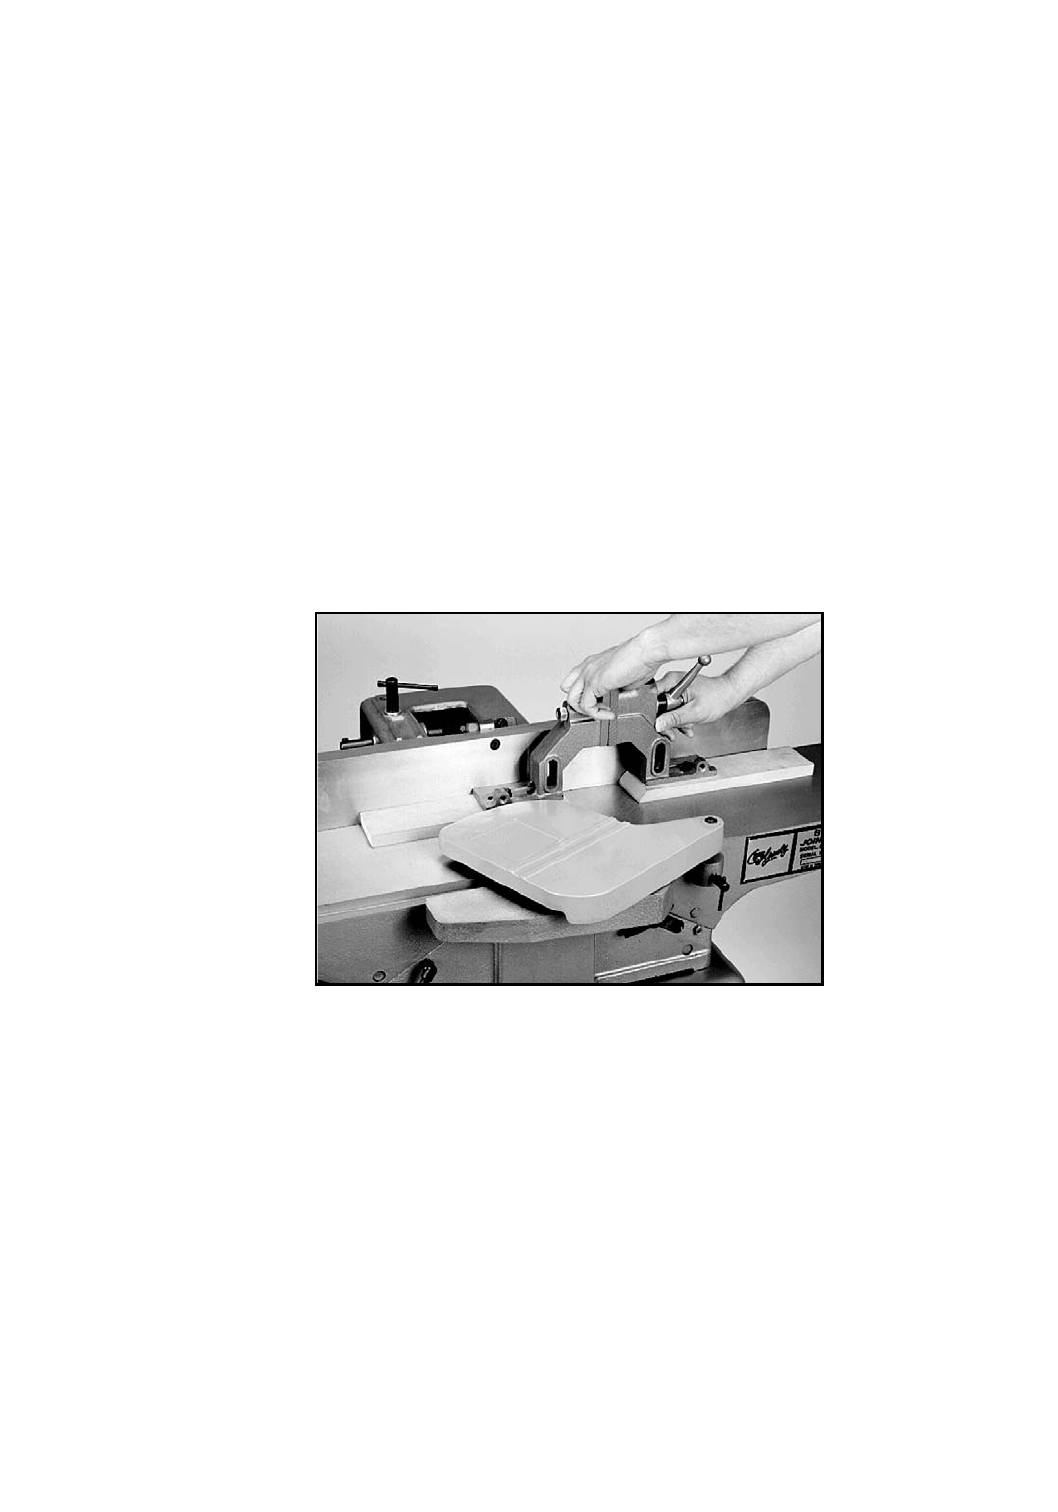
can perform this operation on a jointer. See Figure 6.
Figure 6
CAUTION: Make sure the bolt holes are countersunk deep enough so jointer knives will not come
in contact with the heads of the bolts. Check the jointer fence and bed for square. Run the shaper
fence through the jointer until both sides are co-planar. Check your work with your high-quality
straight edge. Remember: If the jointer is not set up properly, the results will be unsatisfactory. This
procedure can be continued as long as there is enough wood left for the jointer knives to clear the
bolt heads.
Once you are satisfied that the fence is co-planar, mount the fence assembly on the shaper table.
The mounting studs are already attached to the table. All you will need to do is remove the wing nuts,
place the fence assembly on the studs and re-tighten the nuts.