TROUBLESHOOTING
TROUBLESHOOTING - 37
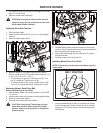
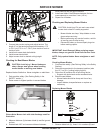
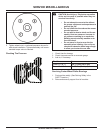
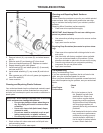
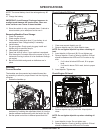
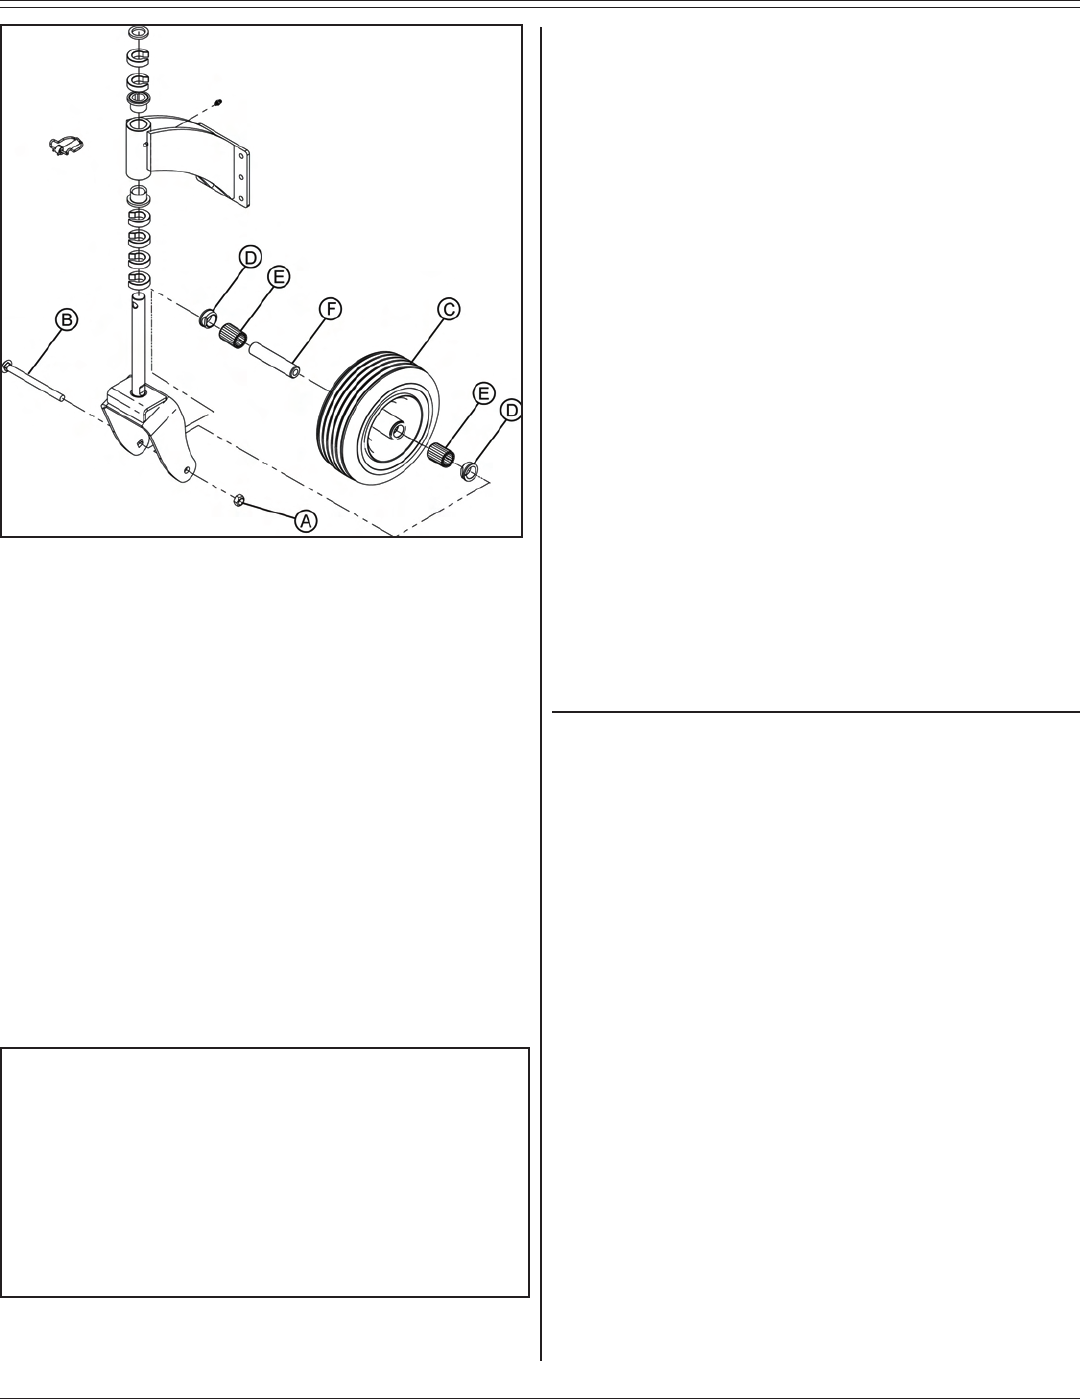
Remove locknut (A), cap screw (B), and wheel assem-
bly (C).
Remove seals (D) and bearings (E) from wheel.
Clean and inspect bearings (E). Replace as needed.
Repack bearings with clean grease.
Install bearings (E) and wheel spacer (F) (if removed),
and new seals (D).
Install wheel assembly (C), cap screw (B) and locknut
(A).
Use a grease gun to fill hub until grease just appears at
one of the seals (D).
Lower machine.
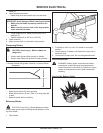
Cleaning and Repairing Plastic Surfaces
Your authorized dealer has the professional materials need-
ed to properly remove surface scratches from any plastic
surfaces, do not attempt to paint over marks or scratches in
plastic parts.
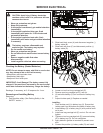
IMPORTANT: Avoid Damage! Improper care of machine
plastic surfaces can damage that surface:
Do not wipe plastic surfaces when they are
dry. Dry wiping will result in minor surface
scratches.
Use a soft, clean cloth (bath towel, diaper,
automotive mitt).
Do not use abrasive materials, such as pol-
ishing compounds, on plastic surfaces.
Do not spray insect repellent near machine.
•
•
•
•
Wash surface with clean water and a mild liquid auto-
motive washing soap.
Dry thoroughly to avoid water spots.
3.
4.
5.
6.
7.
8.
9.
10.
1.
2.
Cleaning and Repairing Metal Surfaces
Cleaning:
Follow automotive practices to care for your vehicle painted
metal surfaces. Use a high-quality automotive wax regu-
larly to maintain the factory look of your vehicle’s painted
surfaces.
Repairing Minor Scratches (surface scratch):
Clean area to be repaired thoroughly.
IMPORTANT: Avoid damage! Do not use rubbing com
-
pound on painted surfaces.
Use automotive polishing compound to remove surface
scratches.
Apply wax to entire surface.
Repairing Deep Scratches (bare metal or primer show-
ing):
Clean area to be repaired with rubbing alcohol or min-
eral spirits.
Use paint stick with factory-matched colors available
from your authorized dealer to fill scratches. Follow
directions included on paint stick for use and for drying.
Smooth out surface using an automotive polishing
compound. Do not use power buffer.
Apply wax to surface.
Troubleshooting
Using Troubleshooting Chart
If you are experiencing a problem that is not listed in this
chart, see your authorized dealer for service.
When you have checked all the possible causes listed and
you are still experiencing the problem, see your authorized
dealer.
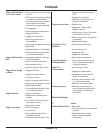
If Check
Poor Engine
Performance
Fuel:
• Dirt in fuel system or fuel is
old. Replace fuel with fresh
stabilized fuel. Obtain fuel
from another supplier before
suspecting machine problems.
Suppliers blend fuels differently
and changing suppliers will
generally solve any performance
problems.
• Fuel blended with alcohol or ether
may contribute to performance
problems by causing gum and
varnish deposits, especially if
fuel is stored for several weeks
or more. Obtain fresh fuel.
1.
1.
2.
1.
2.
3.
4.


