


8
co n t e n t s
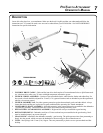
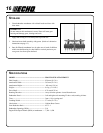
After opening the carton, check for damage. Immediately notify your retailer or ECHO Dealer of damaged or missing
parts. Use the contents list to check for missing parts.
___ 1 - ProThatch Attachment
___ 1 - Dethatcher / Gear Housing Assembly
___ 1 - Lower Drive Shaft Assembly
___ 1 - Fender / Wheel Assembly
___ 1 - J-Handle
___ 1 - Operators Manual
___ 1 - Warranty Registration Card
as s e m b l y
f e n d e r
/ w h e e l a s s e m b l y t o l o w e r d r I v e s h a f t a s s e m b l y
A
A
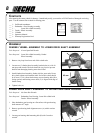
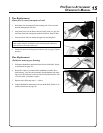
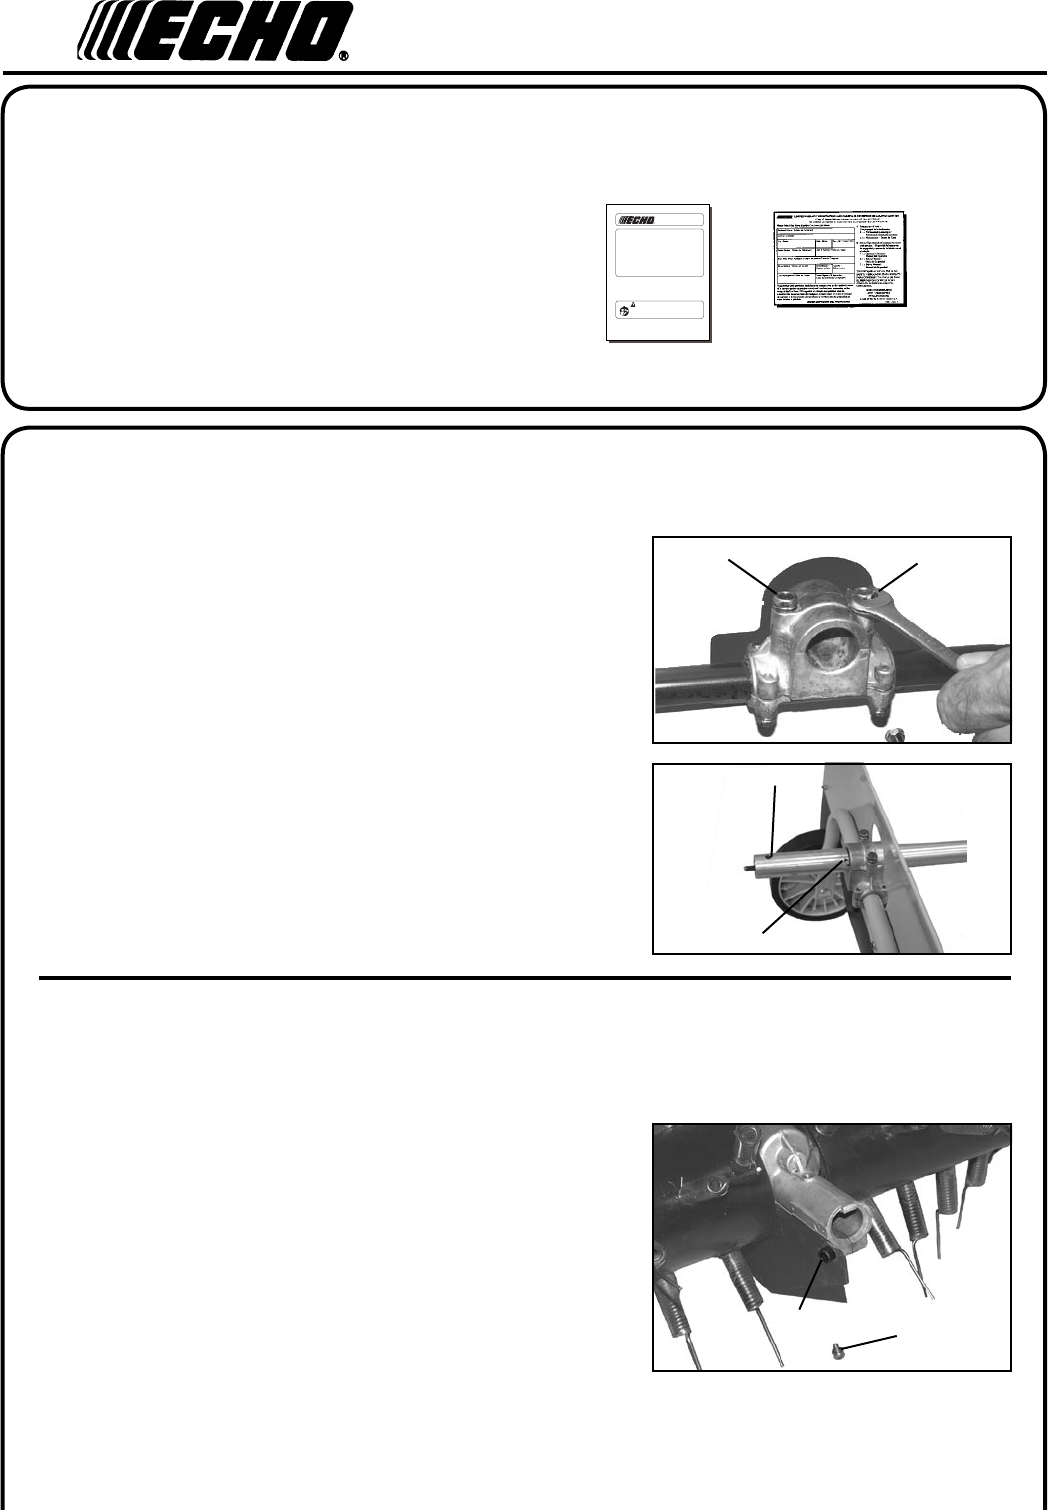
l o w e r d r I v e s h a f t a s s e m b l y t o d e t h a t c h e r g e a r h o u s I n g
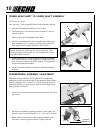
Tools Required: 4 & 5mm Hex Wrench
Parts Required: Dethatcher Gear Housing, Lower Drive Shaft with
Fender / Wheel Assembly
1. Place dethatcher gear housing on a at surface with gear housing
shaft mount at 45° angle.
2. Remove gear housing shaft alignment screw (A) with 4 mm hex
wrench.
3. Loosen gear housing shaft mounting bolt (B) with 5 mm hex
wrench.
A
B
95 mm
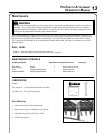
ProThatch Attachment
Operator's Manual
Model 99944200563
MODELS USED ON: SRM-260SB/261SB
PAS-2400
PAS 230/231
PAS 260/261
PAS-265
X7702093501
X770001301
01/09
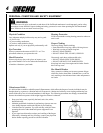
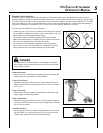
WARNING
Read rules for safe operation and instructions carefully. ECHO provides an
Operator's Manual with your original Pro Attachment Series power source or Split
Boom Trimmer. That manual and this manual must be read and understood for proper
and safe operation. Failure to do so can result in serious injury.
B
C
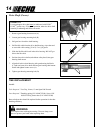
Tools Required: 10 mm Open End Wrench
Parts Required: Lower Drive Shaft Assembly, Fender /
Wheel Assembly
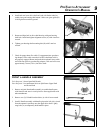
1. Remove vinyl cap from lower end of drive shaft tube.
2. Loosen two (2) fender/wheel assembly bracket bolts (A) with 10
mm open end wrench. The bolts should be very loose to prevent
bracket from damaging locating arrow decal label.
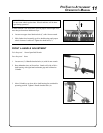
3. Install fender/wheel assembly, fender side rst, onto end of lower
drive shaft without serial number label. End of drive shaft should
be 95 mm (3.74 in.) from fender clamp. Assure locating hole (B) is
facing upward, and locating arrow decal (C) is aligned with edge of
fender clamp.
4. Tighten bolts (A).