43
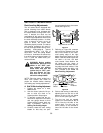
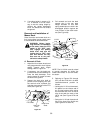
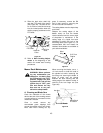
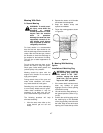
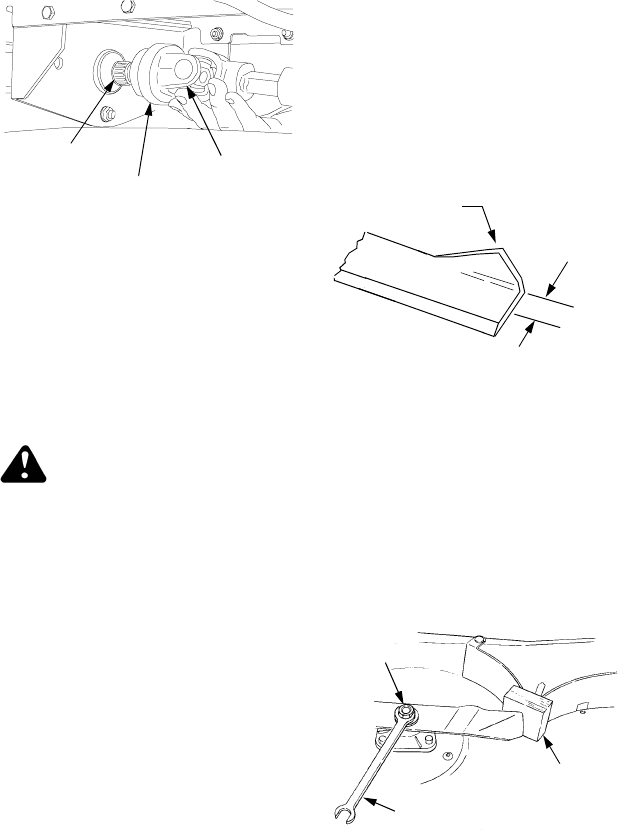
14. Slide the deck drive shaft fully
onto the PTO shaft of the tractor
(See Figure 46). The auto-lok col-
lar of the drive shaft should snap
into the locked position when the
shaft is properly positioned on the
PTO shaft.
Figure 46
15. Refer to Deck Leveling Adjust-
ments at the beginning of this
section for mower deck leveling
procedures.
Mower Deck Maintenance
WARNING: Before perform-
ing any maintenance pro-
cedures on the deck, place
the PTO switch in the “OFF”
position, engage the park-
ing brake lever, and turn the
ignition key to “OFF” posi-
tion and remove the key.
Use care not to cut your-
self on the sharp blades.
A. Cleaning and Blade Care
Clean the underside of the mower
deck at the end of the mowing season
or when buildup of cut material on the
underside is noticed.
Once a month remove any
accumulated grass clippings from
around the spindle pulleys and V-belt.
More often when mowing tall, dry
grass. If necessary, remove the RH
and LH belt covers by removing the
six hex nuts and lock washers.
The cutting blades must be kept sharp
at all times.
Sharpen the cutting edges of the
blades evenly so that the blades
remain balanced and the same angle
of sharpness is maintained. If the
cutting edge of a blade has been
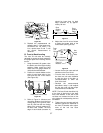
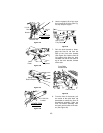
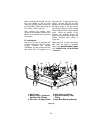
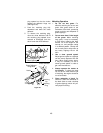
sharpened to within 5/8 inch of the
wind wing radius (See Figure 47), it is
recommended that new blades be
installed. New blades are available at
your authorized dealer.
Figure 47
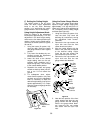
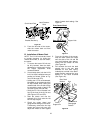
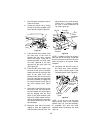
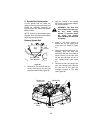
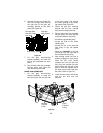
When removing the blades, use a 1-
1/8 inch wrench to hold the head of
the spindle bolt while loosening the
hex flange nut securing the blade. A
block of wood may be placed
between the deck housing and the
cutting edge of the blade to assist in
removal of the hex flange nut (See
Figure 48).
Figure 48
Deck Drive
ShaftAuto-Lok
Collar
PTO Shaft
5/8" From
Radius
Wind
Wing
Hex Nut
1-1/8" Wrench
Wood Block
in Position
1-1/8" Wrench


