


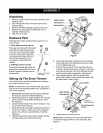


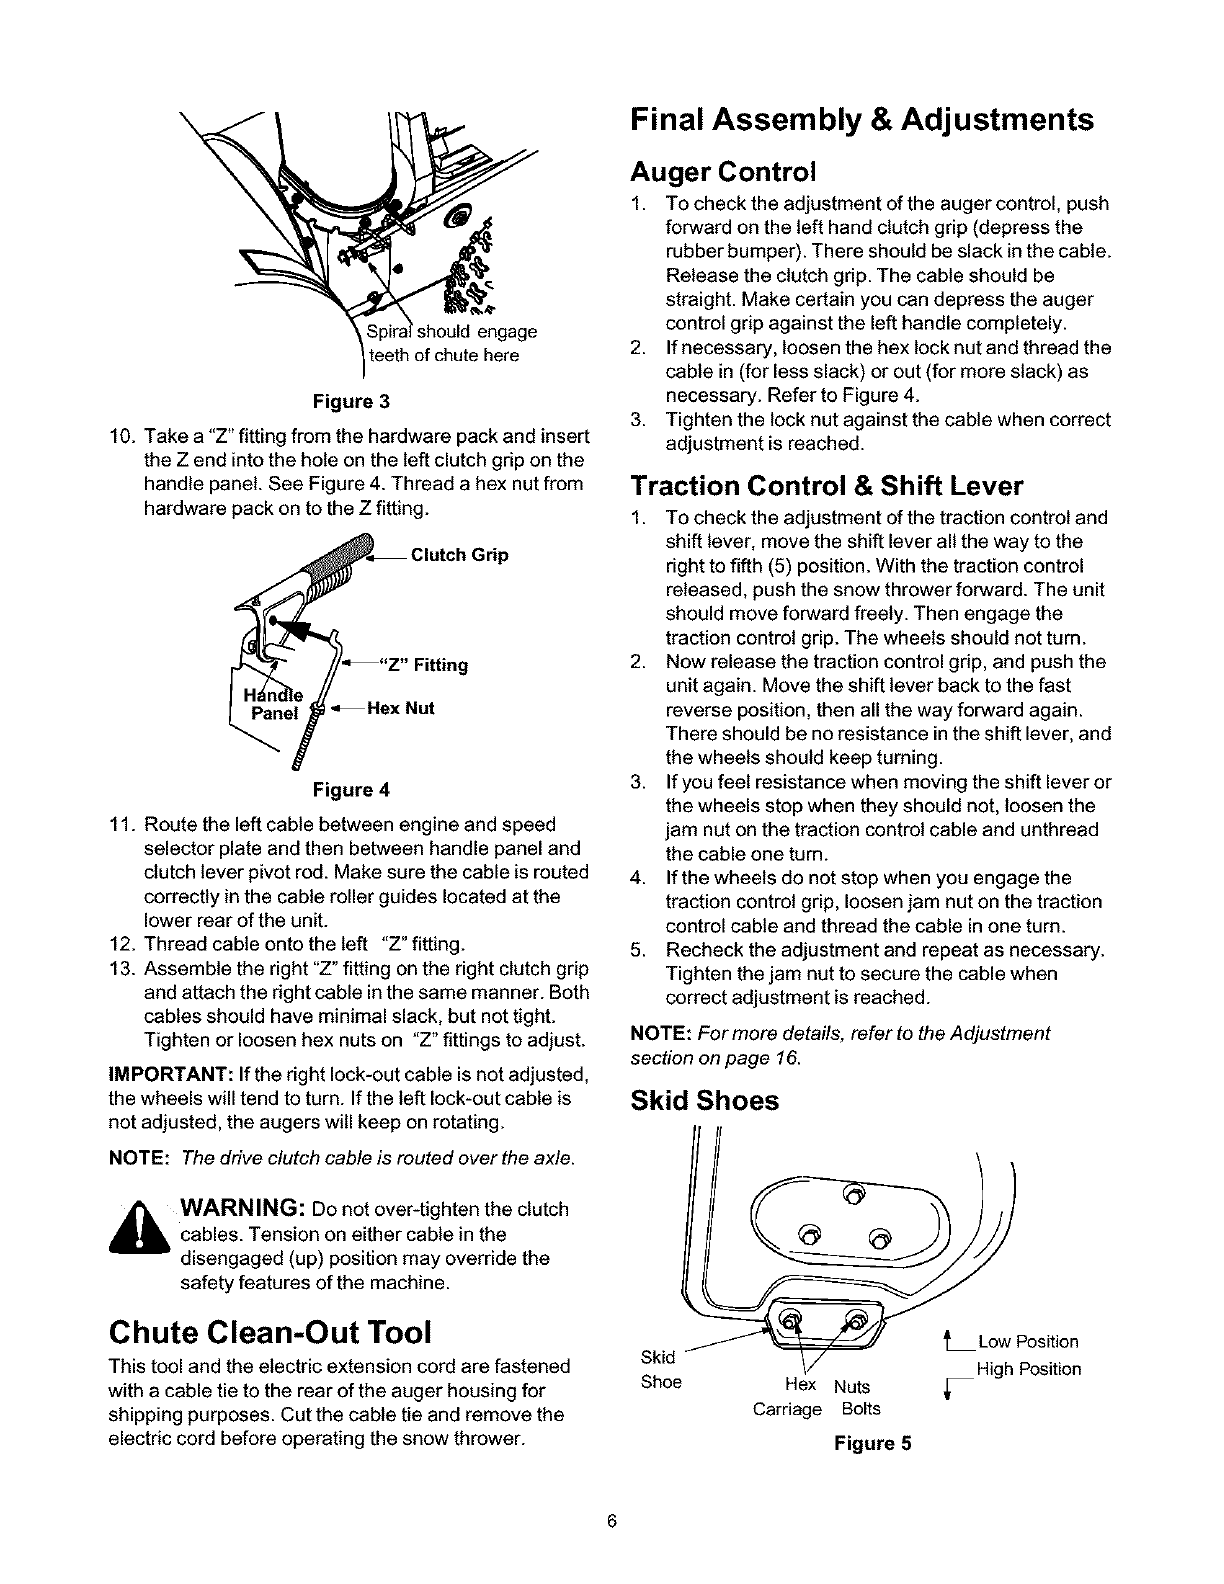
Figure 3
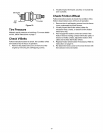
10. Take a "Z" fitting from the hardware pack and insert
the Z end into the hole on the left clutch grip on the
handle panel. See Figure 4. Thread a hex nut from
hardware pack on to the Z fitting.
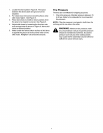
P
Hex Nut
Figure 4
11. Route the left cable between engine and speed
selector plate and then between handle panel and
clutch lever pivot rod. Make sure the cable is routed
correctly in the cable roller guides located at the
lower rear of the unit.
12. Thread cable onto the left "Z" fitting.
13. Assemble the right "Z" fitting on the right clutch grip
and attach the right cable in the same manner. Both
cables should have minimal slack, but not tight.
Tighten or loosen hex nuts on "Z" fittings to adjust.
IMPORTANT: If the right lock-out cable isnot adjusted,
the wheels will tend to turn. If the left lock-out cable is
not adjusted, the augers will keep on rotating.
NOTE: The drive clutch cable is routed overthe axle.
_bb WARNING: Do not over-tighten the clutch
cables. Tension on either cable in the
disengaged (up) position may override the
safety features of the machine.
Chute Clean-Out Tool
This tool and the electric extension cord are fastened
with a cable tie to the rear of the auger housing for
shipping purposes. Cut the cable tie and remove the
electric cord before operating the snow thrower.
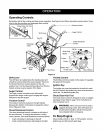
Final Assembly & Adjustments
Auger Control
1. To check the adjustment of the auger control, push
forward on the left hand clutch grip (depress the
rubber bumper). There should be slack in the cable.
Release the clutch grip. The cable should be
straight. Make certain you can depress the auger
control grip against the left handle completely.
2. If necessary, loosen the hex lock nut and thread the
cable in (for less slack) or out (for more slack) as
necessary. Refer to Figure 4.
3. Tighten the lock nut against the cable when correct
adjustment is reached.
Traction Control & Shift Lever
1. To check the adjustment of the traction controt and
shift lever, move the shift lever all the way to the
right to fifth (5) position. With the traction control
released, push the snow thrower forward. The unit
should move forward freely. Then engage the
traction control grip. The wheels should not turn.
2. Now release the traction control grip, and push the
unit again. Move the shift lever back to the fast
reverse position, then all the way forward again.
There should be no resistance in the shift lever, and
the wheels should keep turning.
3. If you feel resistance when moving the shift lever or
the wheels stop when they should not, loosen the
jam nut on the traction control cable and unthread
the cable one turn.
4. If the wheels do not stop when you engage the
traction control grip, loosen jam nut on the traction
control cable and thread the cable in one turn.
5. Recheck the adjustment and repeat as necessary.
Tighten the jam nut to secure the cable when
correct adjustment is reached.
NOTE: For more details, refer to the Adjustment
section on page 16.
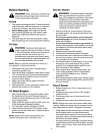
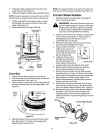
Skid Shoes
Low Position
Skid
Shoe Hex Nuts _High Position
Carriage Bolts
Figure 5