


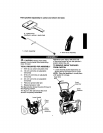
• Remove and discard the packing material
from around the snowthrower.
• Cut all four corners of the carton from top
to bottom and lay the panels flat.
• Cut ties securing the clutch control cable
to the lower handle and lay cable back
away from the motor frame.
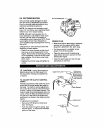
• Standing at rear, tiltsnowthrower forward
and remove packaging under motor
frame. NOTE: Be careful not to pull
auger drive cable from motor frame.
• Roll the snowthrower off the carton by
pulling on the lower handle. Caution: Do
not back over cable.
• Remove the packing material from
handle assembly and all plastic material
from unit.
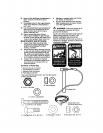
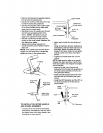
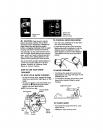
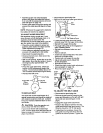
NOTE: If the cables have become discon-
nected from the clutch lever, reinstaUthe
cables as shown in the figures below.
"Z" Fitting
sApgegdriv_e ! Auger drive
_ _g cable
==_.) Auger drive
spnng cable
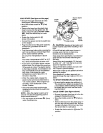
TO INSTALL THE UPPER HANDLE
AND CRANK ASSEMBLY
• Loosen, but do not remove, the screws,
flatwashers, Iockwashers, and hex nuts in
the upper holes of the lower handle, (see
first figure on next column),
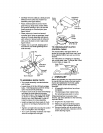
Protective,.
5/16"Hex
HeadNut_
5/16"LockwasheP/
/Upper Handle
Loosen, but
do not remove
5/16" X 2"
/Screw
\
5/16"
Flatwasher
• Raise upper handle into operating posi-
tion.
• Using the hardware (screws, flatwashers,
Iockwashers, and hex head nuts found in
parts bag), attach the upper and lower
handle in the lower holes. Do not tighten
until all screws are in place (see figure
above).
• Tighten four handle bolts with 1/2 inch
wrench.
NOTE: Make sure the cable is not caught
between the upper and lower handle. Also
make sure cable is not wrapped or tangled
around handles.
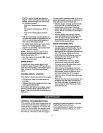
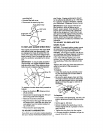
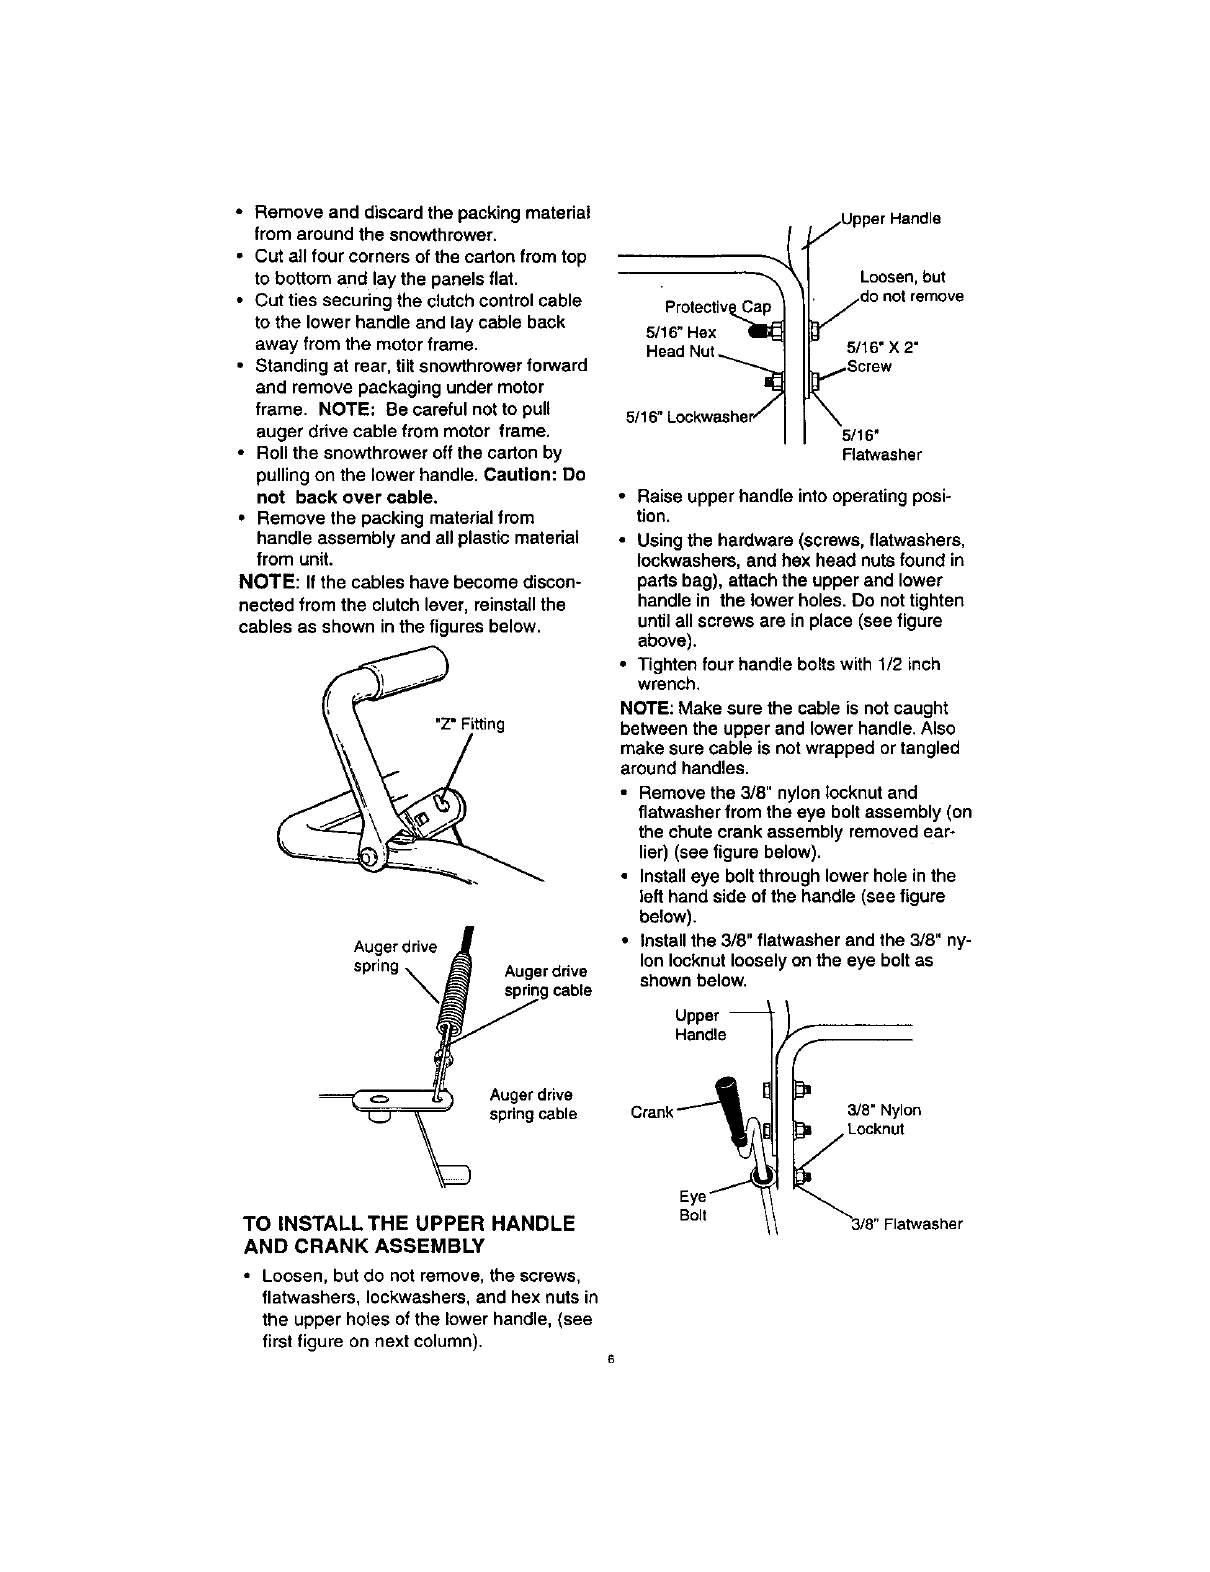
• Remove the 3/8" nylon iocknut and
flatwasher from the eye bolt assembly (on
the chute crank assembly removed ear-
lier) (see figure below).
• Install eye bolt through lower hole in the
left hand side of the handle (see figure
below).
• Install the 3/8" flatwasher and the 3/8" ny-
lon Iocknut loosely on the eye bolt as
shown below.
Upper
Handle
3/8" Nylon
Locknut
Bolt