ASSEMBLY
6
ASSEMBLY
Your generator requires some assembly and is ready for
use after it has been properly serviced with the
recommended oil and fuel.
If you have any problems with the assembly of your
generator,please call the generator helpline at
1-800-743-4115. If calling for assistance, please have the
model, revision, and serial number from the data tag available.
See “Know Your Generator” for data tag location.
Unpacking the Generator
1. Set the carton on a rigid flat surface.
2. Open carton completely by cutting each corner from
top to bottom.
3. Cut ties holding accessory kit and extension cord to
generator and remove everything from carton.
ELECTRIC START
Your unit is equipped with electric start capability but can
be started manually. If you choose not to use the electric
start feature, you do not need to install the negative
battery cable.
Check Battery / Attach Negative
Battery Wire
The sealed battery on the generator is fully charged and
pre–installed except for the negative (black) battery cable.
You will need the following tools to install the negative
battery cable:
• Socket wrench with a 8 mm socket
• Diagonal cutters
To install:
1. Cut off tie wrap securing loose end of negative (black)
cable.
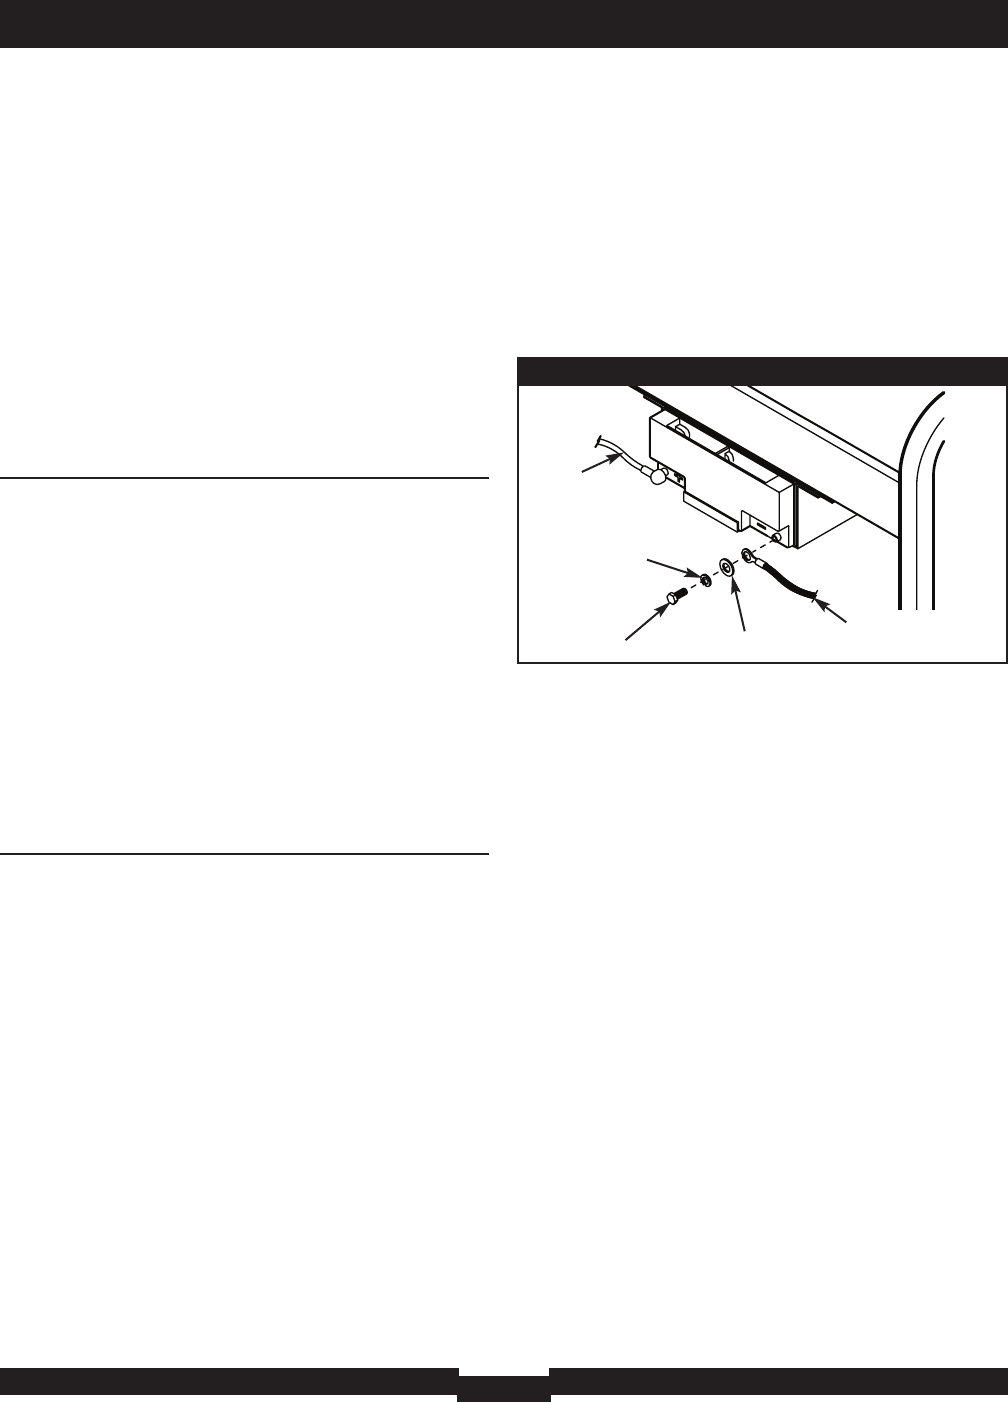
2. Using a 8 mm socket wrench, remove screw, lock
washer and flat washer on negative battery terminal.
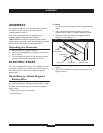
3. Slide lock washer, flat washer and negative battery
cable over screw (Figure 1).
4. Reattach screw to negative battery terminal and
tighten.
5. Verify that connections to battery and generator are
tight and secure.
Figure 1 — Negative Battery Connection
Negative
Battery Cable
Screw
Flat Washer
Lock Washer
Positive
Battery Cable


