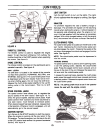
Negative
I~
,I
=~~~
..! r- --.,,-
/ Positive
\y Terminal
Battery
~Drain
Tube
\'9
~
-'- --
Battery -\
Black Box Red
(Negative) (Positive)
Cable Cable
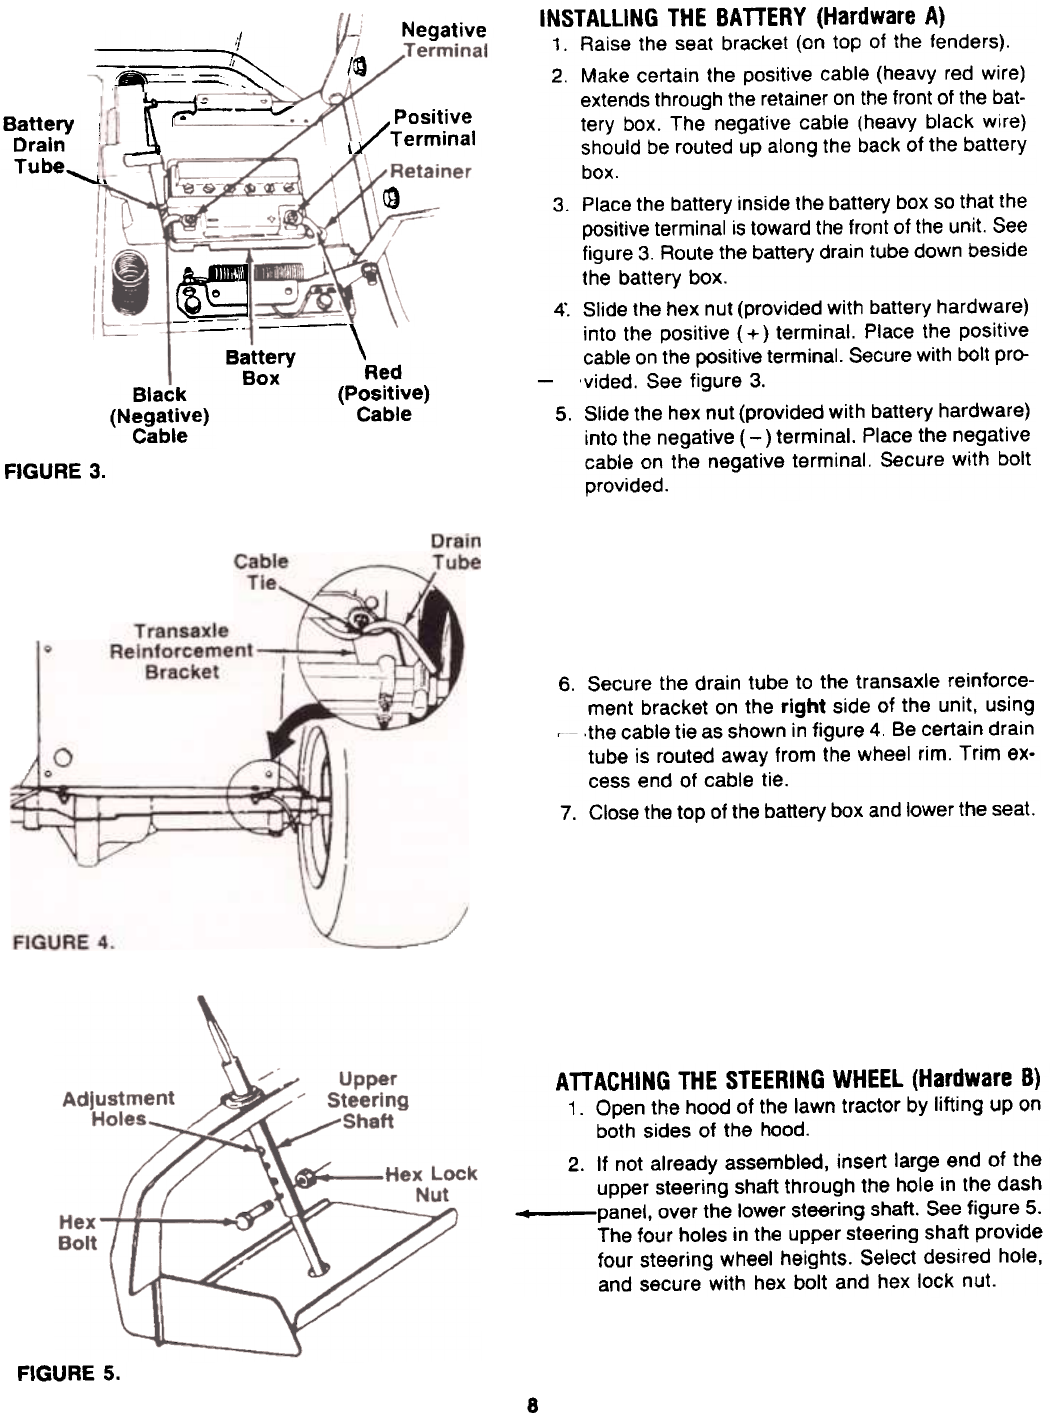
INSTALLING THE BATTERY (Hardware A)
1. Raise the seat bracket (on top of the fenders).
2. Make certain the positive cable (heavy red wire)
extends through the retainer on the front of the bat-
tery box. The negative cable (heavy black wire)
should be routed up along the back of the battery
box.
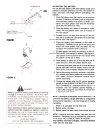
3. Place the battery inside the battery box so that the
positive terminal is toward the front of the unit. See
figure 3. Route the battery drain tube down beside
the battery box.
4". Slide the hex nut (provided with battery hardware)
into the positive (+) terminal. Place the positive
cable on the positive terminal. Secure with bolt pro--'vided.
See figure 3.
5. Slide the hex nut (provided with battery hardware)
into the negative (-) terminal. Place the negative
cable on the negative terminal. Secure with bolt
provided.
FIGURE 3.
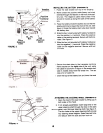
6. Secure the drain tube to the transaxle reinforce-
ment bracket on the right side of the unit, using
~ .the cable tie as shown in figure 4. Be certain drain
tube is routed away from the wheel rim. Trim ex-
cess end of cable tie.
7. Close the top of the battery box and lower the seat.
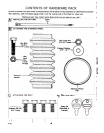
ATTACHING THE STEERING WHEEL (Hardware B)
1. Open the hood of the lawn tractor by lifting up on
both sides of the hood.
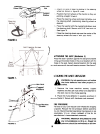
2. If not already assembled, insert large end of the
upper steering shaft through the hole in the dash
.panel, over the lower steering shaft. See figure 5.
The four holes in the upper steering shaft provide
four steering wheel heights. Select desired hole,
and secure with hex bolt and hex lock nut.
FIGURE 5.
8


