4 - 19
5. If meter reads below 6.00 ohms or above 8.00
ohms, then the clutch has failed and needs to be
replaced.
6. If meter reads between 6.00 to 8.00 ohms, proceed
to measure clutch current draw.
Measure Clutch Current Draw
1. Turn engine off.
2. Remove 30 amp fuse.
3. Set meter to check amps (10 amp scale).
4. Connect one meter lead to the fuse holder.
5. Connect the other meter lead to the second wire in
the fuse connector.
6. Turn the ignition switch to run, sit on the seat and
turn the PTO switch to on.
7. If the meter reads below 3.5 amps, the problem
would be in the electrical system leading to the
clutch (battery, relay, switch wiring).
If after completing the tests:
• The resistance falls between 6.00 and 8.00 ohms.
• The amp draw is 3.50 or above.
The electric clutch is within factory specifications and is
not the source of the problem.
4.14 ADJUSTMENT OF TRANSMISSION
NEUTRAL (HYDRO)
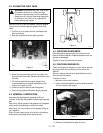
1. Raise and block the rear of the unit so that the rear
wheels are off the ground.
2. With the operator in the seat, start the unit and
allow the transmission to warm up prior to
adjustment.
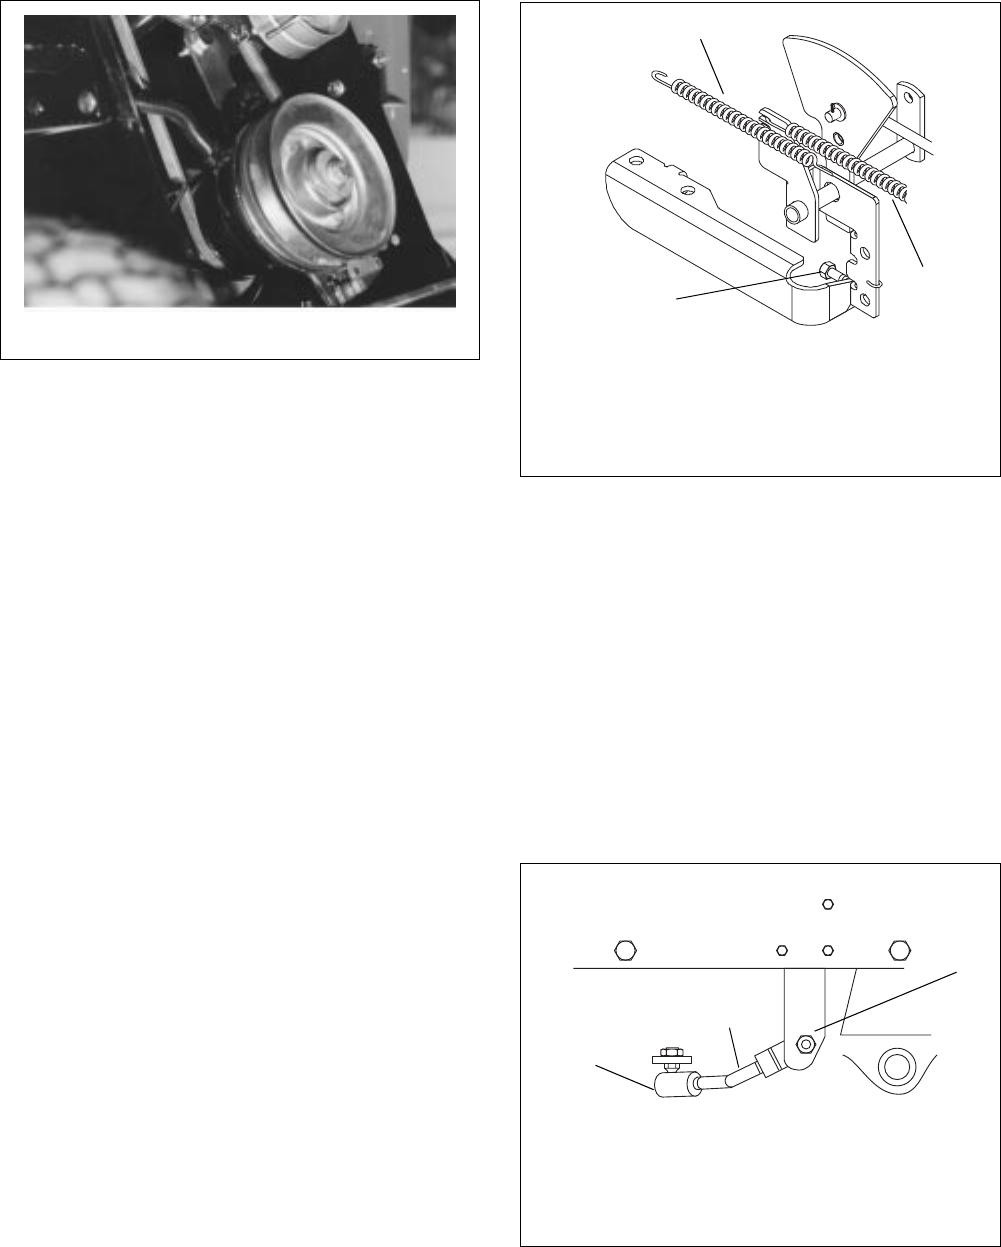
3. With the parking brake released, turn the
adjustment bolt clockwise until the rear wheels turn
in one direction.
4. Turn the adjustment bolt counterclockwise until the
wheels turn in the other direction.
5. Center the adjustment bolt between these two
points.
4.15 ADJUSTMENT OF TRANSAXLE
NEUTRAL (GEAR)
1. Raise and block the rear of the unit so that the rear
wheels are of the ground.
2. Remove the left rear wheel.
3. Remove the spring loaded ball joint from the
transaxle shift arm.
4. Place the operator shift lever in neutral.
5. Move the transaxle shift arm to neutral, the OK To
Start light will come on in the dash if the parking
brake is set and the ignition switch is in the run
position.
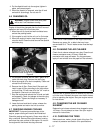
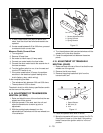
Figure 12
936-8
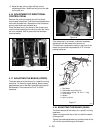
Figure 13
OT0041
1. Neutral Adjustment Bolt
2. Spring-Forward
3. Spring-Reverse
3
2
1
2
1
3
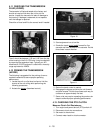
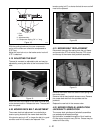
Figure 14
OT0030
1. Speed Selector
2. Ball Joint (2)
3. Link


