46 C4632M (11/09)
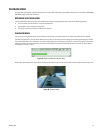
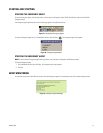
EXPORTING STANDARD DATA
To export standard data:
1. In the Site Tree, click a site.
2. On the toolbar, click the Export icon .
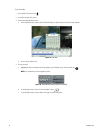
3. To enter the export settings.
a. In the Server box, verify that the correct site appears. The Server box is unavailable, but the site name is visible.
b. In the Channel section, select the export channels (1 to 4).
c. (Optional) To export audio data, in the Audio box, select On.
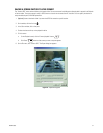
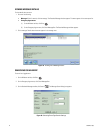
4. To select a folder to store the exported schedule, perform one of the following options:
• Accept the default path: By default, the path is C:\DX4100 Exported files. Go to step 6.
• Enter a different path:
(1) In the Windows environment, create a folder.
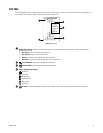
(2) In the Save Path box, click Browse . The Export dialog box appears.
(3) Go to folder, click the folder, and then click OK. The path appears in the Save Path box.
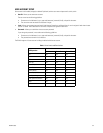
5. In the Data Type box, select a format.
6. Click Add. The entry appears in Export Setting table.
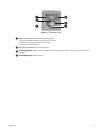
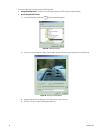
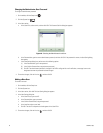
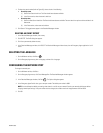
7. To export data:
a. In the Export Setting table, select an entry.
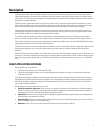
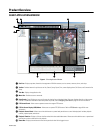
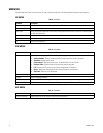
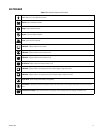
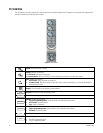
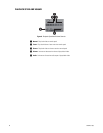
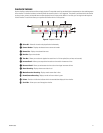
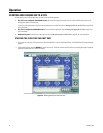
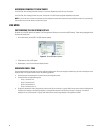
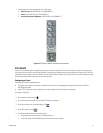
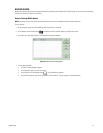
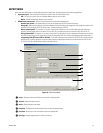
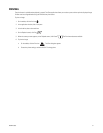
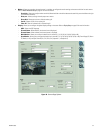
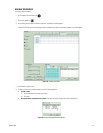
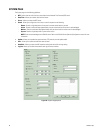
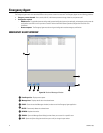
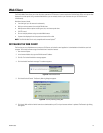
Figure 37. Export Dialog Box
b. Click Export.
s
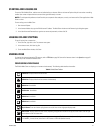
Export Table Buttons:
• Add: Populates the export table with the an export schedule.
• Edit: Allows you to modify an existing export schedule.
• Delete: Permanently removes the selected export schedule from the export table.
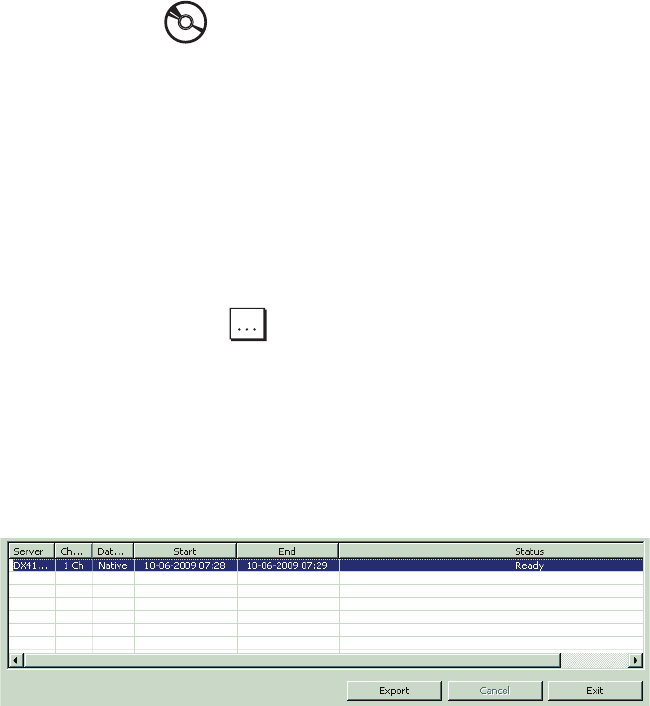
t
Export Table: Displays the export entry.
u
Export controls:
• Export: Starts the export process.
• Cancel: Stops the export process.
• Exit: Exits the Export mode. Exiting the Export mode does not stop or cancel an active export process.