COM Ports 29
E-EQ-MX5PCOGWW-G-ARC MX5 User’s Guide
COM Ports
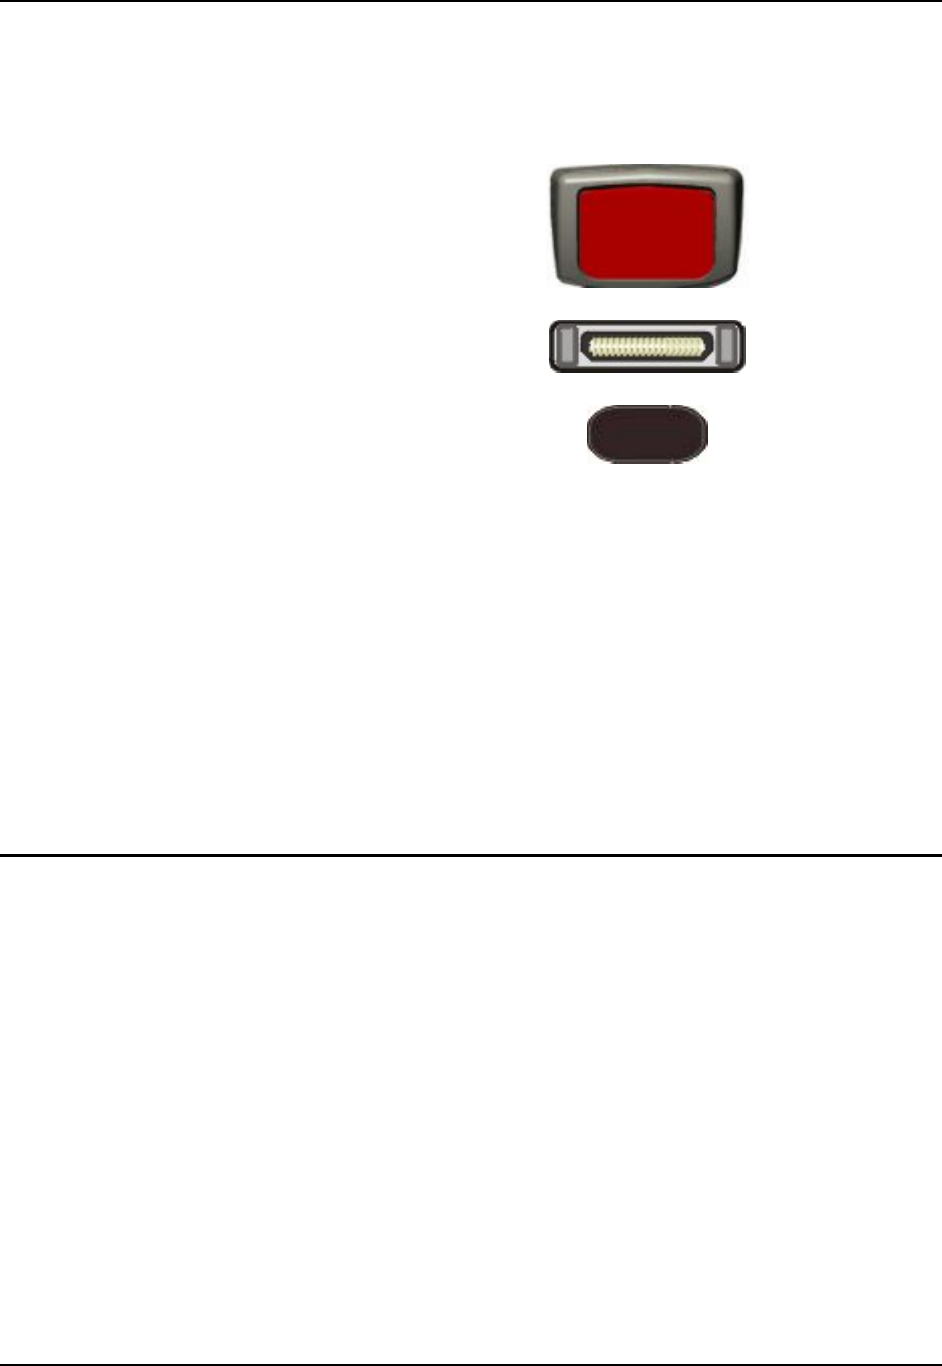
The MX5 supports three COM port options.
Scanner Port
RS-232 Port, USB
and Power Connection
(COM 1, COM 4)
IR Port (COM 3)
Figure 21 COM Ports
COM 1 port is always the left RS-232 port on the base of the MX5. COM 1 port accepts RS-232,
USB and AC power connectors.
The RS-232 port on the docking cradle is “connected” to the MX5 when a tethered scanner is
connected to the RS-232 port on the MX5 cradle, and the MX5 is in the cradle. The cradle must
be powered by an alternate AC or DC power source to enable tethered scanner use.
The COM 3 port is always the IR port on the base of the MX5.
COM 4 is always the right RS-232 port on the base of the MX5. COM 4 port accepts RS-232 and
AC power connectors.
To edit Scanner Com Port parameters, tap the Windows icon | Settings | System | Scanner.
Change the parameter values and tap OK to save the changes.
Tethered Scanners and the MX5
LXE cable number MX5A055CBL3IND26D9M must be used with PowerScan® SR, LR and XLR
tethered scanners connected directly to the MX5 device. Do not connect Symbol® tethered
scanners to the MX5 device or to this cable.
Both PowerScan and Symbol tethered scanners will send scanned data to the MX5 when the MX5
is in the cradle and the scanners are connected to the RS-232 port on the powered cradle.
The MX5 Scan buttons have no effect on tethered scanners. Pressing the trigger handle on
tethered scanners sends the data from the tethered scanner to the MX5.
Note: When using the 8500 Series tethered scanners, the tethered scanner Power Mode must be
set to “Reduced Power Mode”to conserve battery life. The reduced power mode setting
will not impact performance of the 8500 series scanner. The default mode is
“Continuous On”. Please refer to the manufacturer’s user guide for instruction.
