Filename [DR-M10AG_AX_AA2_11Subsidiary.fm]
Masterpage:Left+
94 EN
Page 94 April 27, 2004 11:13 am
SUBSIDIARY SETTINGS (cont.)
D
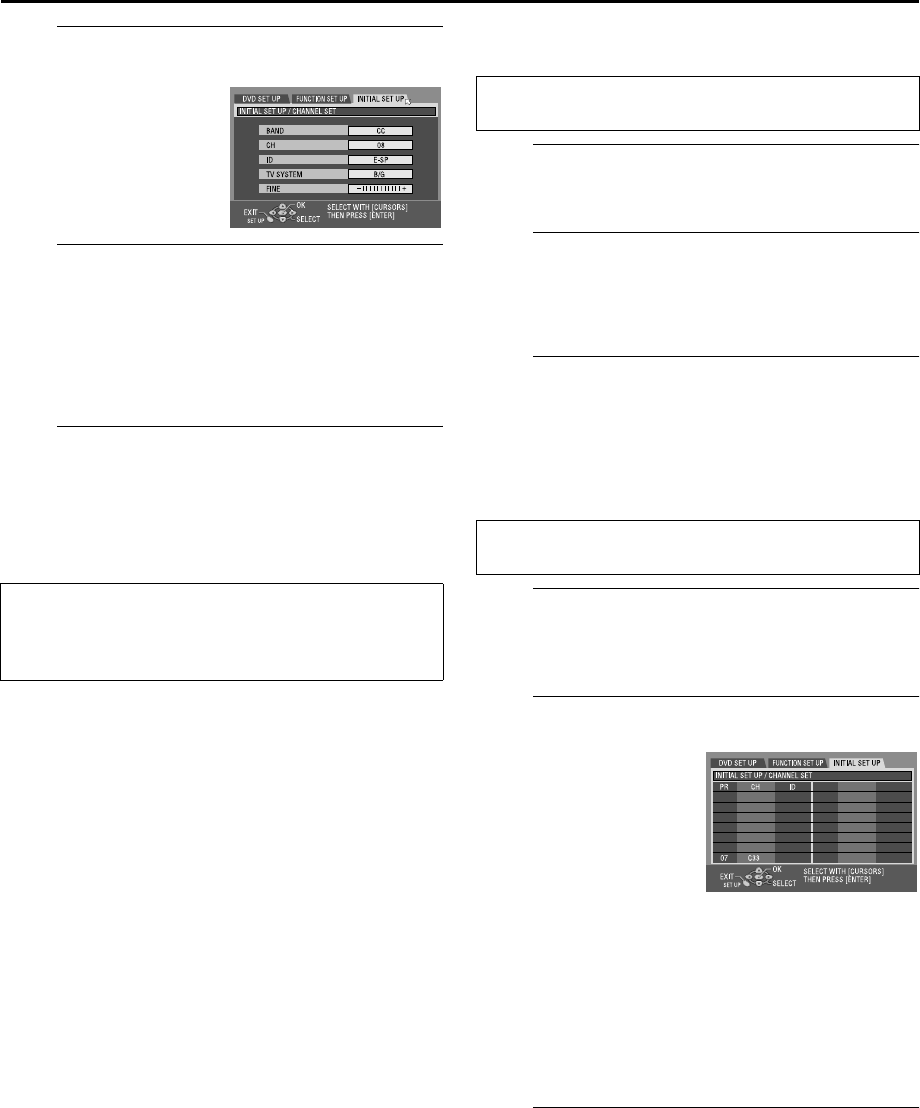
Select the band.
E
Enter the channel.
A Press rt to select “CH”, then press ENTER.
B Press rt to input the channel number you want to
store, then press ENTER.
● Repeat steps C – E as necessary.
● For fine tuning adjustment, press rt to select “FINE”, then
press ENTER. Press rt to perform fine-tuning.
F
Close the Confirmation screen.
Press SET UP three times.
● To change positions, see “Change Station Channel Position”
(in the right column).
● If you wish to set station names other than the ones registered
in your unit, see “Set Stations” (
੬ pg. 95).
Delete A Channel
A
Select the item.
Press rt w e to select the item you want to delete.
B
Delete a channel.
Press &.
● The item next to the cancelled one moves up one line.
● Repeat steps A and B as necessary.
C
Close the Confirmation screen.
Press SET UP twice.
Change Station Channel Position
A
Select the item.
Press rt w e to select the item you want to move, then
press ENTER.
B
Select the new position.
● Repeat steps A and B as necessary.
C
Close the Confirmation screen.
Press SET UP twice.
A Press rt to select
“BAND”, then press
ENTER.
B Press rt to change the
band between CH
(regular) and CC (cable),
then press ENTER.
TTENTI
N:
Guide Program numbers are not set when channels are
stored manually. (
੬ pg. 51, “G-CODE
TM
/SHOWVIEW
TM
System
Setup”)
Perform steps A and B of “Manual Channel Set” on page 93
to access the Confirmation screen before continuing.
Perform steps A and B of “Manual Channel Set” on page 93
to access the Confirmation screen before continuing.
Press rt w e to select the
new channel position, then
press ENTER.
Example: If you moved the
station in position 4 to
position 2, the stations
originally in positions
2 and 3 each move
down one space.
