Operation 11
MAN0869 (04/13/2011)
The snowblower is mounted on a tractor 3-point hitch
and driven by the tractor PTO. A centrally located gear-
box directs power to the fan and auger.
TRACTOR REQUIREMENTS
3-Point Hitch
The compact snowblower (C series) requires the trac-
tor to be equipped with a Category 1 or 2 three-point
hitch. The sub-compact (S series) snowblower requires
the tractor to be equipped with a limited Category 1 or
Category 1 three-point hitch.
Hydraulic Circuit
Either closed-center or open-center systems can be
used for the optional hydraulic spout control.
Tire Configuration
For best results, the tractor wheels should be set nar-
rower than the cutting width of the snowblower. Wider
wheel settings will cause snow to be pulled under the
tractor and may require additional passes.
PTO Shaft
The tractor must be configured to accept a 1-3/8" 6-
spline 540 RPM system and must meet horsepower
specifications. See specifications, page 4.
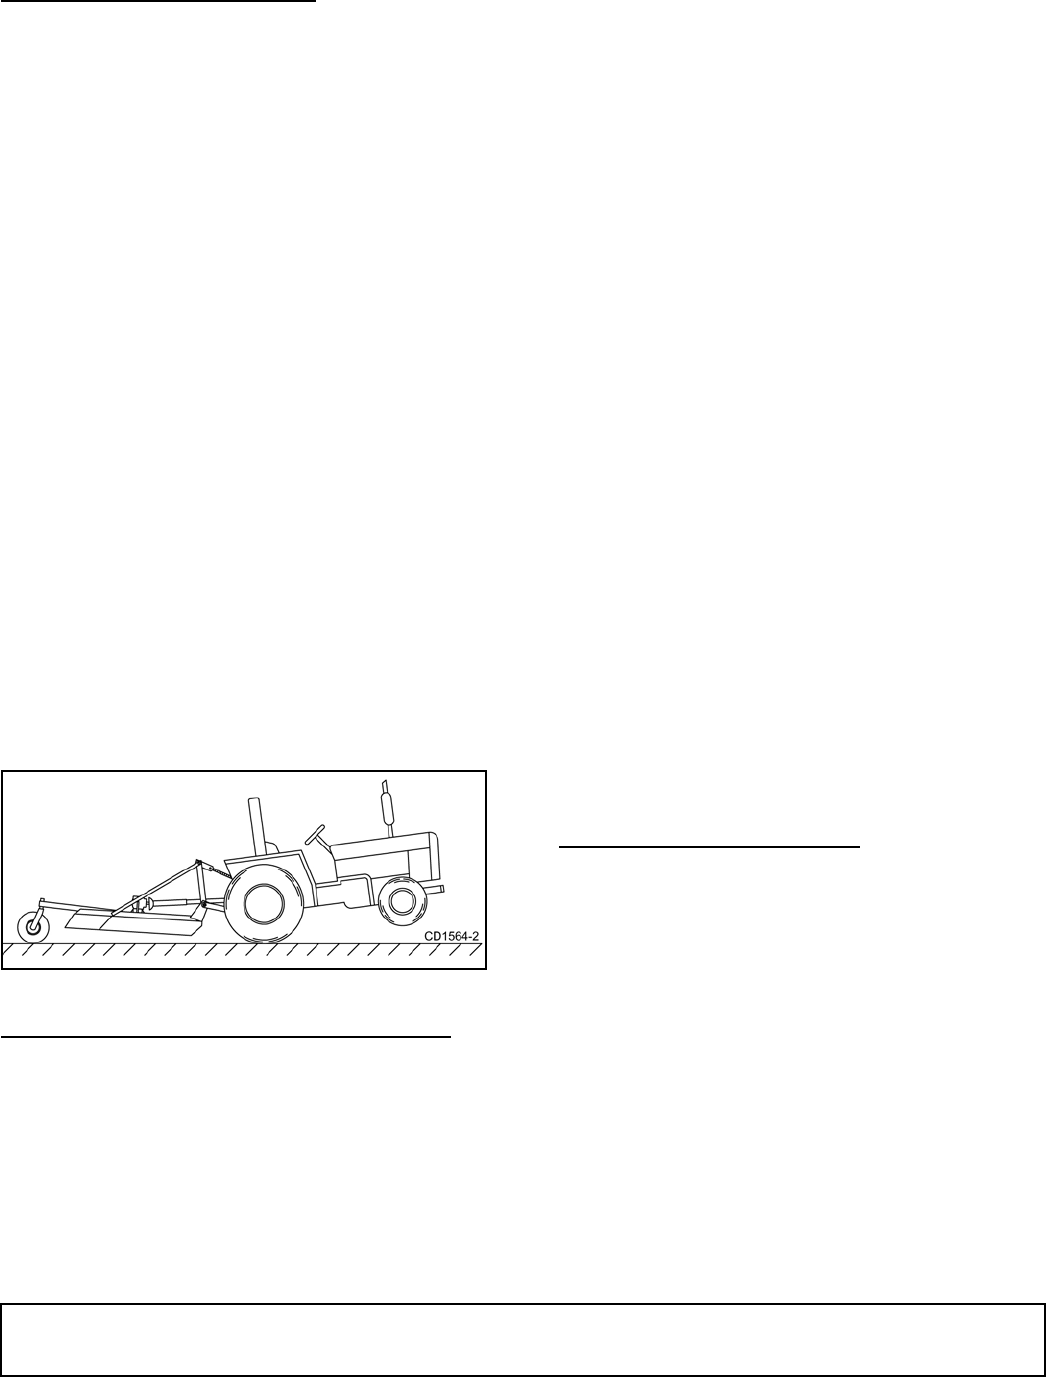
Tractor Stability
A minimum 20% of tractor and equipment
weight must be on the tractor front wheels when
attachments are in transport position. Without this
weight, front tractor wheels could raise up result-
ing in loss of steering. The weight may be attained
with front wheel weights, ballast in tires or front
tractor weights. Weigh the tractor and equipment.
Do not estimate.
Figure 1. Tractor Stability (Typical)
ATTACHING SNOWBLOWER TO TRACTOR
1. Move the tractor into position in front of the snow-
blower. Move back slowly and carefully, not allow-
ing anyone to be between the tractor and the
snowblower.
2. Turn off tractor engine.
3. Attach two lower arms of 3-point hitch with the two
hitch-pin assemblies.
4. Attach tractor center link to upper hitch point of
snowblower. Adjust length of center link until the
top edge of the frame ends are parallel to ground.
5. Adjust tractor lower 3-point arm anti-sway devices
to prevent snowblower from swinging side to side
during transport.
6. Attach front PTO driveline from snowblower to
tractor. Slide front section of PTO driveline into
back section. Slide PTO shaft onto rear of tractor.
NOTICE
■ If the PTO driveline is too long, severe driveline
and gearbox damage is possible when hooking up
the PTO driveline from the rotary snowblower to
the tractor. The front PTO driveline is long enough
to fit a variety of tractors. It is possible that the
front PTO driveline will need to be cut. There will be
NO benefit by cutting only one telescoping section.
Both sections of the driveline must be cut. DO NOT
FORCE THE PTO TO FIT.
■ If attaching with quick hitch, the distance
between the tractor PTO and gearbox input shaft
will increase. Please follow the steps as you would
for a 3-point hitch to insure proper engagement.
■ When attaching snow blower to multiple trac-
tors consider the drive length needed for each trac-
tor and whether the drive line will work in all
combinations.
■ WARRANTY IS VOID IF THE PTO DRIVELINE IS
TOO LONG, resulting in gearbox, PTO, yoke or
cross bearing damage.
NOTE: The PTO driveline, when attached to the
tractor and gearbox, must not extend so there is
less than 10-3/4” (bilobe) or 4-1/2" (trilobe) of over-
lap within the PTO driveline.
DRIVELINE ATTACHMENT
Attach snowblower to tractor 3-point hitch (or quick
hitch if available). Do not attach driveline the first time
you attach the snow blower to the tractor. Raise and
lower snowblower to determine maximum and mini-
mum distance between tractor PTO shaft and gearbox
input shaft. If distance is too large, driveline will be too
short for proper engagement. If distance is too small,
driveline may bottom out in operation and damage
snowblower or tractor.
If driveline is too short, please call your Woods dealer
for a longer driveline.
If driveline is too long, please follow instructions for
shortening driveline.
(Rev. 9/8/2011)


