


Assembly Instructions
19
3. After the battery is lled with electrolyte, replace
the ller caps and charge the battery. Refer to
Battery Charging.
Battery Charging
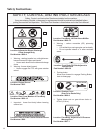
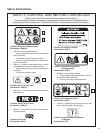
DANGER
BATTERIES PRODUCE EXPLOSIVE GASES
• Charge the battery in a well-ventilated
area, so that gases produced while charg-
ing can dissipate.
• Keep sparks, ames, and smoking mate-
rials away from the battery at all times.
• Make sure the battery cap vents are open
after the battery is lled with acid (check
manifold vent on each cap).
• Make sure the battery charger is un-
plugged before connecting or disconnect-
ing cables to the battery.
1. Charge the battery at 15 amps for 10 minutes.
DO NOT exceed 20 amps maximum recom-
mended charging rate. Charge until specic
gravity is at least 1.250. Total charging time
should not exceed one (1) hour.
2. After charging the battery, adjust the electrolyte
level to the bottom of the vent wells [1/4 to 1/2 in.
(6 to 13 mm) above the plates].
IMPORTANT: DO NOT overll the battery.
Electrolyte will overow through the vented caps
onto parts of the machine and WILL result in se-
vere corrosion.
3. Install battery.
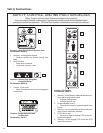
Battery Installation
IMPORTANT: Make sure battery is securely mount-
ed in the frame. A loose battery may cause damage
to the case resulting in acid leakage and severe
damage to the machine. A hazard may be created
by damage to critical working parts and safety sys-
tems.
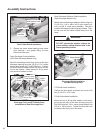
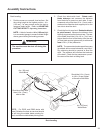
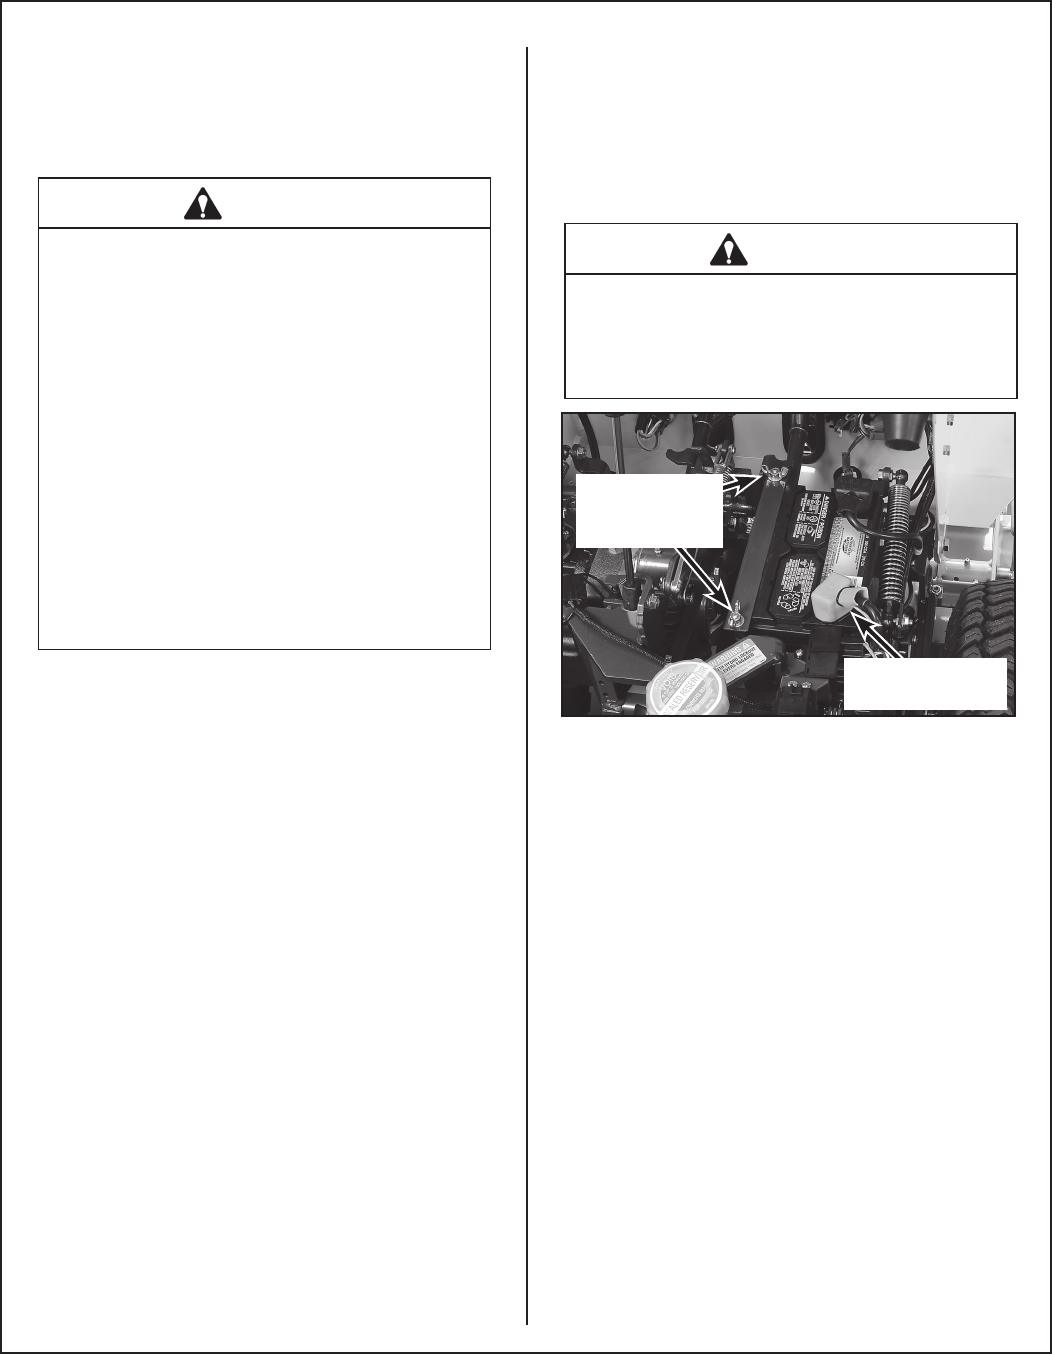
Install the battery in the mower as shown in Battery
Installation photo. Connect the positive (+) rst and
then the negative (-) cable to the proper battery ter-
minal [red cable and boot connects to the Posi-
tive (+) terminal]. Slide the rubber boot up and over
the battery post, making sure it covers the post com-
pletely to prevent an electrical short.
WARNING
Make sure the battery cap vents are open.
Improper venting of the battery COULD
cause a battery explosion.
Battery Clamp
Secured by
Wing Nut(s)
(+) Battery Cable
Connection
Battery Installation
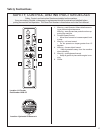
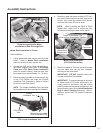
Mower Deck Assembly
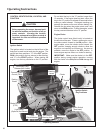
Deck Caster Wheels Installation
1. Remove the bolt, nut, axle spacer tube, and
spacer washers from each deck caster wheel
fork.
NOTE: Spacer washers are used only when
the optional semi-pneumatic deck wheels (8.25
x 2.75) are installed.
2. Fit the axle spacer tube through the wheel hub,
position the spacer washer on each side of the
hub (if used), and t the assembly into the wheel
fork.
3. Insert the 3/8-16 x 4-1/2 in. bolt through the
wheel fork with the bolt head to the outside and
install the 3/8-16 in. Keps nut.
4. Tighten the bolt and nut until the axle spacer
tube bottoms against the inside of the wheel
fork (will not turn) while the wheel and spacer
washers (if used) spin freely without binding.