Traction Drive Systems
3 - 18 Two Stage Snowthrower Drive Systems Manual
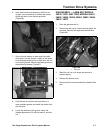
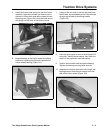
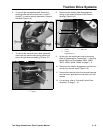
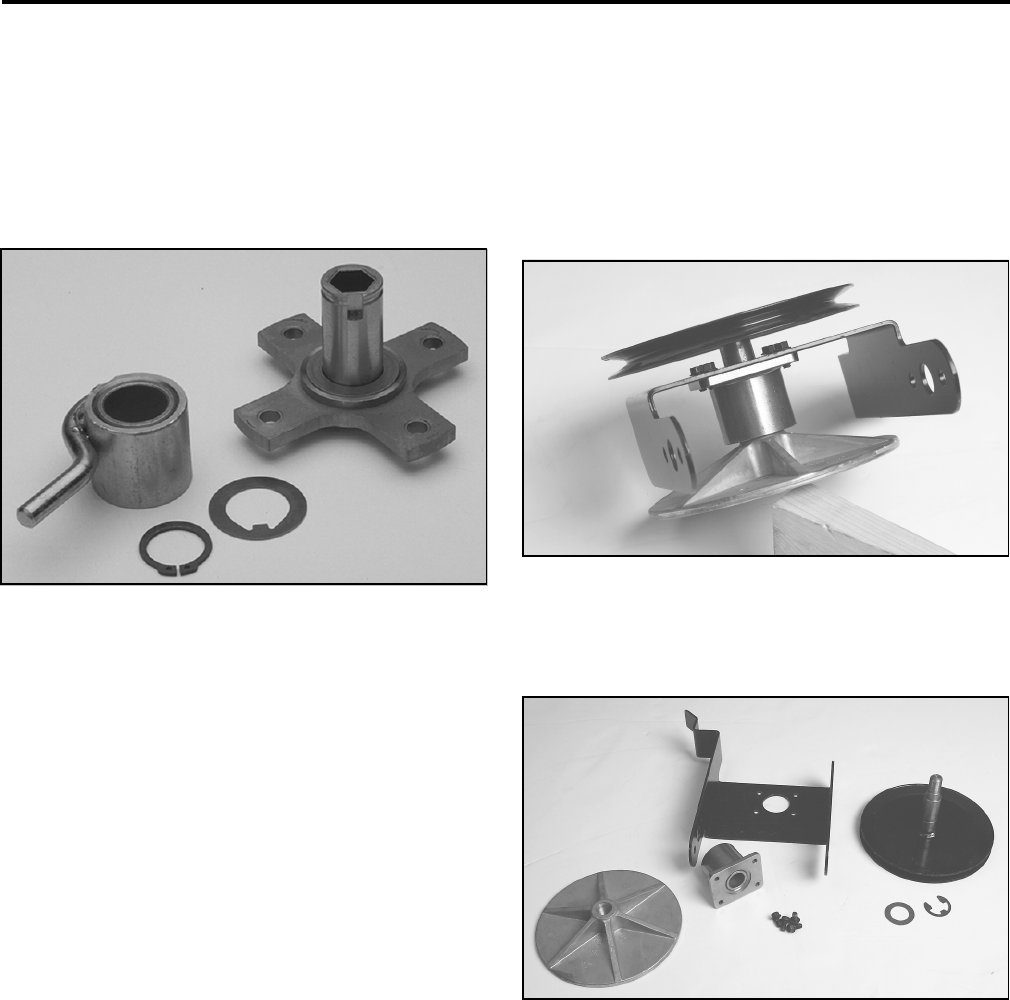
6. There are 2 versions of the hub and slider. The
early models use a normal thrust washer on either
side of the slider. Later models use a thrust
washer with an internal key that fits into a keyway
cut into the shaft portion of the hub. This keyed
version is current; if the older hub is ordered, you
will automatically get the new version (Figure
123).
Figure 123
0723-001
Assembly
1. Inspect the hex shaft for nicks, burrs, or rust.
Clean and deburr as necessary.
2. Coat the hex shaft with a light coat of engine oil,
just enough to prevent rust. Do not use grease as
it will stiffen in the cold and prevent shifting.
3. If you are reusing the old hub, assure it is clean
and free of burrs.
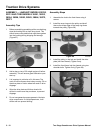
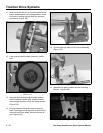
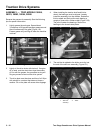
4. The slider contains an oil impregnated bearing.
Wipe the inside of the bearing with a clean shop
towel to assure there are no burrs or debris. Apply
2 or 3 drops of clean engine oil to the inside of the
bearing, install it on the shaft as shown
(Figure 122). Secure with the keyed thrust washer
and snap ring. Note the sharp edge of the snap
ring should face away from the slider.
5. Slide the spacer, sprocket, and key into place.
The shoulder on the sprocket should face away
from the slider. Apply a drop of Loctite™ Blue
#242 to the set screw and secure the sprocket to
the shaft.
Axle and Friction Plate Disassembly
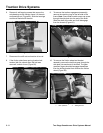
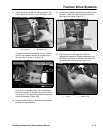
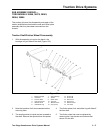
1. The pulley and shaft go through the bearing hub
and the drive plate screws on. Note: The threads
are left hand. Rotate clockwise to remove the
plate. You may find it easier to clamp the drive
plate in a vise and unscrew the pulley (Figure
124).
Figure 124
1577-019
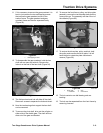
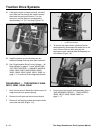
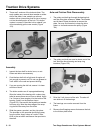
2. The pulley and shaft can now be drawn out of the
hub. Note the thrust bearing and snap ring
locations (Figure 125).
Figure 125
1577-023
3. Drive the 3 roll pins out of the axle. The axle will
now slide out of the bearings.
4. The bearings can now be removed from the
frame.
5. Remove 4 self-tapping screws that secure the hub
to the friction plate frame.


