


Note: The GreenKeeper 212 controller is not weather
resistant and must be installed indoors or in a pro-
tected area.
For outdoor installation, a weather-resistant outdoor cabi-
net is available. Order model number GK212-CAB-01 for
domestic controllers or GK212-CAB-02 for export
controllers.
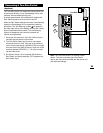
1. Select a location for the controller within 4' (1.2m) of
an electrical outlet to enable the transformer wires to
easily reach. Make sure the outlet is not controlled by
a light switch.
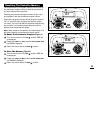
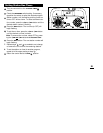
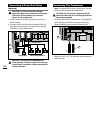
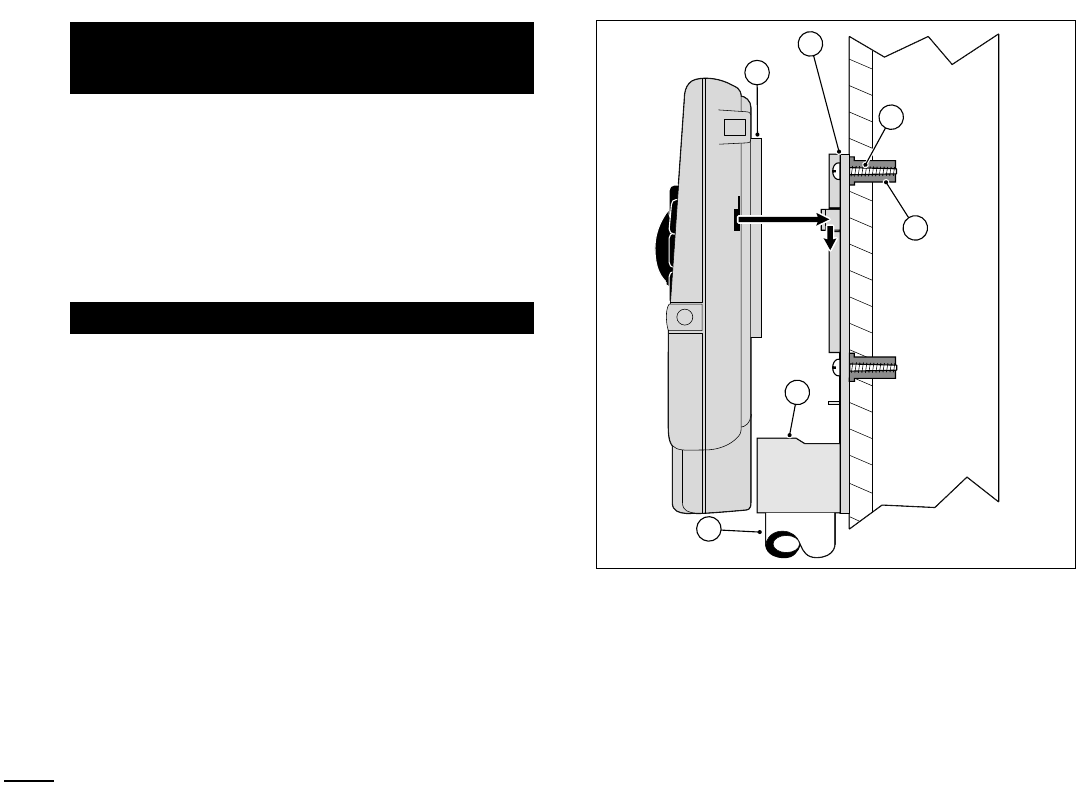
2. Remove the mounting bracket attached to the back
of the controller housing by pulling the lower edge of
the bracket away and downward from the controller
housing.
3. Place the mounting bracket (A) against the wall align-
ing the top edge at about eye level. Drive three 1"
(25mm) wood screws (B) into the wall through the
three holes provided in the bracket.
Note: If you are installing the bracket on drywall or
masonry, install screw anchors (C) to prevent screws
from loosening.
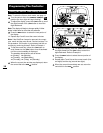
4. Optional - Insert 3/4" (19mm) PVC conduit (D) for
valve wiring into bracket sleeve (E).
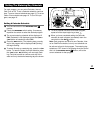
5. Align the slotted openings on the back of controller
housing with the mounting bracket tabs. Slide the
controller downward to engage the tabs.
Note: After installation, store the Quick Reference
Guide and the Watering Schedule Form in the
pocket (F) behind the controller.
Mounting The Controller
Installation
22
B
C
F
A
E
D