The GreenKeeper 212 utilizes a 9-volt battery to retain its
watering program information in the event of a main power
interruption. This battery backup feature also enables
your controller to be fully programmed for operation right
out of the box—before installation—in the comfort of your
home. Simply attach the battery and begin the program-
ming steps. The program information will be retained for
the duration of the battery life – about 72 hours for an
Alkaline battery or 24 hours for a rechargeable Nickel-
Metal Hydride (Ni-MH) battery.
Note: The 9-volt battery does not supply enough voltage
to operate the station control valves. Power from the
transformer must be supplied.
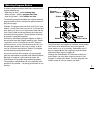
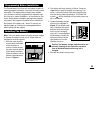
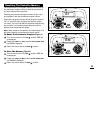
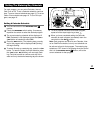
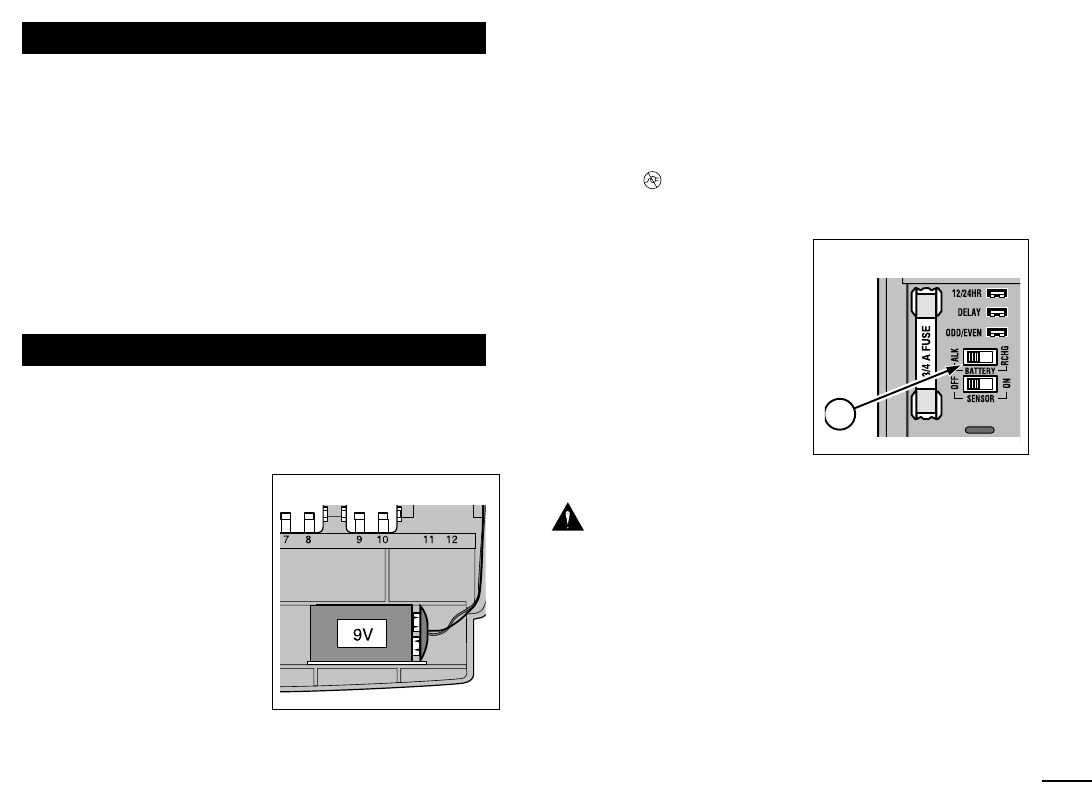
1. Slide the lower housing
cover toward the bottom
of the controller to
remove. Locate the bat-
tery wire clip and attach it
to the battery terminals.
Place the battery into the
cabinet compartment as
shown in Figure 1.
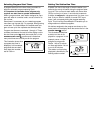
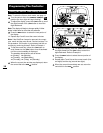
2. The display will begin flashing 12:00
AM. Press the
+/
ON button to stop the display from flashing. The
colon (:) will continuously flash while displaying the
time and during watering operation. The Power Off
symbol will be displayed until the main power sup-
ply is connected.
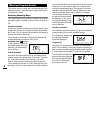
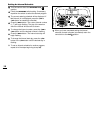
3. Locate the battery charger
switch (9) as indicated in
Figure 2. If an Alkaline bat-
tery is installed, the switch
must be set to the left posi-
tion to turn the charging
circuit off. If a rechargeable
Ni-MH battery is used, the
switch must be set to the
right position to turn the
charging circuit on.
Caution: The battery charger switch must be set
correctly. Damage to the controller can result
from an Alkaline battery which may fail if
charged.
4. Reinstall the lower housing cover.
Installing The Battery
Programming Before Installation
13
BATTERY
Figure 1
Figure 2
9


