


30
Troubleshooting & Repair
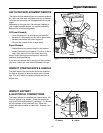
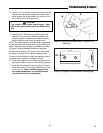
8. Reattach the shredder hopper and chipper cone
using the hardware removed during disassembly.
Replace any hardware that appears to be damaged
or worn excessively.
9. Check all hardware for tightness and correct assem-
bly before attempting to start your unit. Do not
attempt to start the unit if extra hardware is left over
after reassembly is complete. Check for proper chip-
per knife assembly before proceeding.
10. Test the unit before attempting to use it to perform
chipping. Start the unit, and check for unusual noise
or vibration.
• Shut the unit off immediately if either situation occurs
and reinspect chipping knives to confirm correct
positioning and assembly.
• If assembly is correct, the blades may not have been
sharpened evenly--causing an imbalance. Remove
the blades and sharpen the evenly.
• Recheck the unit. If problem persists, contact your
local dealer for assistance.
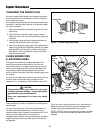
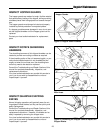
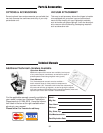
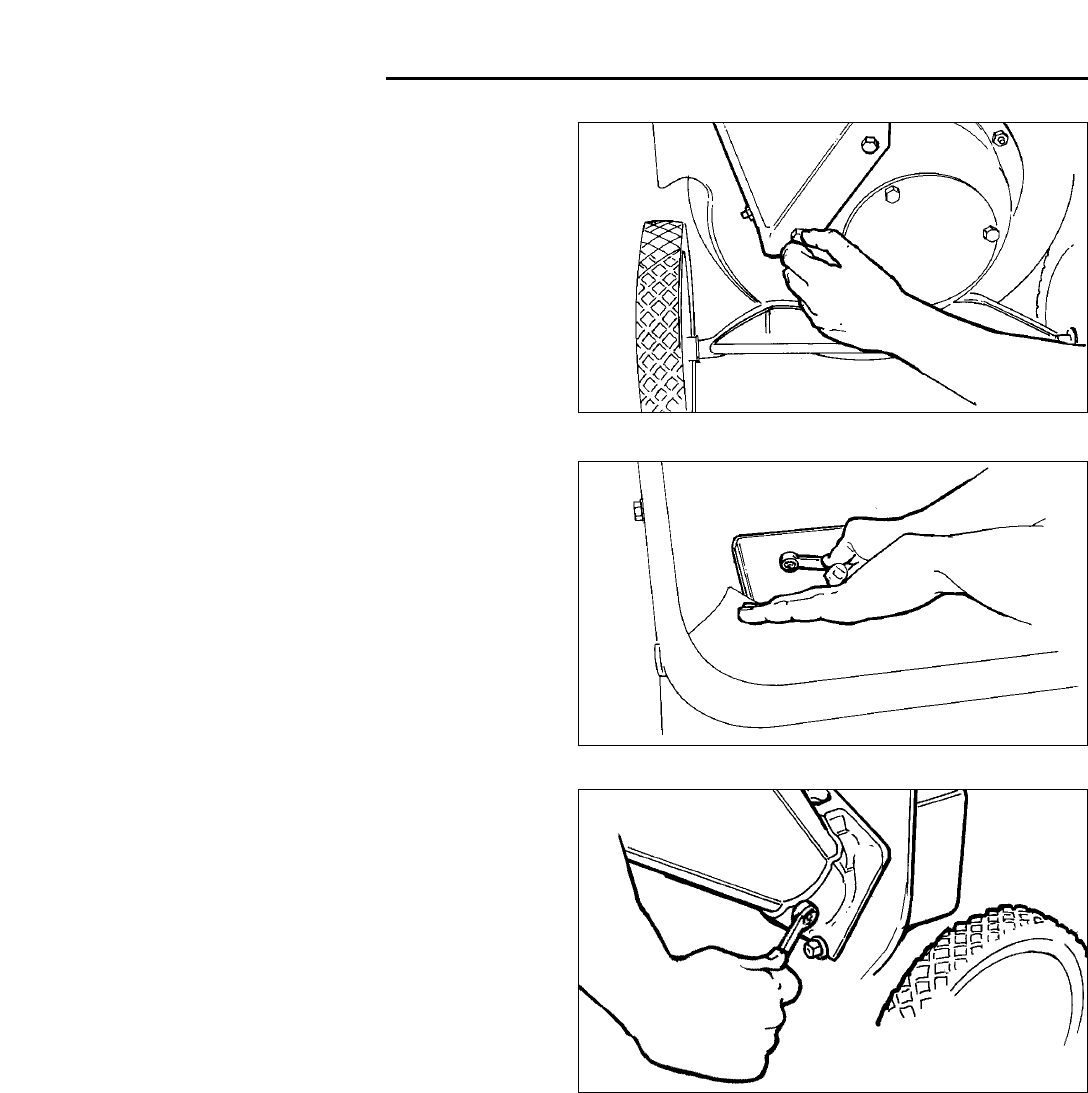
Figure 36. Installing the Chipper Cone
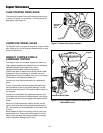
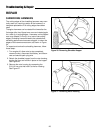
Figure 34. Attaching Hopper to the Rotor
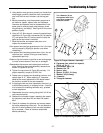
Figure 35. Installing Hardware Inside Hopper