


29
29
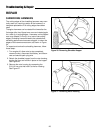
4. Using a 1/4” hex wrench, loosen and remove the two
socket head cap screws holding the chipper knife in
place (access the screw heads from the rear of the
unit), and remove the chipper knife.
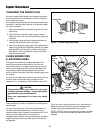
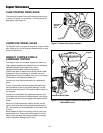
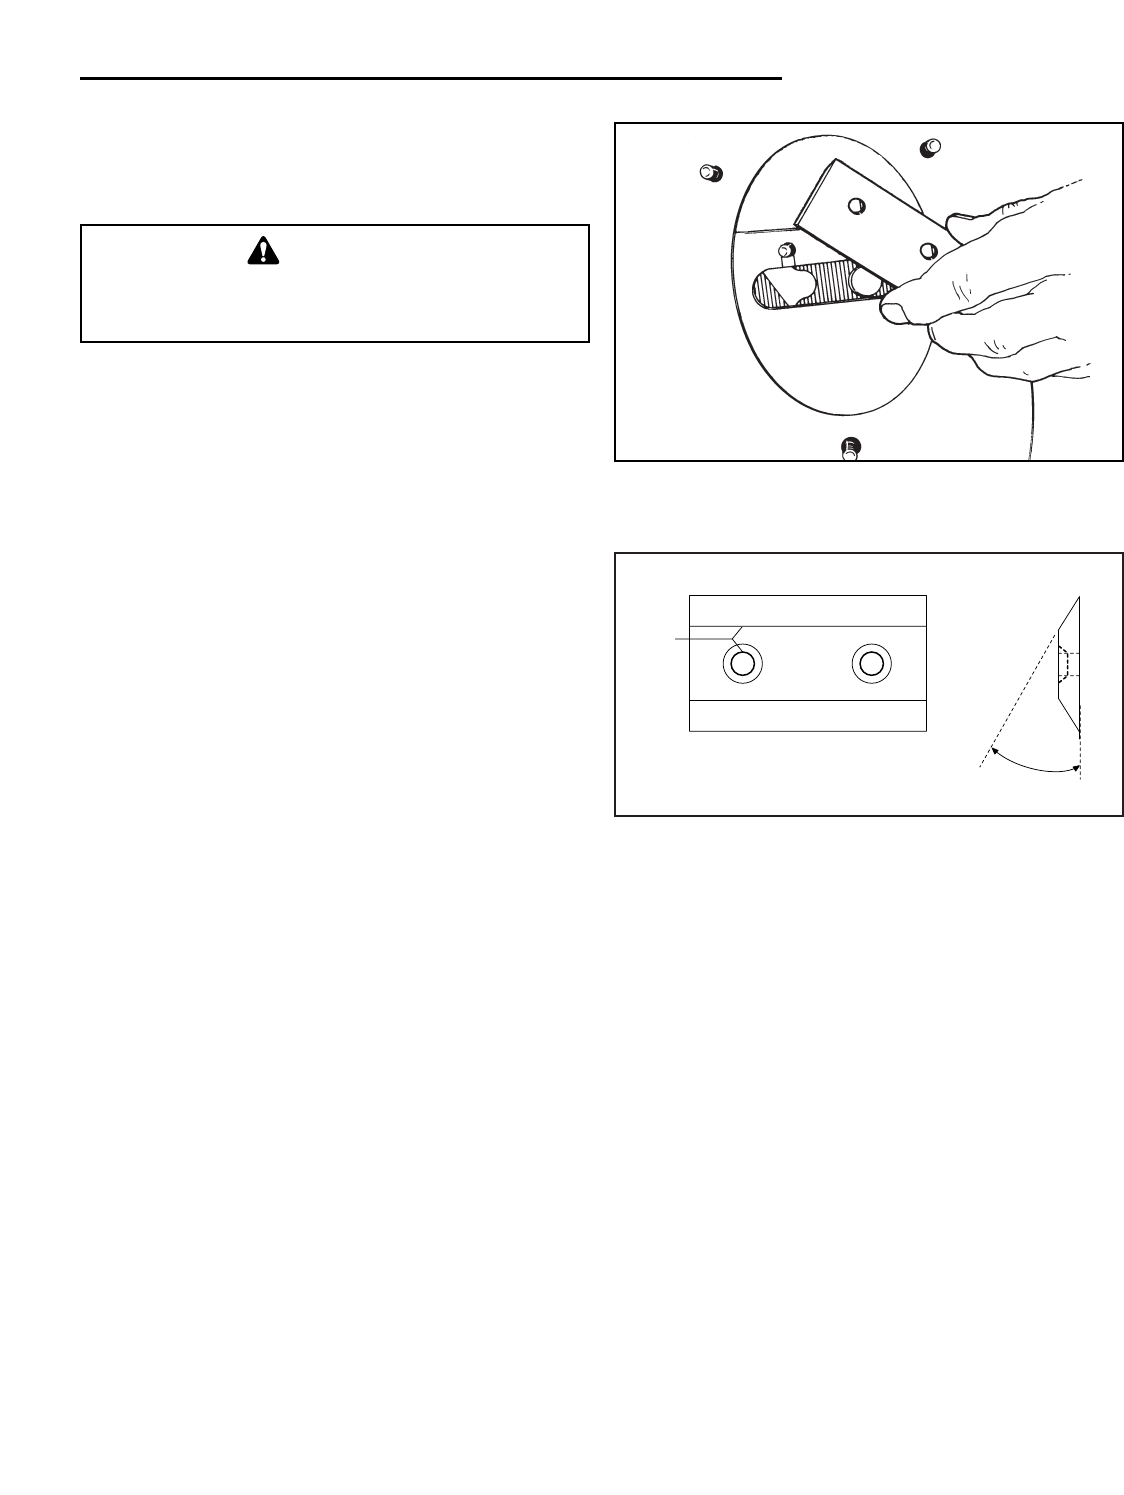
5. See Figure 32. Remove both knives through the
opening in the front of the chipper/shredder, and
sharpen equally or replace both blades to ensure
proper balancing and correct chipping action.
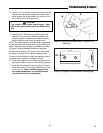
NOTE: Slow-speed water-cooled grinding is suggested
to help maintain blade temper and a long-lasting sharp
edge. Rapid grinding and heating of blades will soften
the edges, making repeated sharpening necessary.
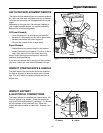
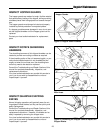
Chipper knives require a 30° bevel on the cutting edge
(as shown in Figure 33) for efficient chipping action.
Contact your local dealer or blade sharpening service if
you prefer not to sharpen the blades yourself.
6. Clean the chipper knife mounting areas before rein-
stalling the blades to ensure a flat mounting surface.
7. Install the new chipper knives using the two socket
head cap screws, and two new lockwashers, torque
to 18-20 ft. lbs. Never reinstall chipper knives
with used lockwashers, as used lockwashers
may not hold the knives adequately.
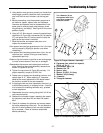
Troubleshooting & Repair
CAUTION
The chipper blades have sharp edges. Wear
leather work gloves and remove the blades care-
fully.
30°
Top View Side View
*2562
1/16"
Min.
Figure 33. Chipper Knives Minimum Cutting Edge
Figure 32. Removing Chipper Knife Through Front
Opening
*2446