ASSEMBLY
CY72 01/08 Assembly Section 3-7
© 2008 Alamo Group Inc.
ASSEMBLY
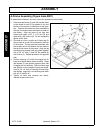
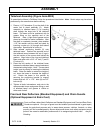
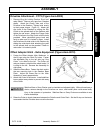
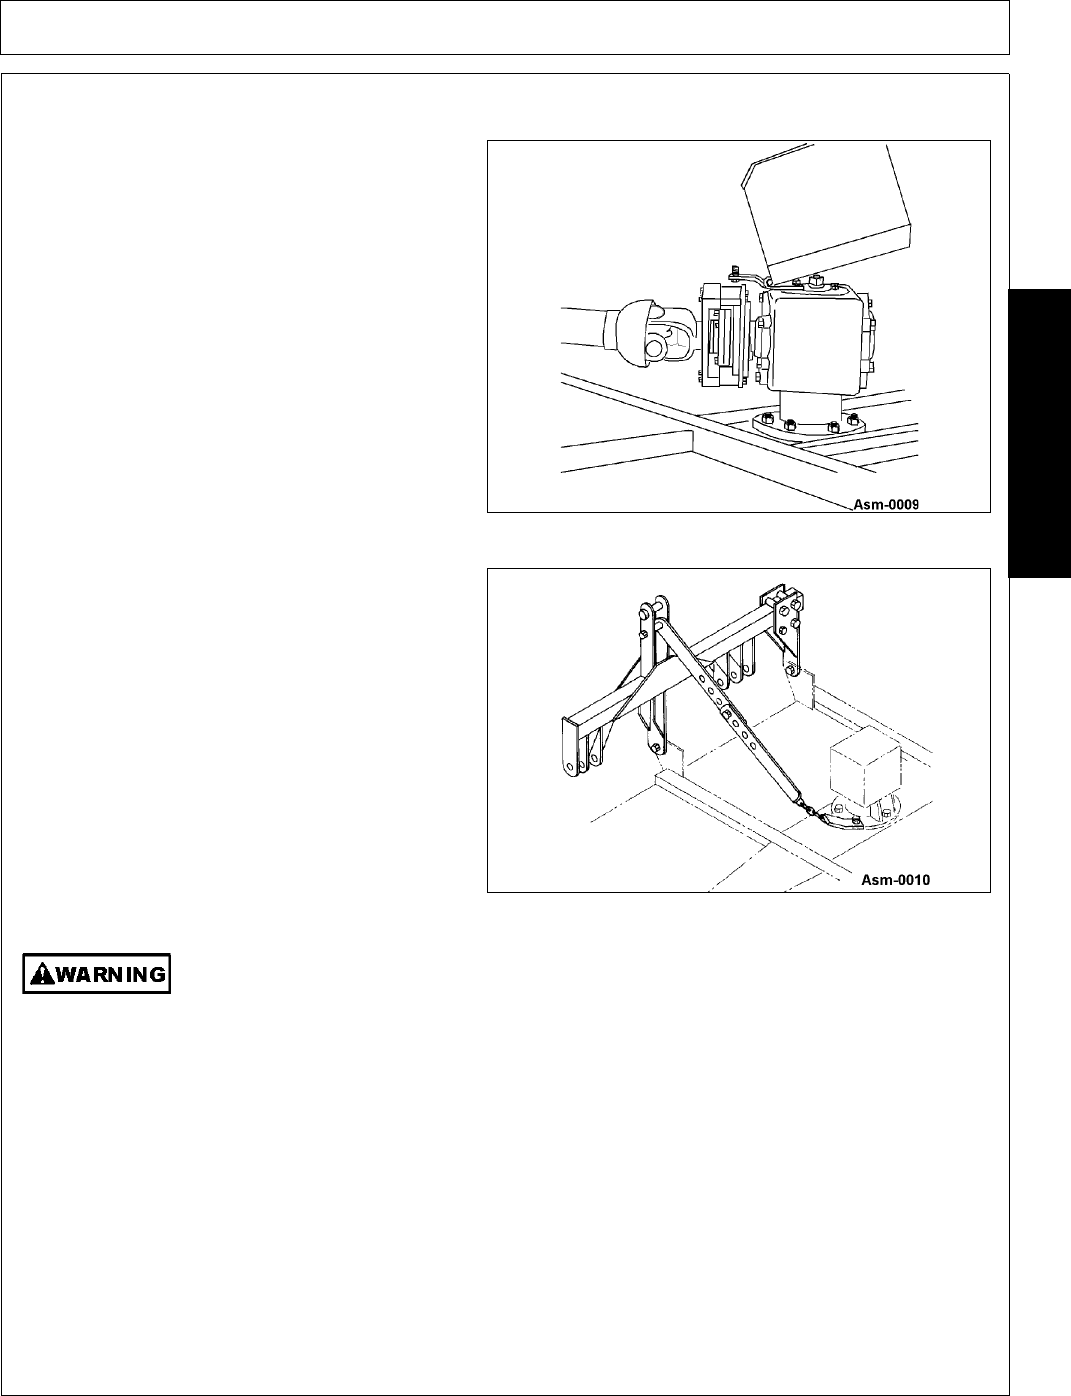
Driveline Attachment - CY72 (Figure Asm-0009)
1. Remove Wing Nut holding Gearbox Shield and
raise Shield. Remove any tape from Gearbox
shafts. Attach the Clamp Yoke end of the
Driveline to the Gearbox. Tighten bolts evenly
to their proper torque. Figure 10. Attach the
slip clutch to the Gearbox by sliding the Slip
Clutch to the splined shaft on the Gearbox and
tighten the set screw. Attach the Flange Yoke
of the Driveline to the Slip Clutch with the bolts
provided. Move yoke/clutch group back and
forth to make sure it is locked in place. Install
the Driveline with slide collar to the Gearbox by
sliding the collar back while attaching the yoke
to the splined shaft on the gearbox. Check to
make sure it is locked in place.
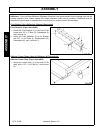
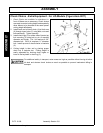
Offset Adapter Hitch - Extra Equipment (Figure Asm-0010)
1. Fasten the Offset Adapter Hitch Weldment to
the lift lugs using the Hitch Pin holes. Fasten
the Adjustable Leg to the left side lug if the
Cutter is to offset to the left. The Cutter will
make a cleaner cut behind the wheel tracks if it
is offset to the left. Reverse the Assembly for
right offset.
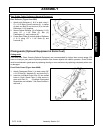
2. Install the Brace Bars. Fasten the chain end to
the rear mounting hole in the Gearbox Base
Plate. Adjust the Brace Bar so the Hitch
Assembly is nearly perpendicular.
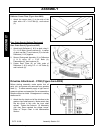
3. Attach the Cutter to the tractor. Install stabilizer
bars or adjust sway chains to prevent side sway
of the Cutter.
Stabilizer Bars or Sway Chains must be installed and adjusted tightly. Without these bars or
chains, serious damage to the Driveline can occur, and broken parts could cause bodily
injury to the operator or bystanders. Stabilizer Bars or Sway Chains are available at most
tractor dealerships.
4. Raise the Cutter to check clearance between the Driveline and Cutter Deck. Set the lift stop on the tractor
to ascertain that the Driveline does not strike the deck.


