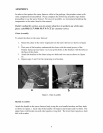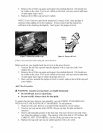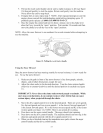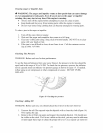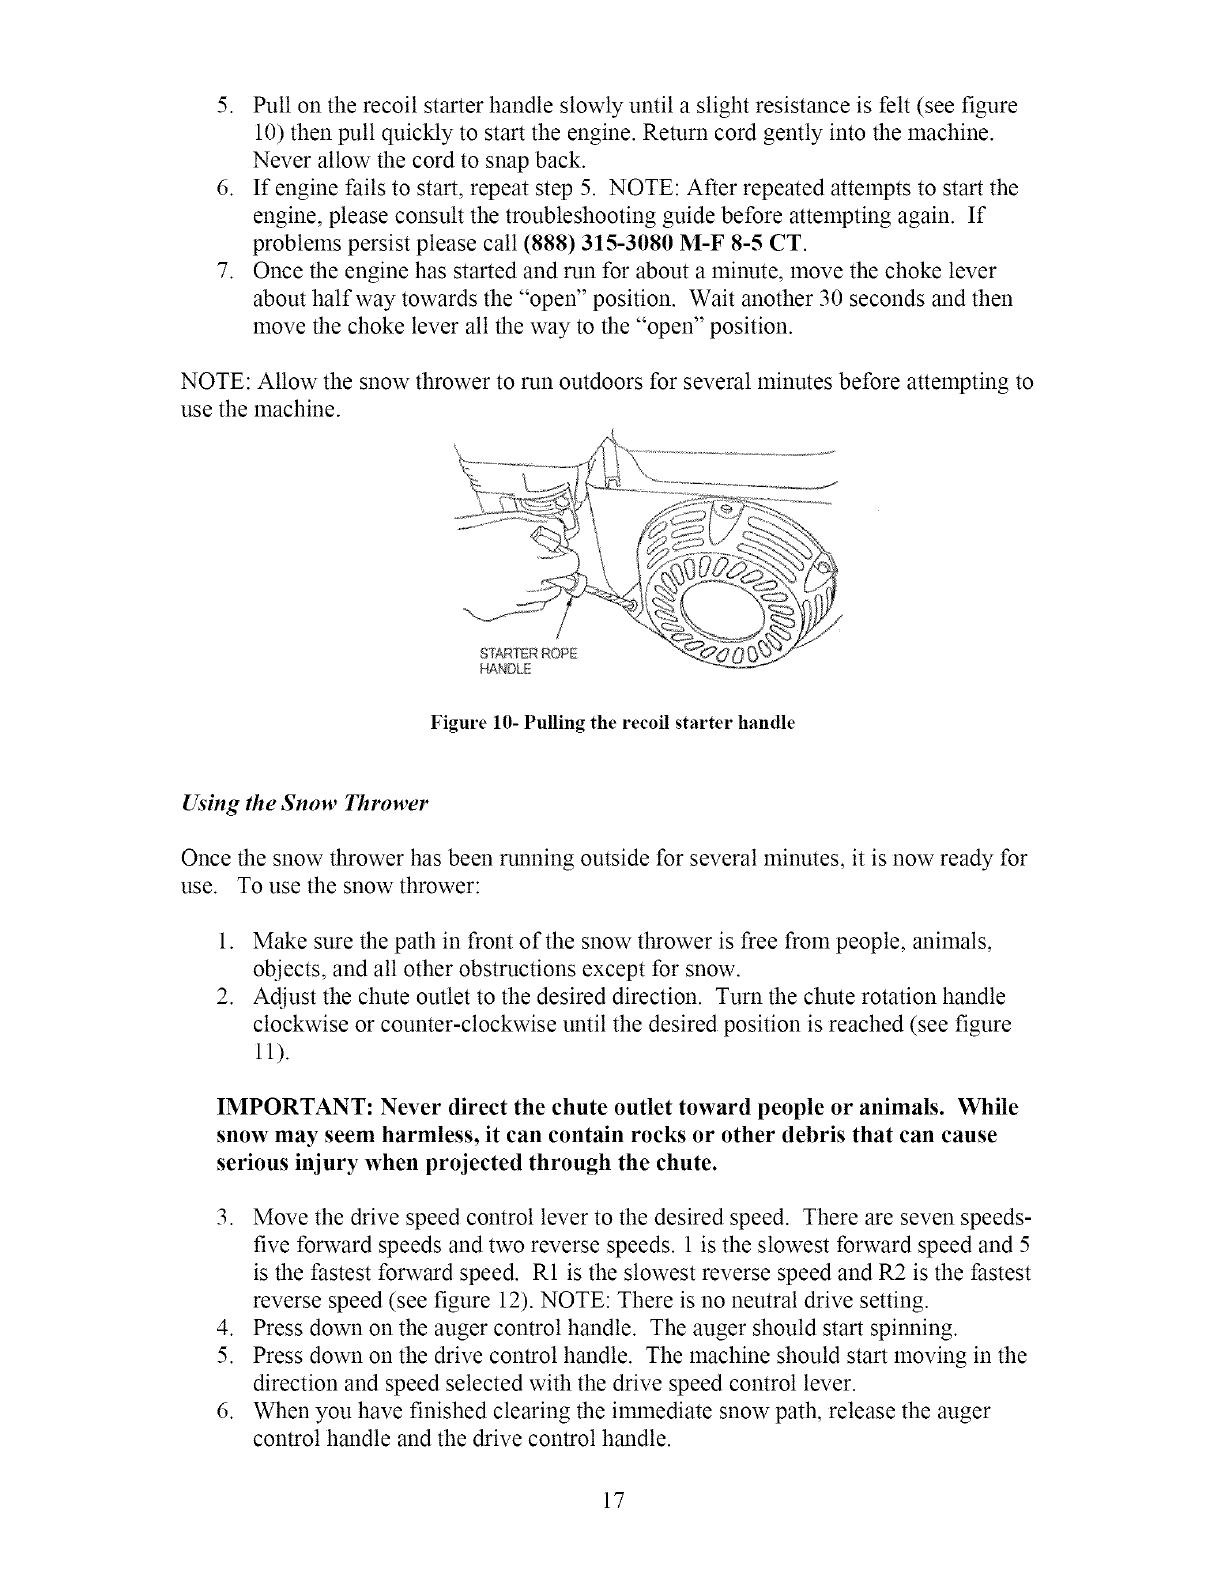
5. Pull on the recoil starter handle slowly until a slight resistance is felt (see figure
10) then pull quickly to start the engine. Return cord gently into the machine.
Never allow the cord to snap back.
6. If engine fails to start, repeat step 5. NOTE: After repeated attempts to start the
engine, please consult the troubleshooting guide before attempting again. If
problems persist please call (888) 315-3080 M-F 8-5 CT.
7. Once the engine has started and run for about a minute, move the choke lever
about halfway towards the "open" position. Wait another 30 seconds and then
move the choke lever all the way to the "open" position.
NOTE: Allow the snow thrower to run outdoors for several minutes before attempting to
use the machine.
Figure 10- Pulling the recoil starter handle
Using the Snow Thrower
Once the snow thrower has been running outside for several minutes, it is now ready for
use. To use the snow thrower:
1. Make sure the path in front of the snow thrower is free from people, animals,
objects, and all other obstructions except for snow.
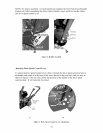
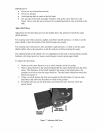
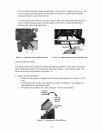
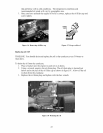
2. Adjust the chute outlet to the desired direction. Turn the chute rotation handle
clockwise or counter-clockwise until the desired position is reached (see figure
11).
IMPORTANT: Never direct the chute outlet toward people or animals. While
snow may seem harmless, it can contain rocks or other debris that can cause
serious injury when projected through the chute.
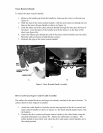
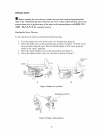
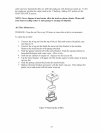
3. Move the drive speed control lever to the desired speed. There are seven speeds-
five forward speeds and two reverse speeds. 1 is the slowest forward speed and 5
is the fastest forward speed. R1 is the slowest reverse speed and R2 is the fastest
reverse speed (see figure 12). NOTE: There is no neutral drive setting.
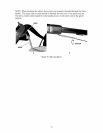
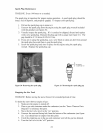
4. Press down on the auger control handle. The auger should start spinning.
5. Press down on the drive control handle. The machine should start moving in the
direction and speed selected with the drive speed control lever.
6. When you have finished clearing the ilmnediate snow path, release the auger
control handle and the drive control handle.
17


