


Operating Mower - Page 18
OPERATING MOWER
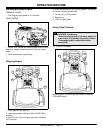
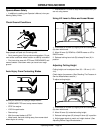
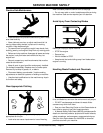
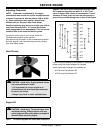
7. Loosen top clamping nut (C) facing inside of mower, on
left hand side J-bolt (B), approximately one turn.
8. Loosen upper adjusting nut (D).
9. Raise or lower left side of deck.
• To raise: Turn lower adjusting nut (E) towards rear of
tractor.
• To lower: Turn lower adjusting nut (E) towards front of
tractor.
10.Tighten upper adjusting nut.
11.Tighten clamping nut.
12.Check side-to-side measurements and readjust if
necessary.
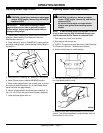
Adjusting Mower Level (Front-to-Rear)
1. Park tractor on a hard, level surface.
2. Stop engine and remove key.
3. CHECK: Tire pressure must be correct. (See Checking
Tire Pressure in Service – Miscellaneous section.)
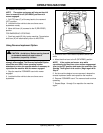
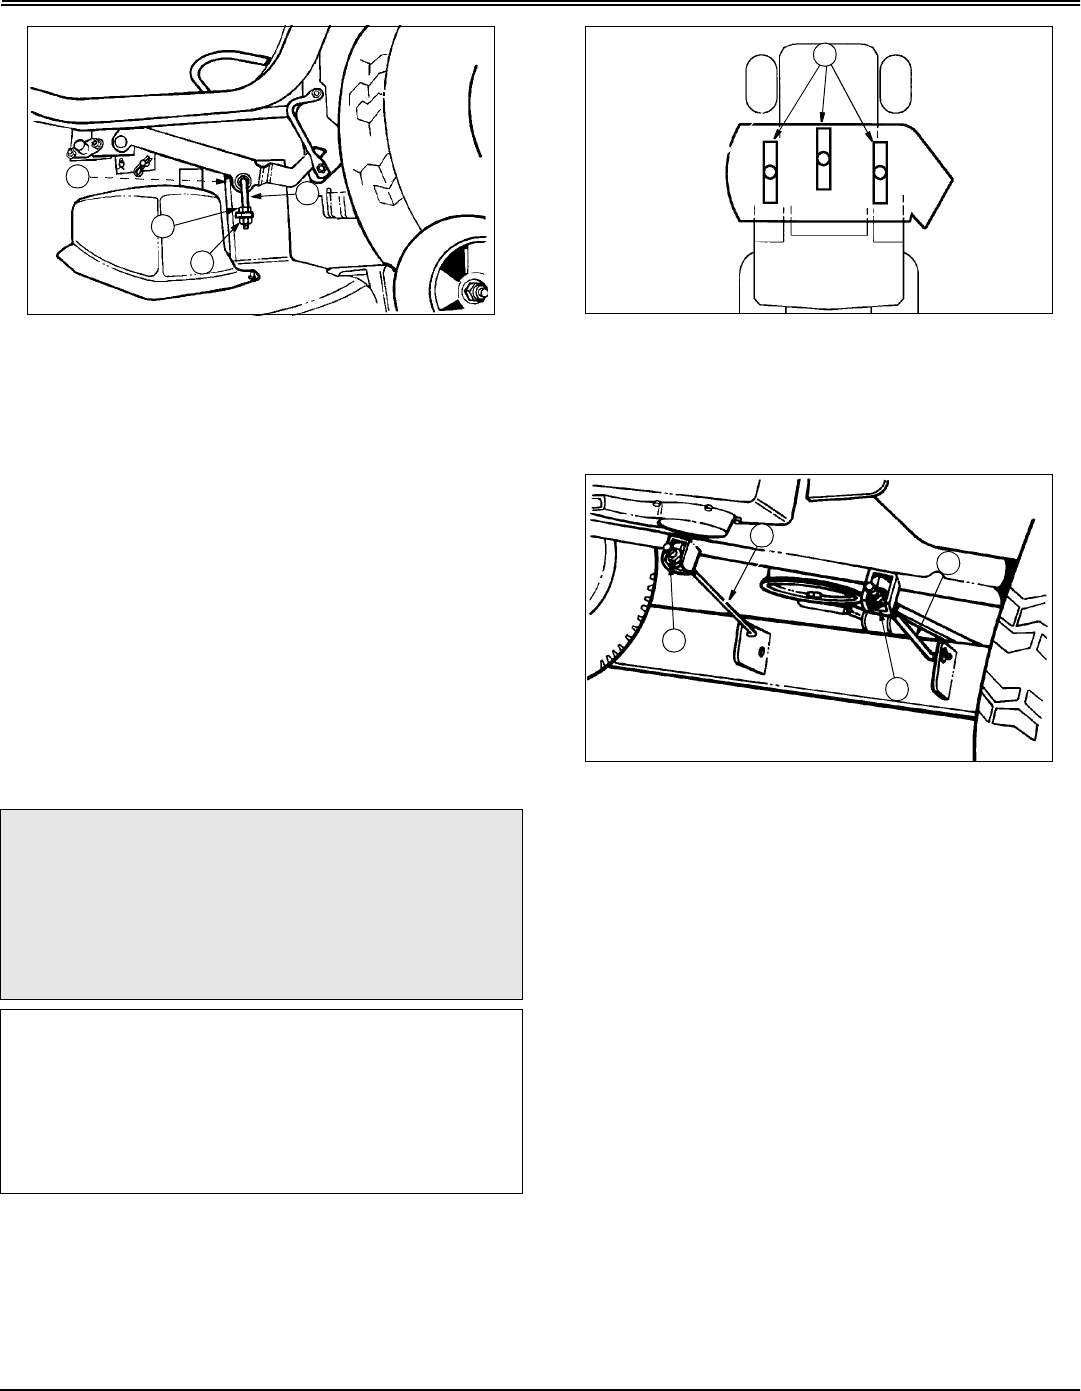
4. Turn blades so front blade tips (A) point straight forward.
5. Measure from the front of each blade tip to the level
surface. The front blade tips must be 6–9 mm
(1/4–3/8 in.) lower than rear blade tips or blades will cut
grass twice and grass tips will turn brown.
6. Turn nuts (B) on front draft rods (C) equally until
adjustment is correct. Turn nut clockwise to RAISE front of
mower deck or counterclockwise to LOWER front of mower
deck.
7. Check front-to-rear deck measurements and readjust if
necessary.
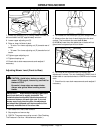
c CAUTION: Avoid injury, before you adjust
mower: STOP engine, remove key, and wait for
blades to STOP.
Be careful, sharp edges on mower blades.
Always wear gloves when handling mower
blades.
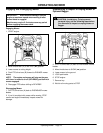
IMPORTANT: Avoid machine damage. Make sure
each front draft rod is equally tensioned. The
installed rods should exhibit identical amounts of
movement between left and right rods. If one rod
moves more freely than the other, the adjustment
nut should be tightened until the movement of the
assembly matches that of the other side.
D
B
E
C
A
B
B
C
C